Parts used
Buy the parts used in this workshop
Buy Parts
×


Steps
1 |
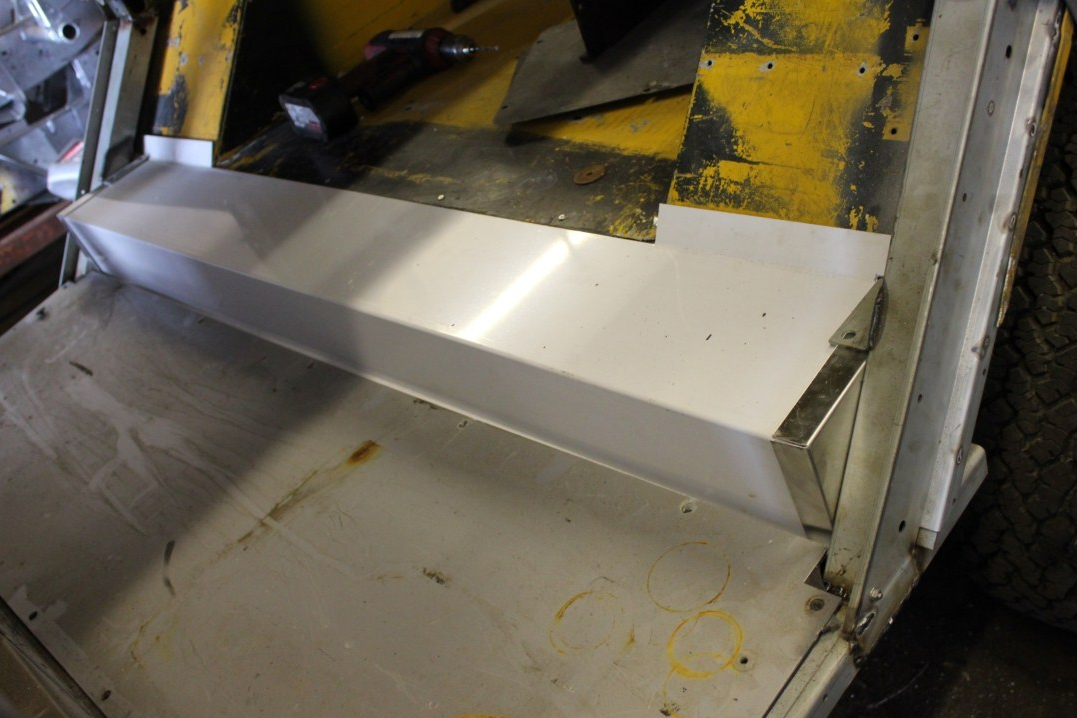
The inner wing preassembled, this is how you will receive your parts, and the headlight unit will come assembled. |  |
2 |
The inner wing has been assembled by clamping the inner wing parts together then spot welding them roughly 50mm apart. | 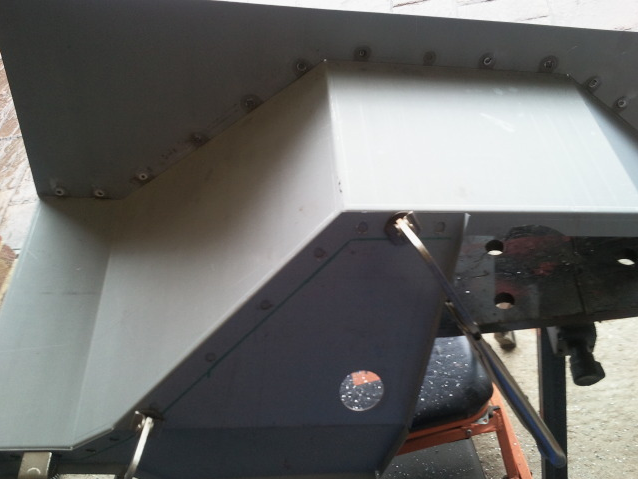 |
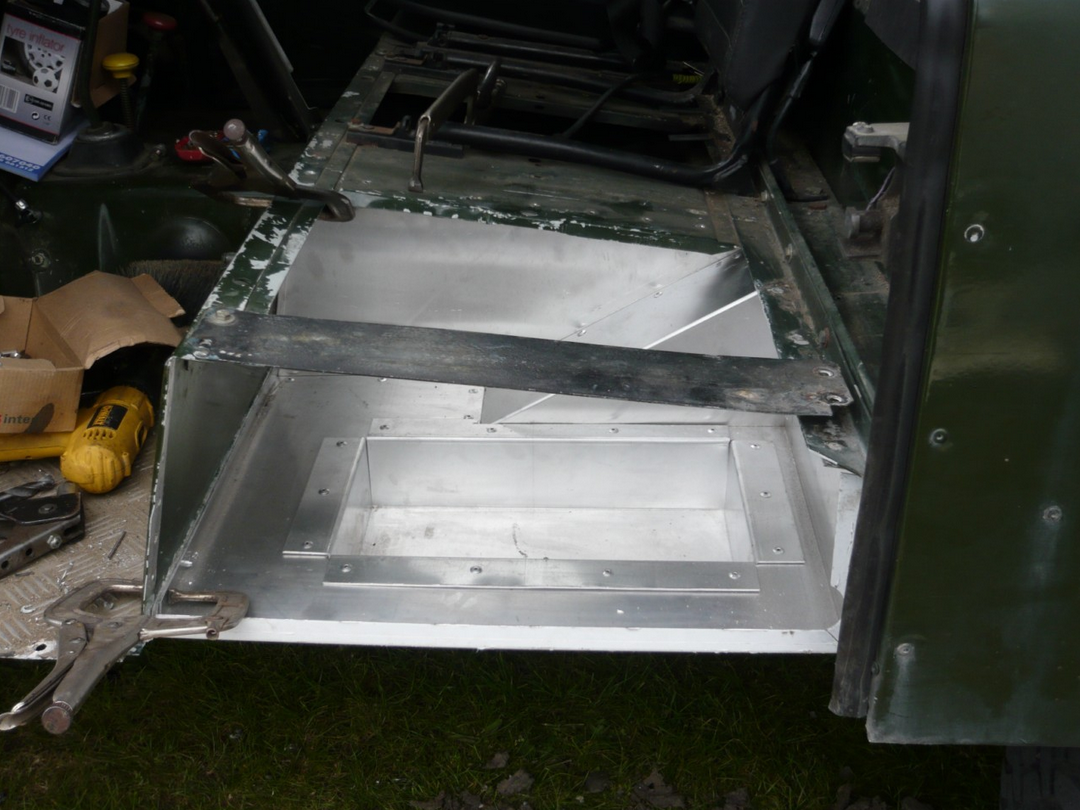
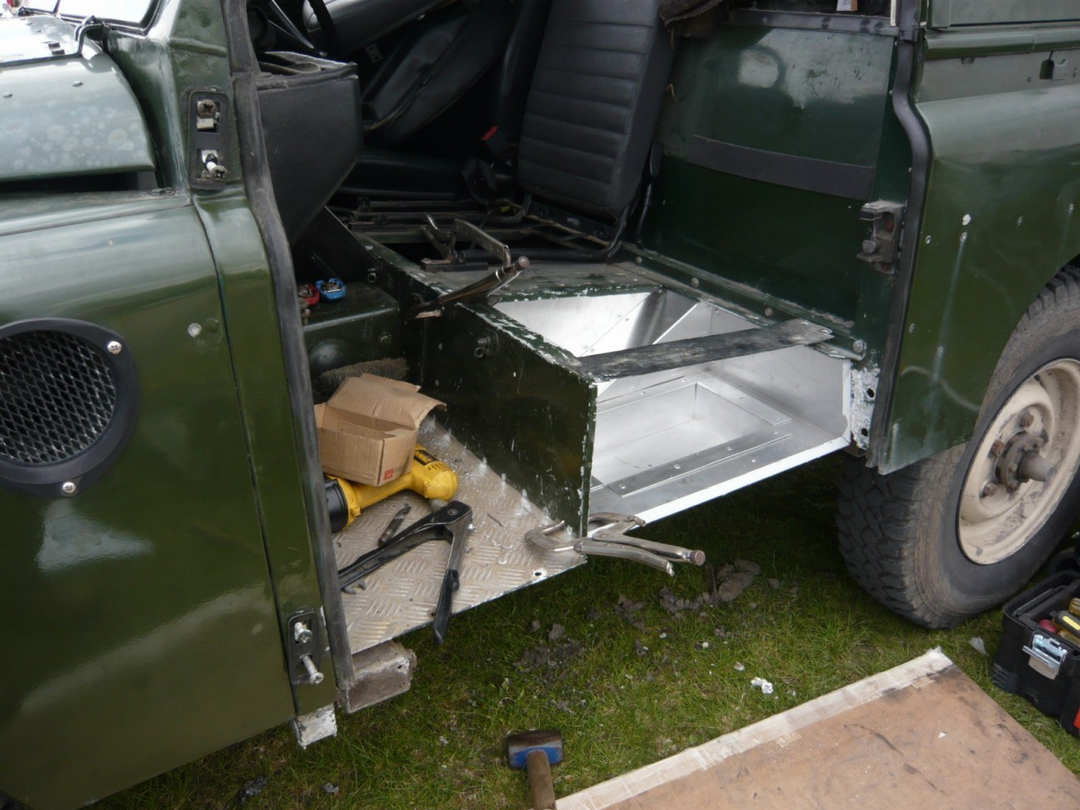
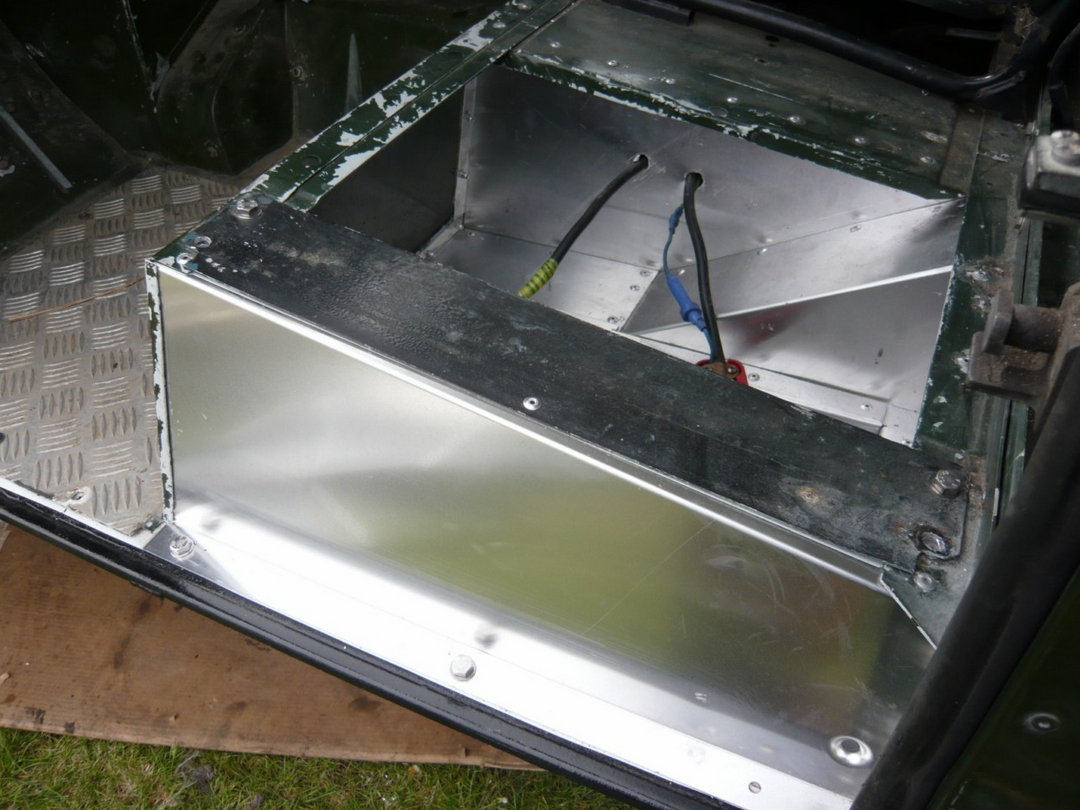
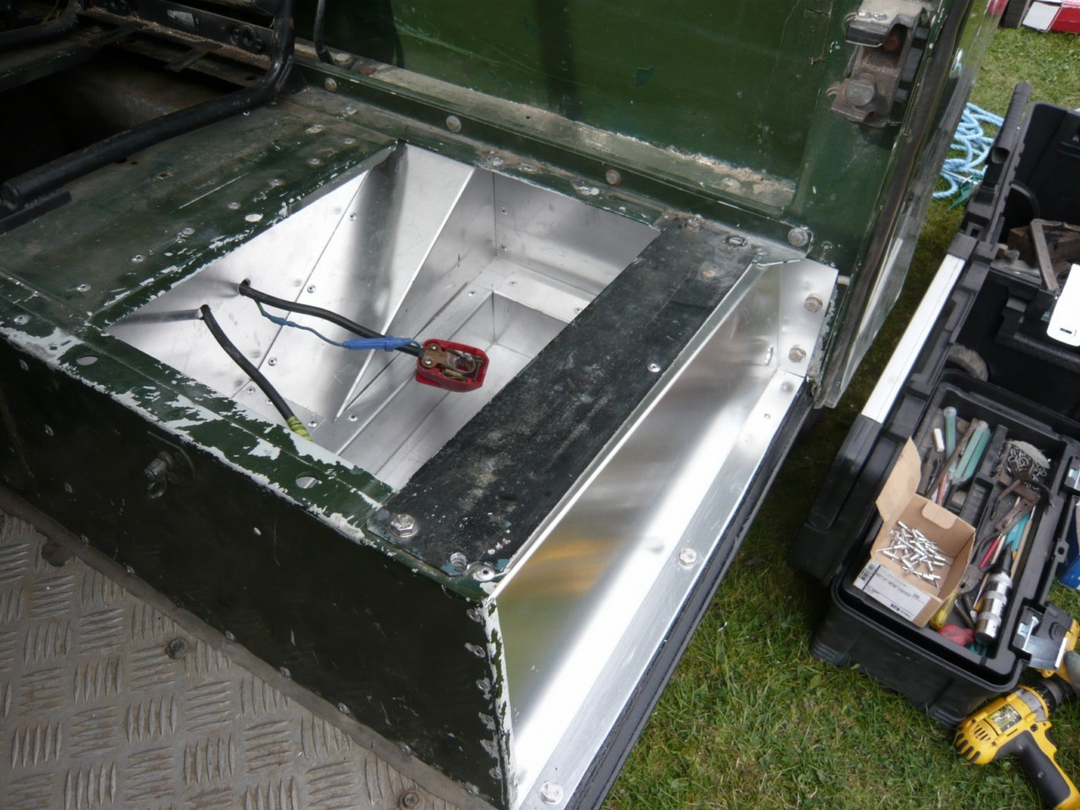
3 |
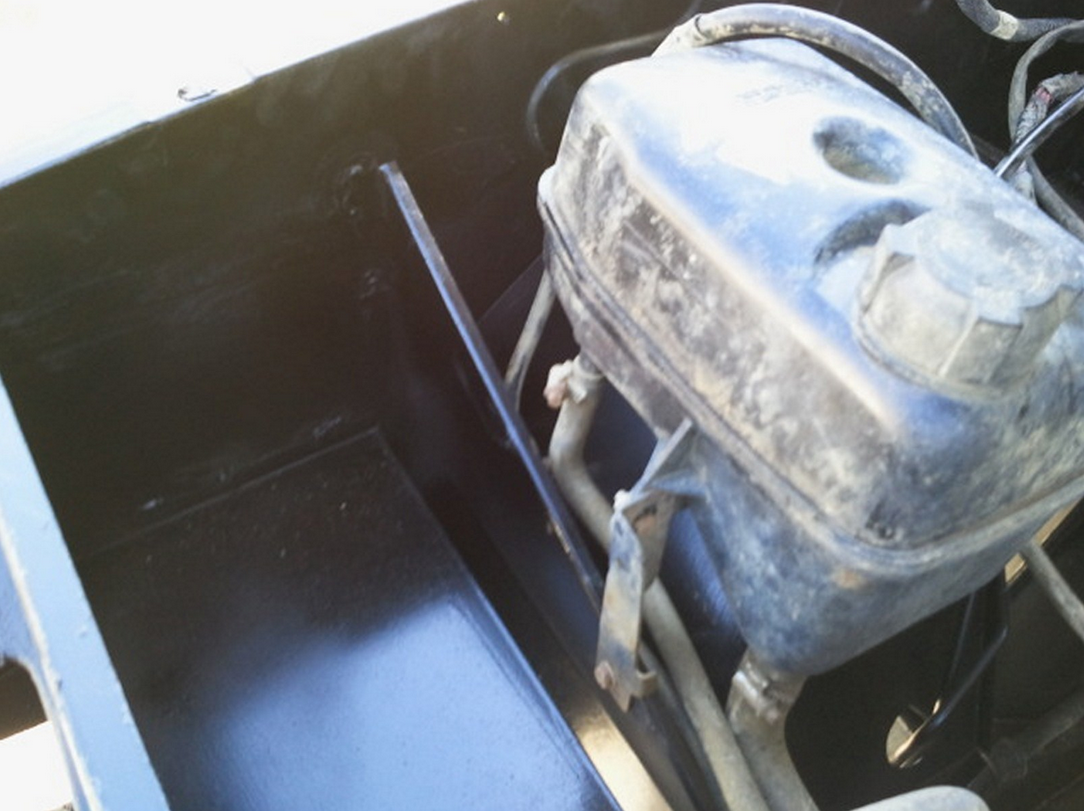
The inner wing, battery carrier and headlight unit are seam sealed and primed. |     |
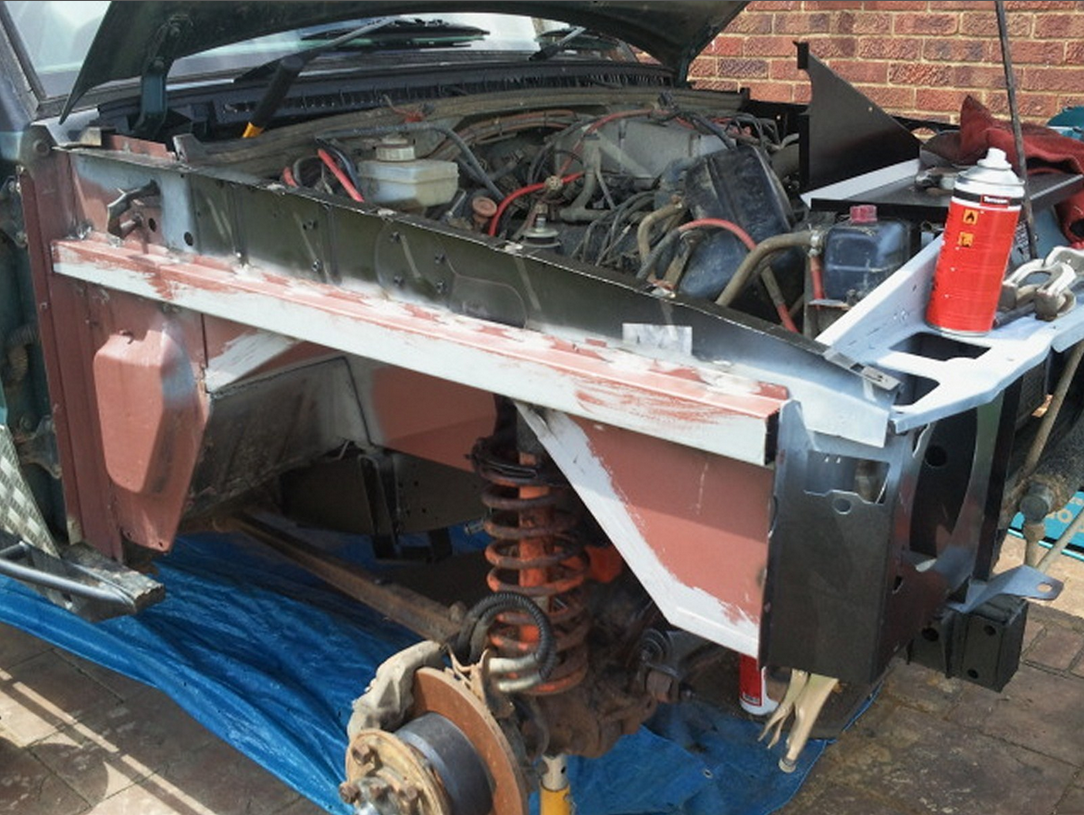
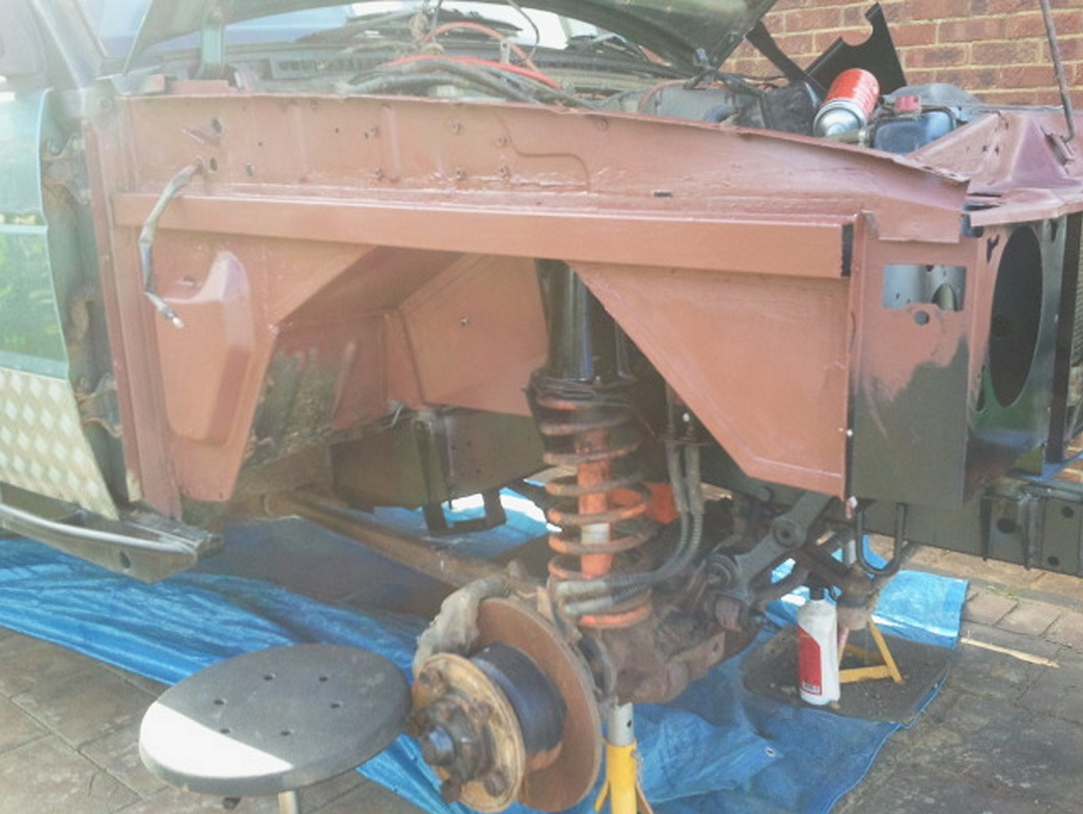
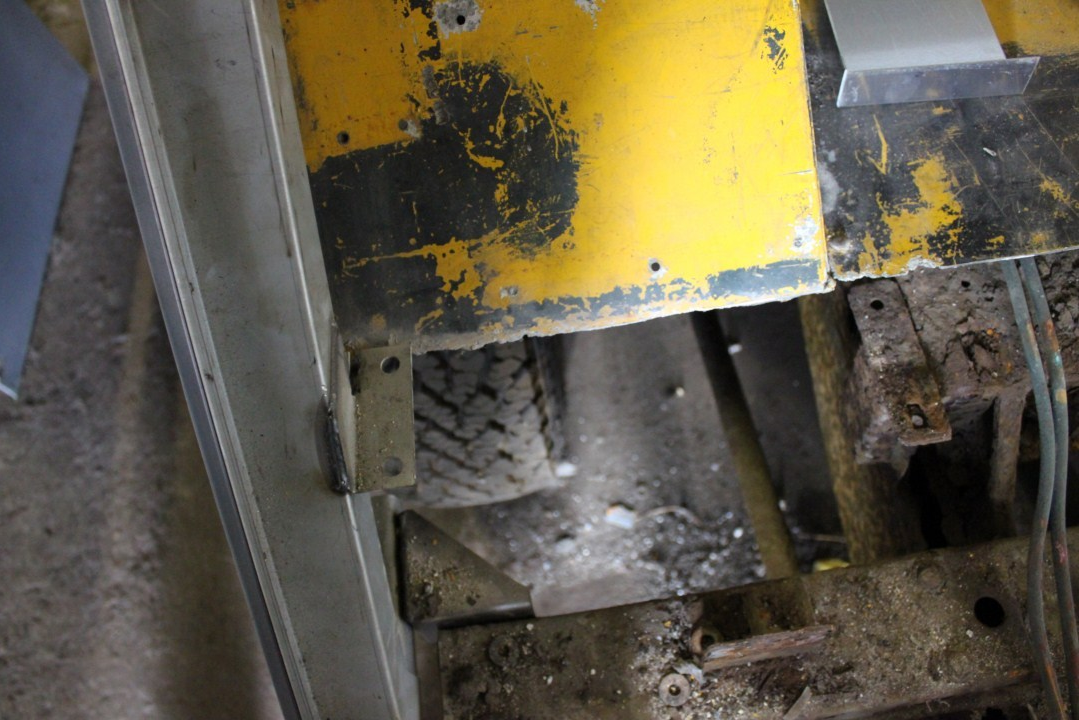
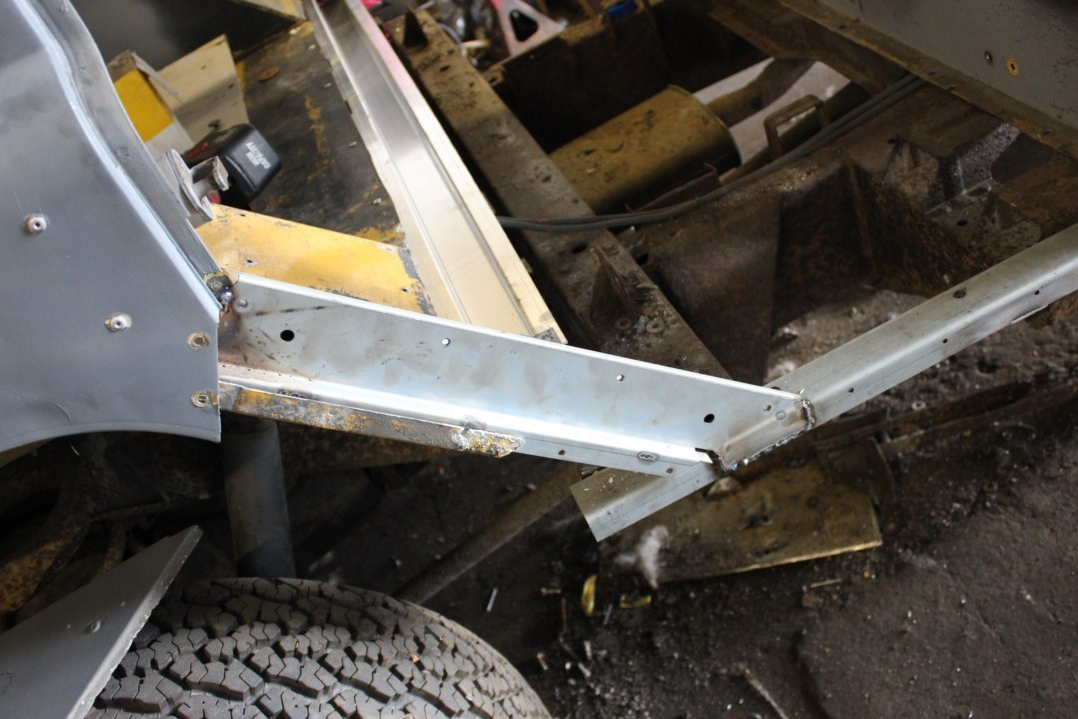
4 |
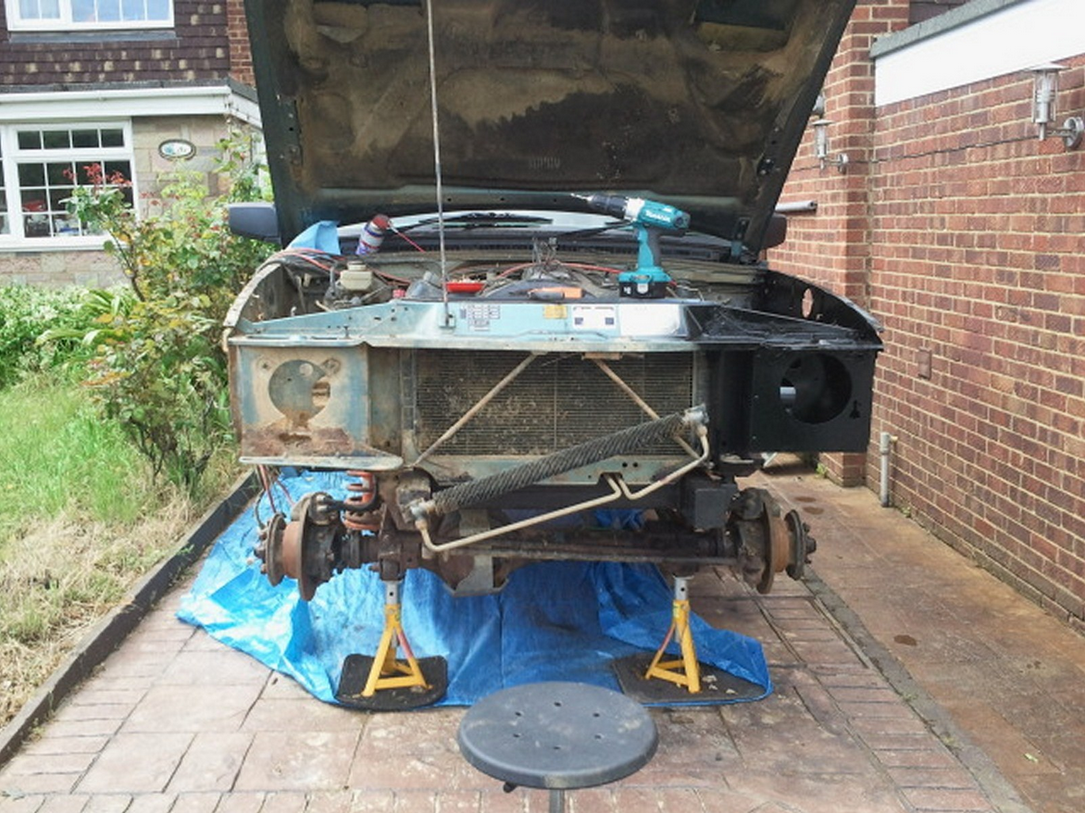
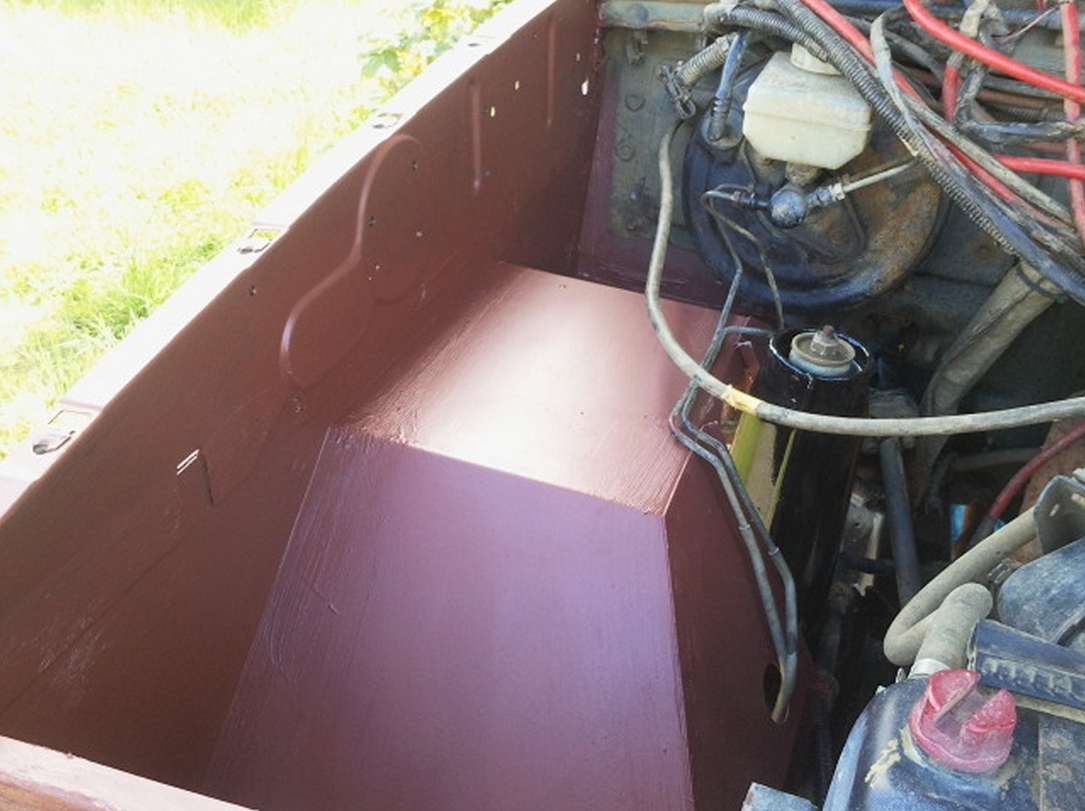
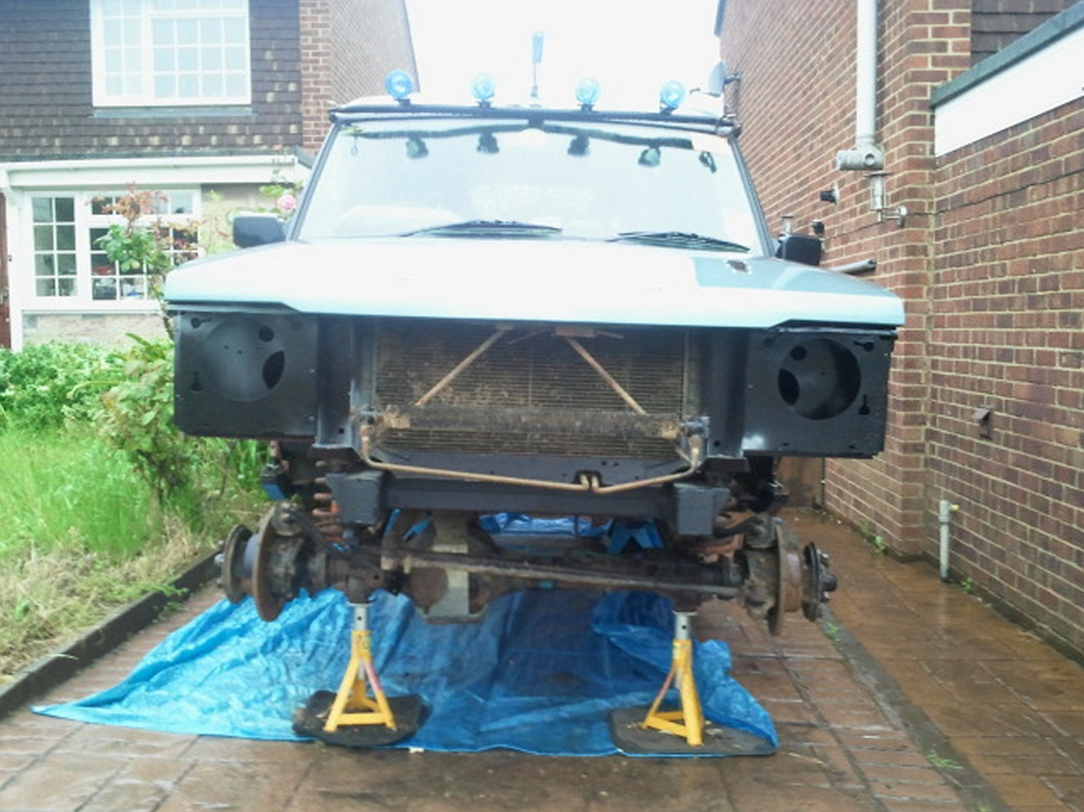
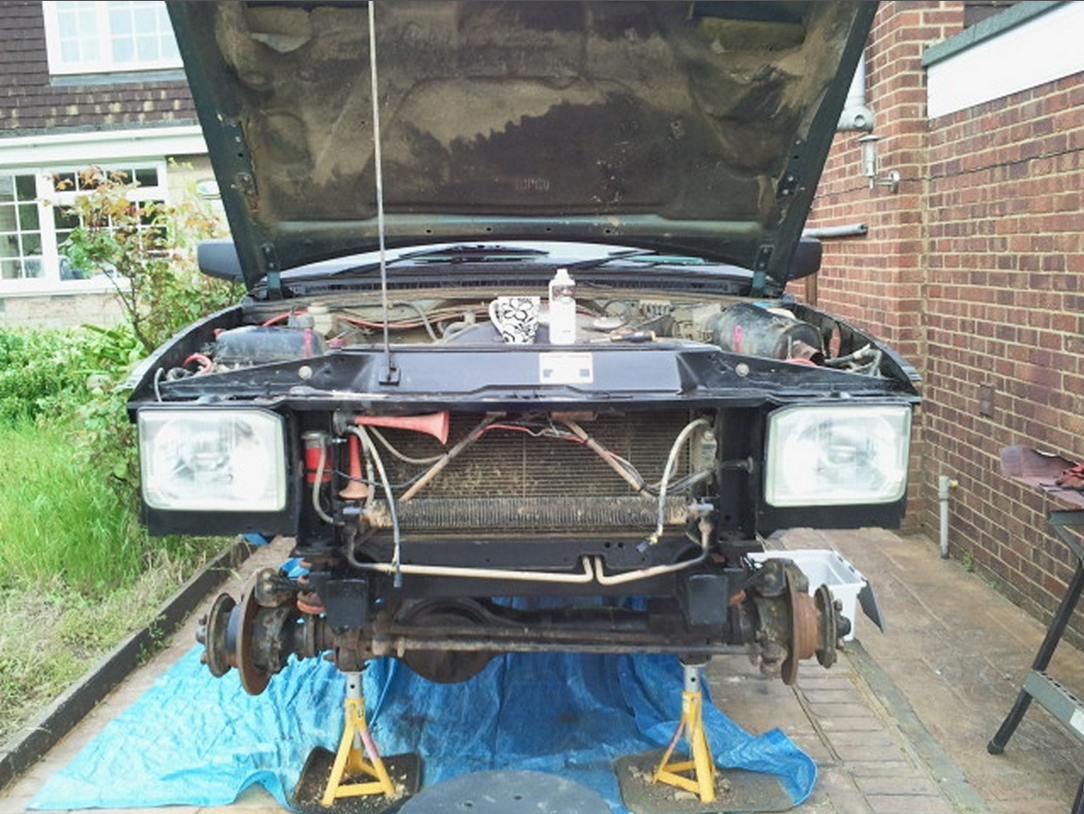
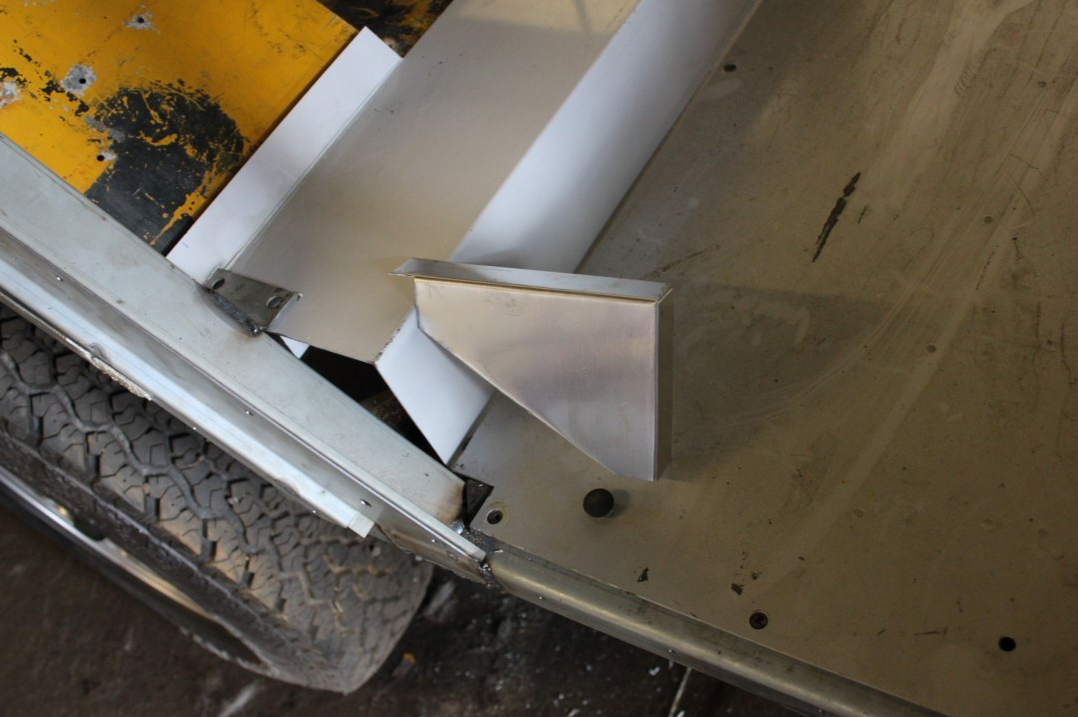
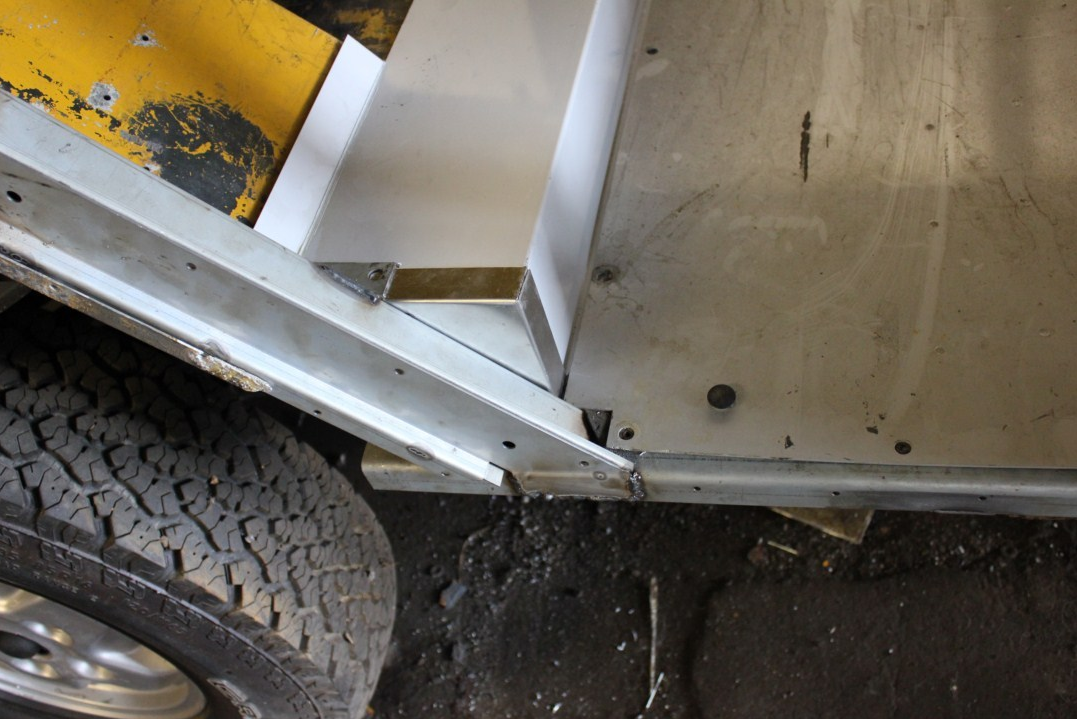
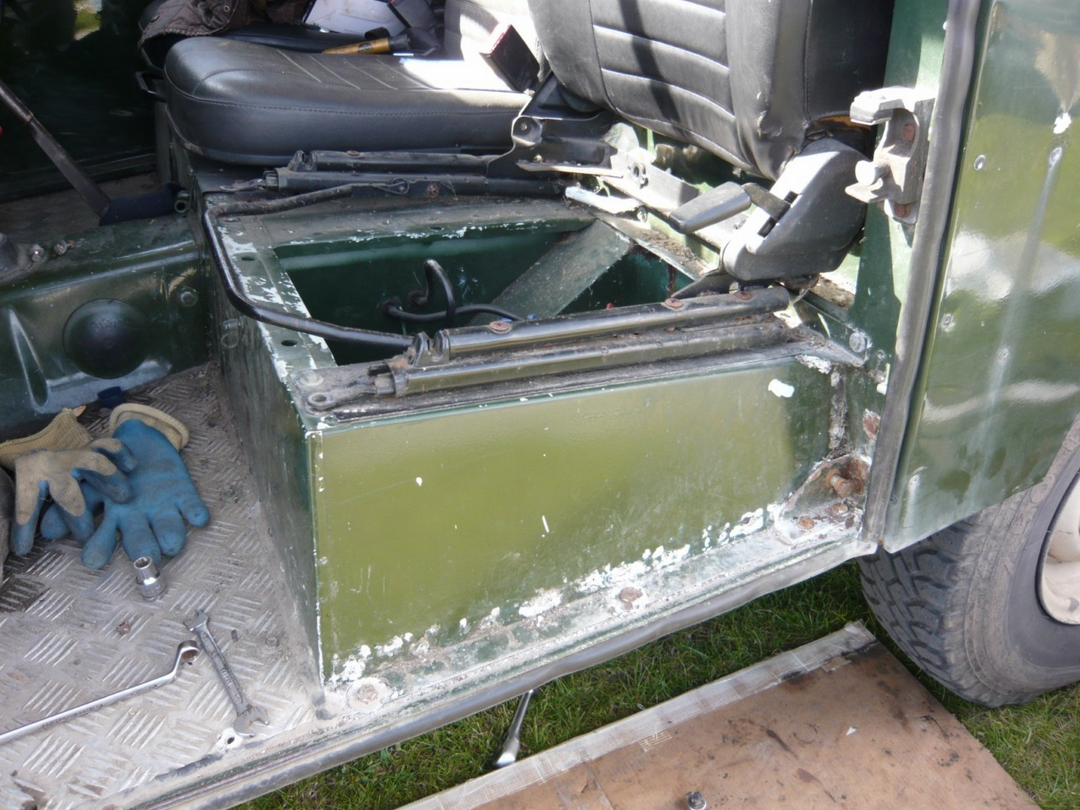
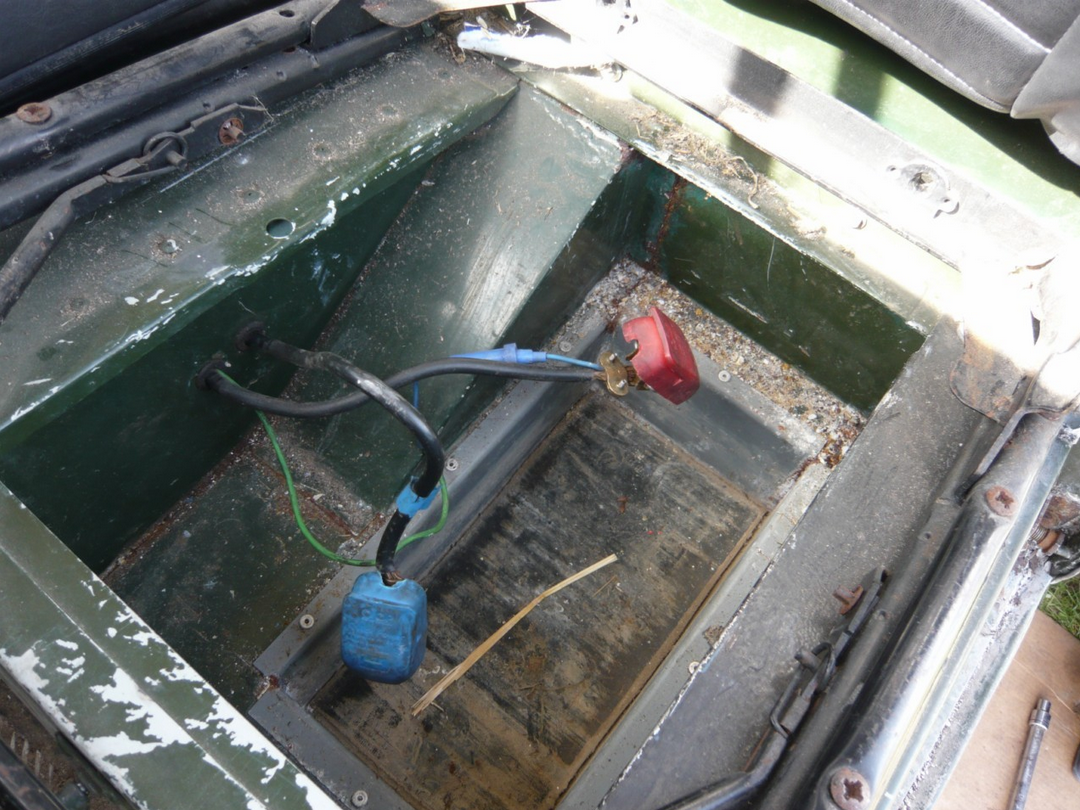
The Discovery is ready to remove the body work to make it easier to get at the Inner Wing, Battery Carrier & Headlight Unit. Here you can have a better assessment at the extent of the rust. Before removing any parts take plenty of datum measurements so that the new parts fit without any problems. Drill out the spot welds, remove bolts and cut to make to remove. Then remove the corroded parts or in this instance the whole lot as now it is a MOT failure for any rot within 300mm of a body mount. | 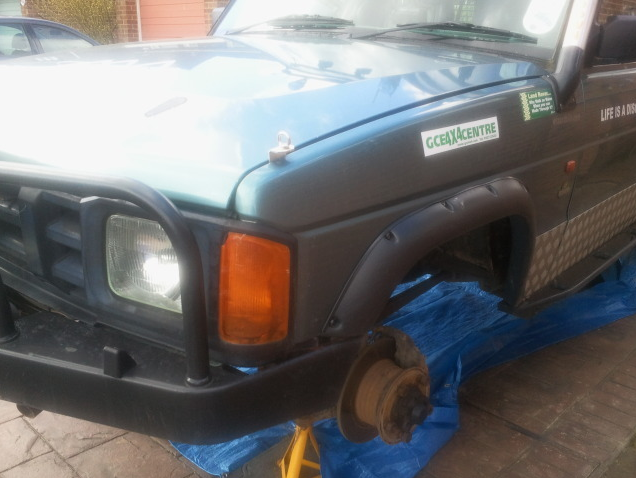 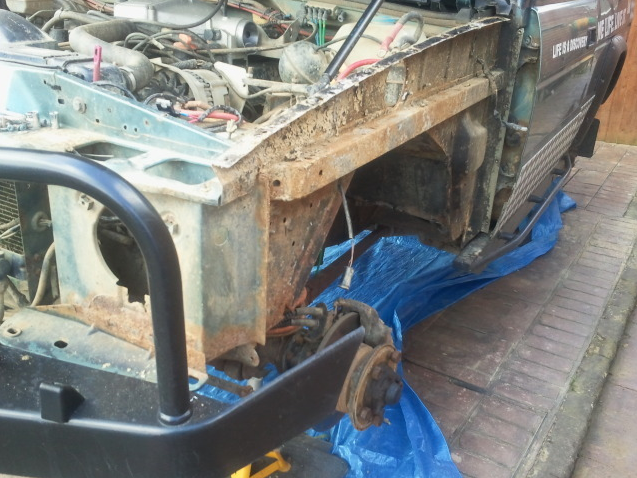 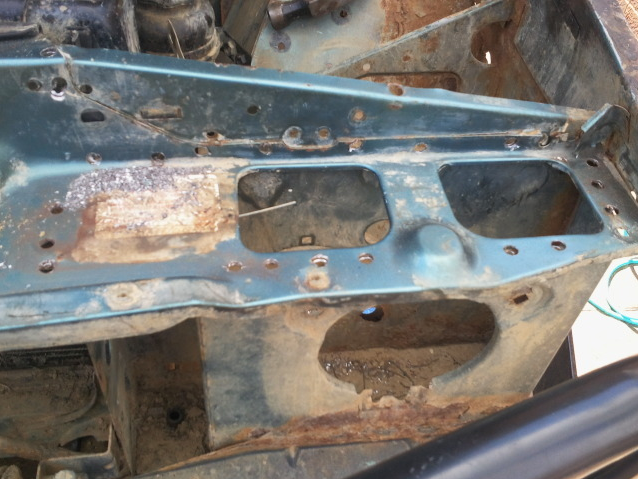 |
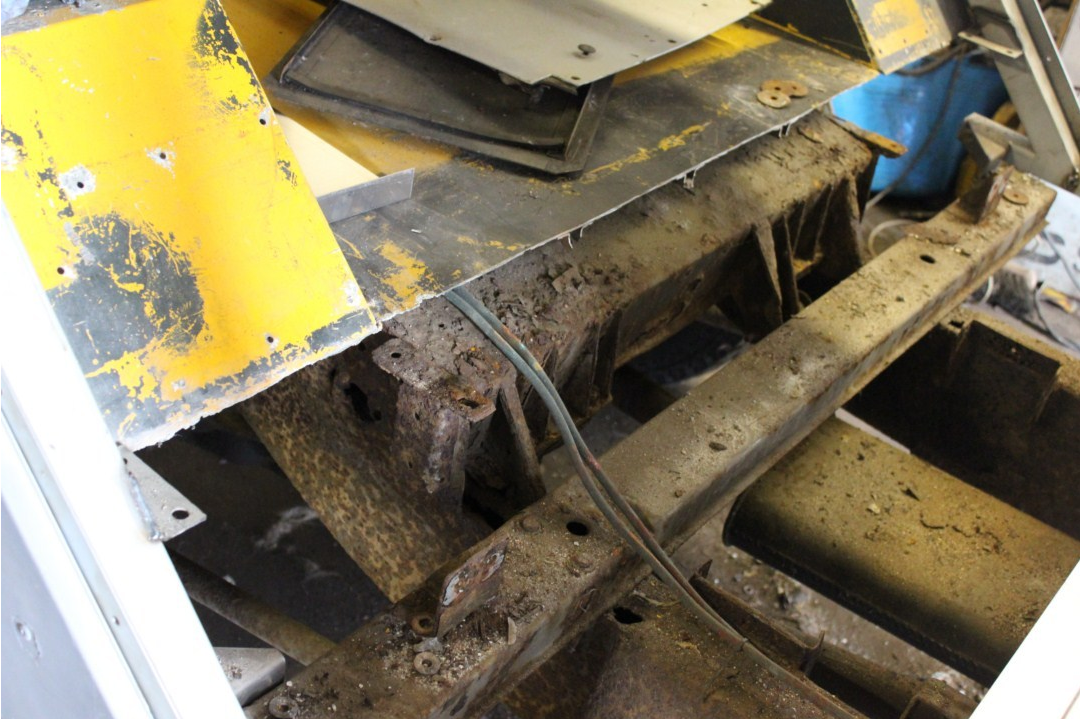
5 |
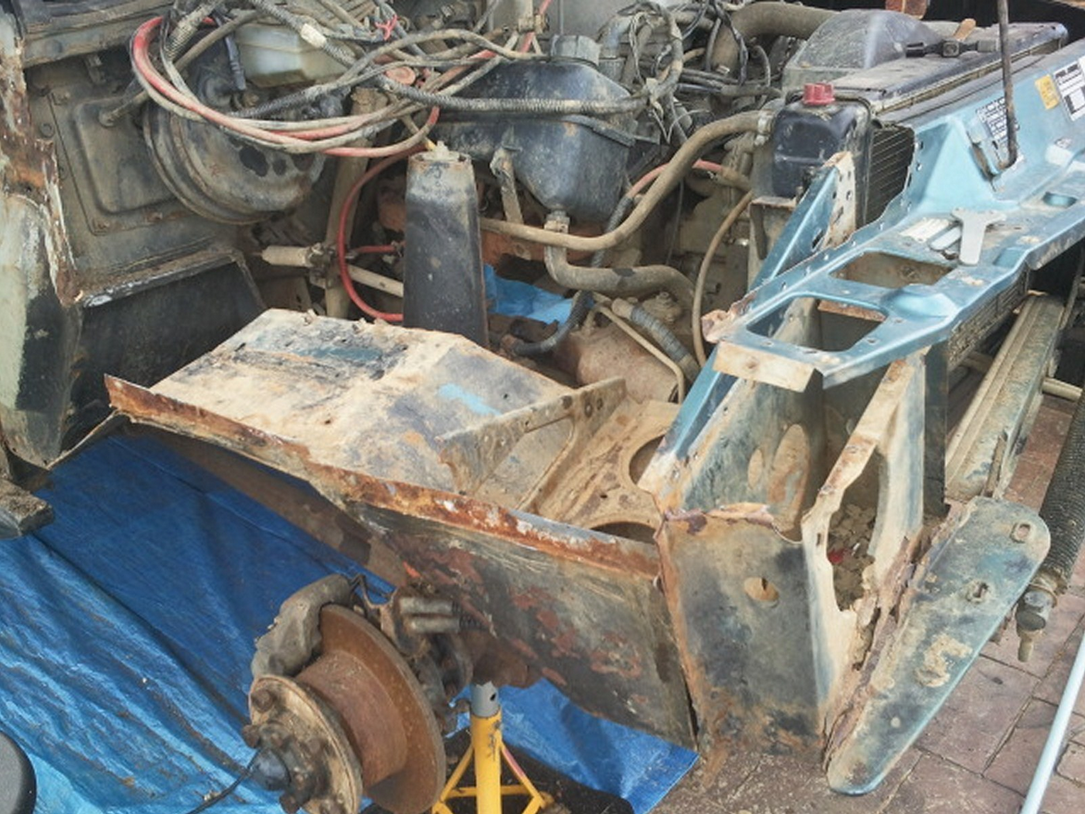
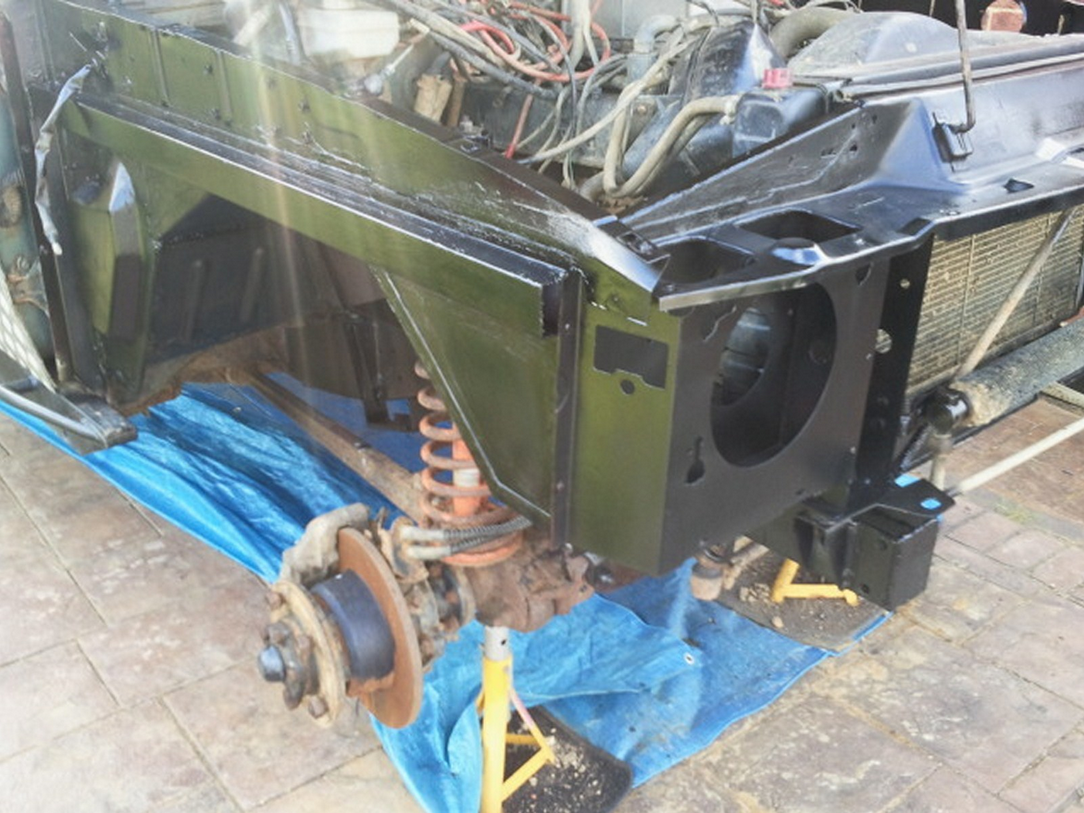
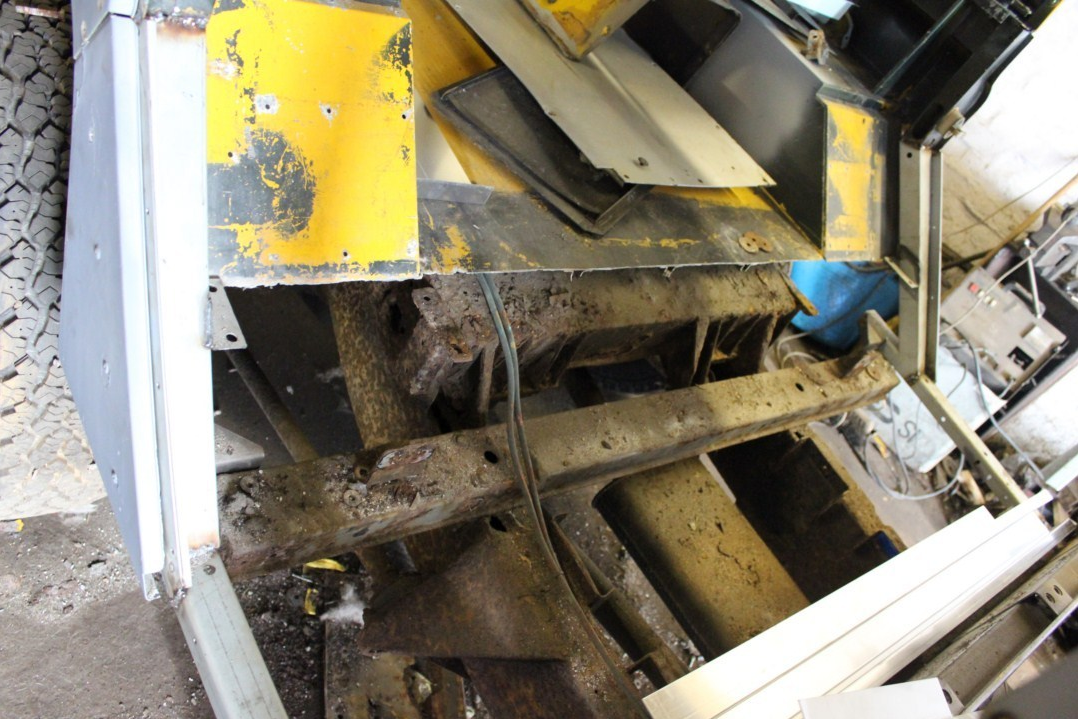
The inner wing and headlight unit removed by drilling out the spot welds. | 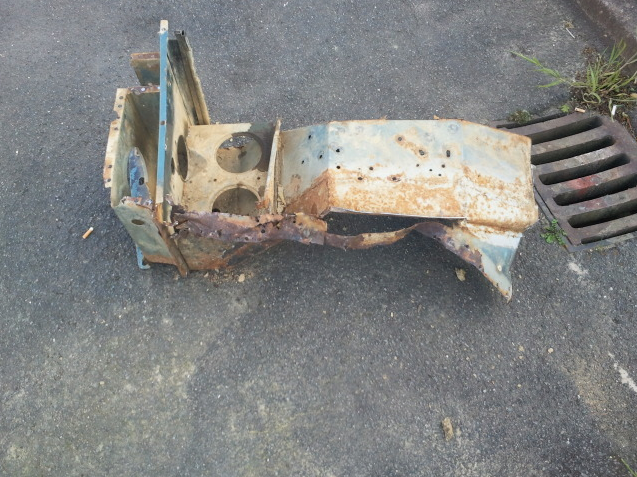 |
6 |
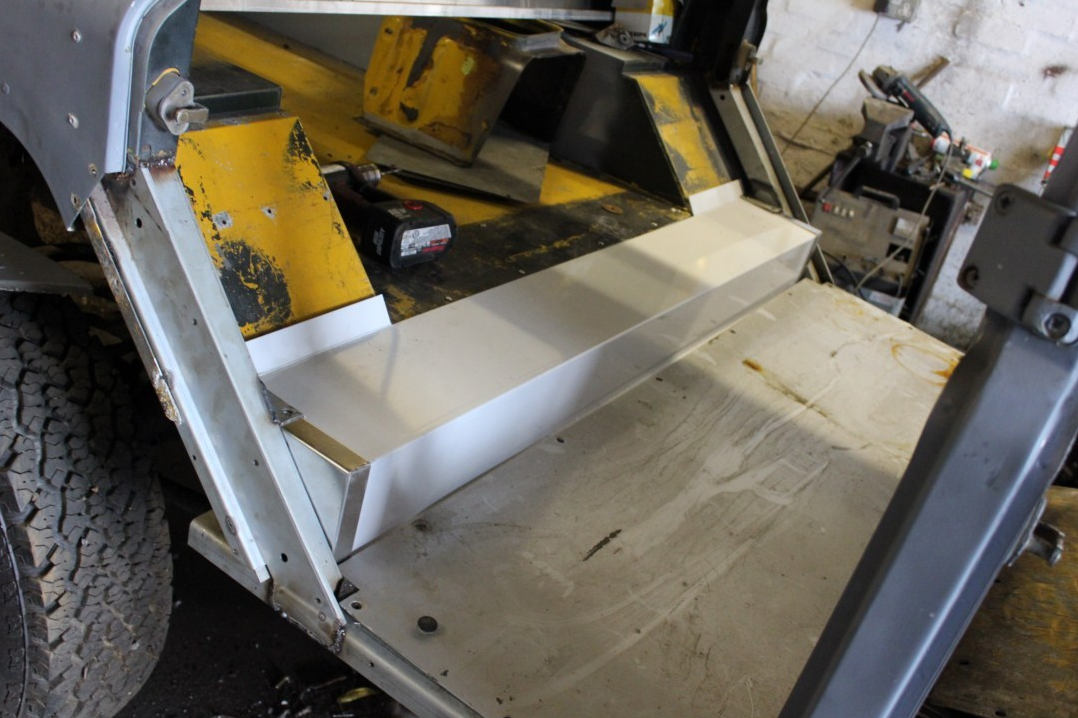
The bulkhead cleaned up ready to fit the new inner wing. | 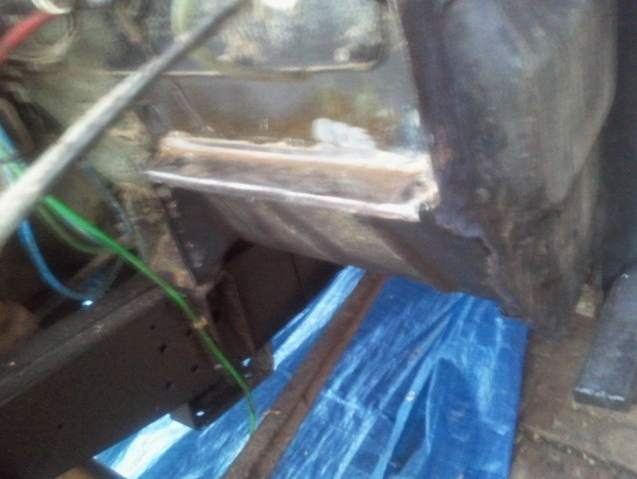 |
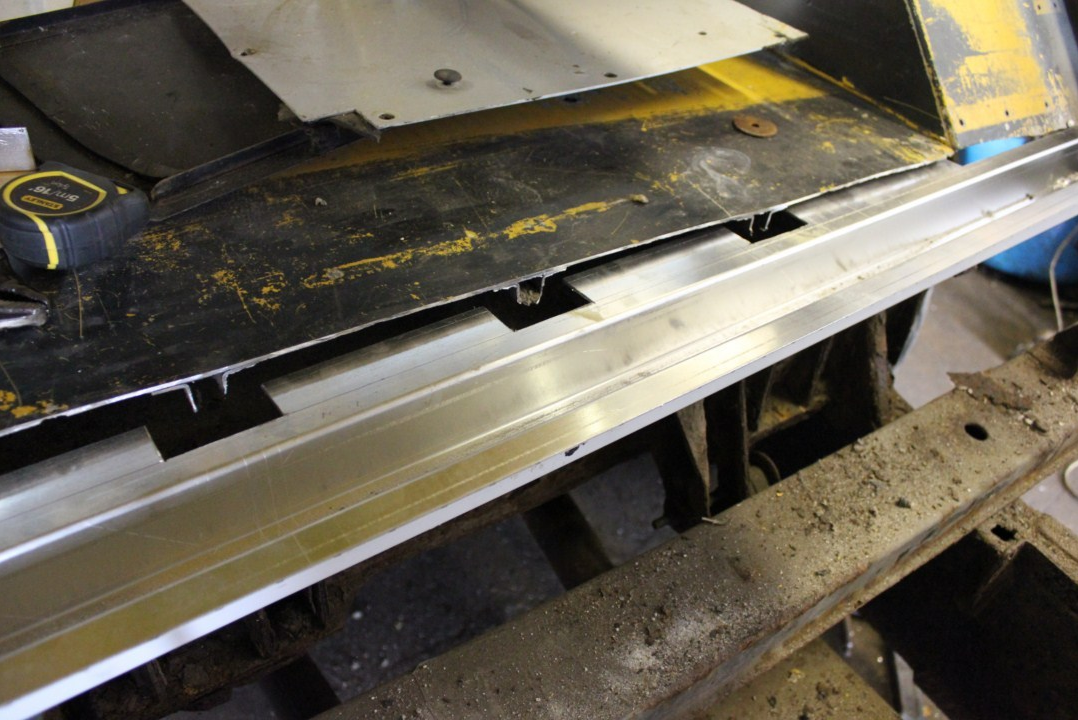
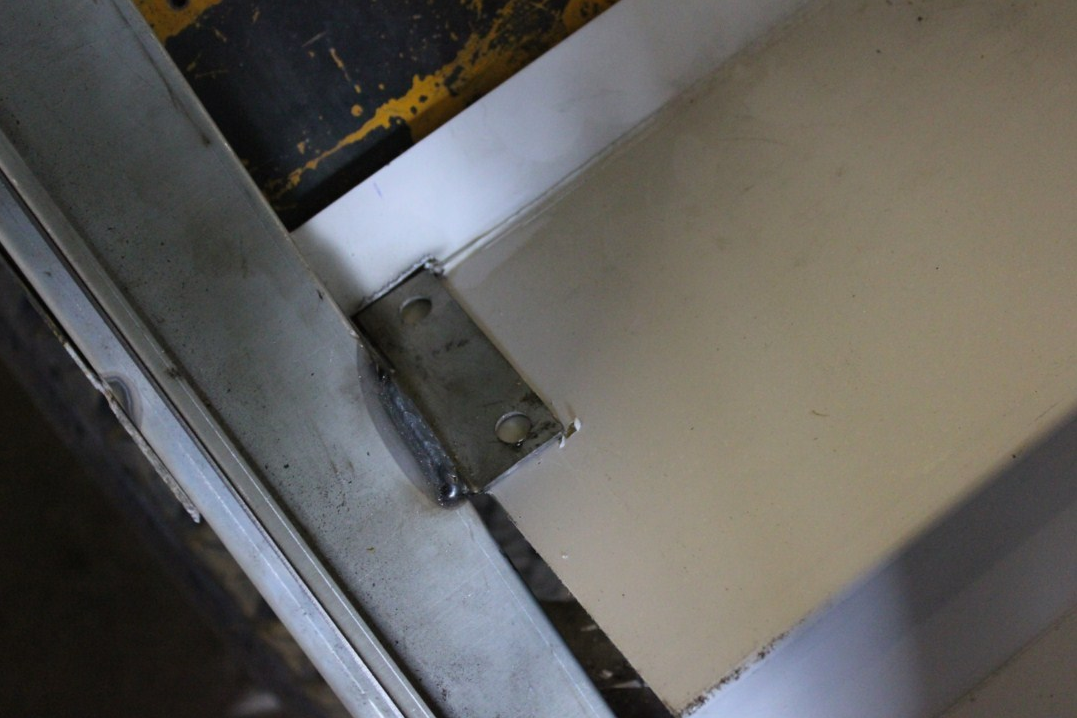
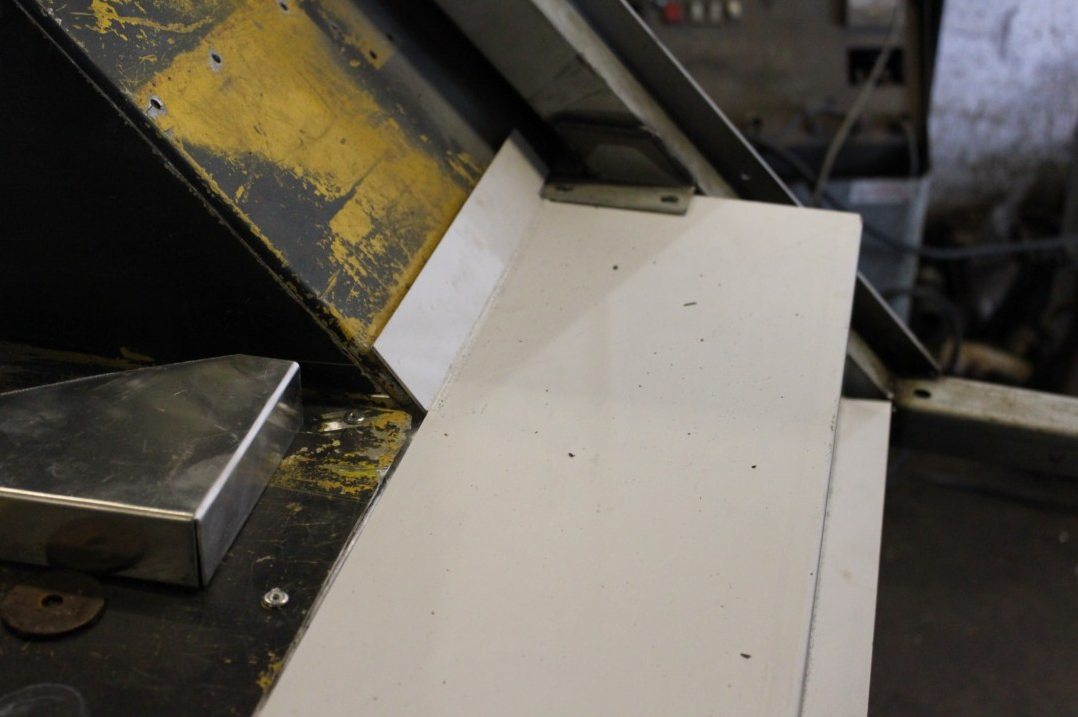
7 |
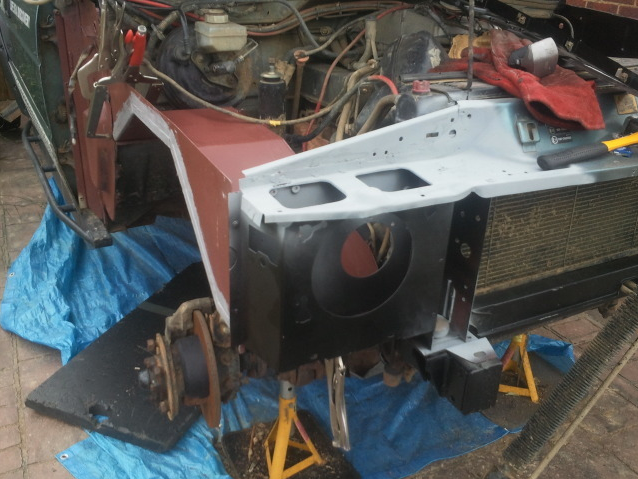
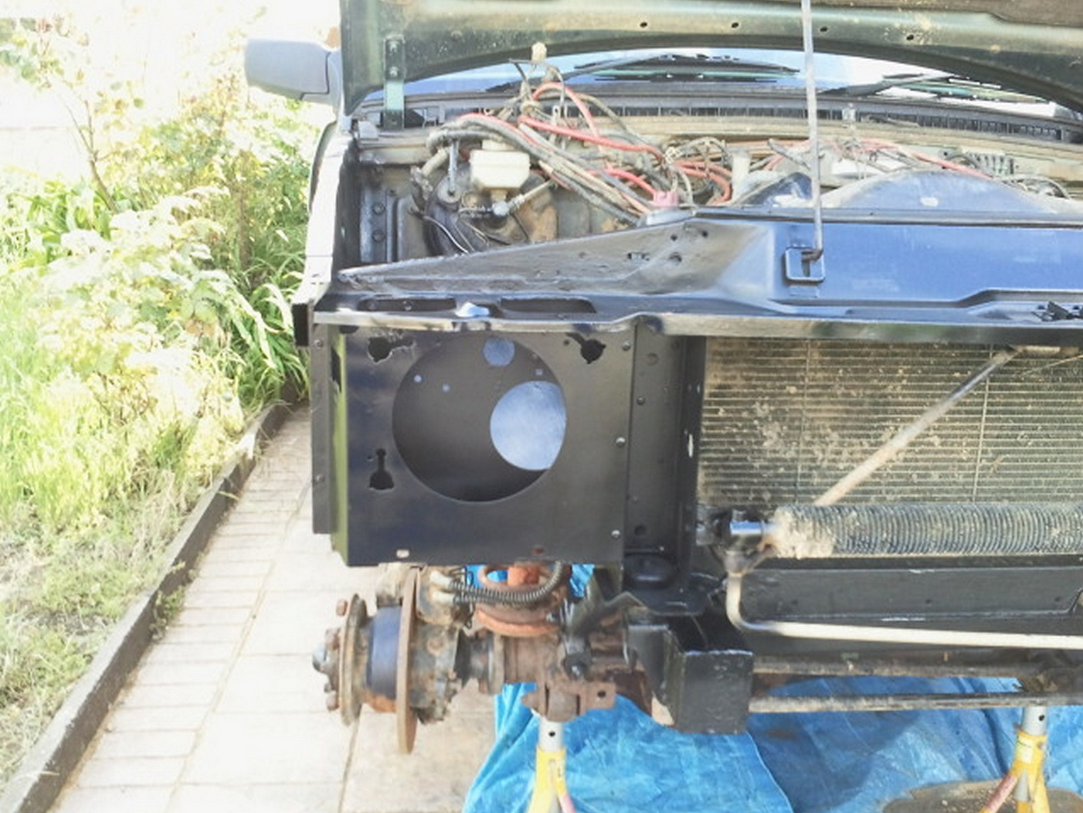
The headlight unit fitted, plug weld the previously drilled spot welds and refit the body mount. the primer will need to be ground off to weld the headlight in place then then primer will need reapplying before painting. | 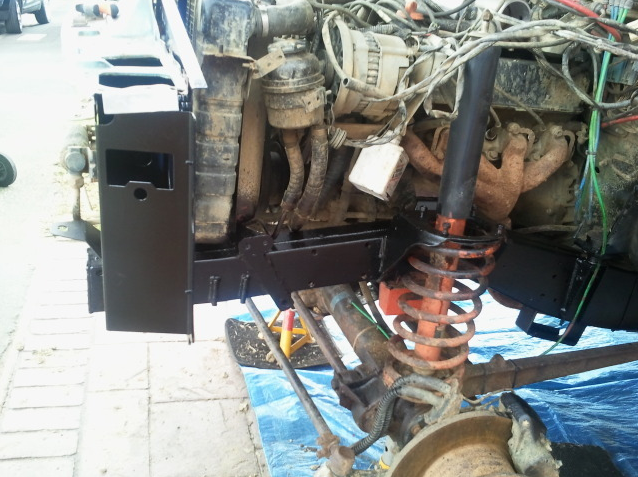 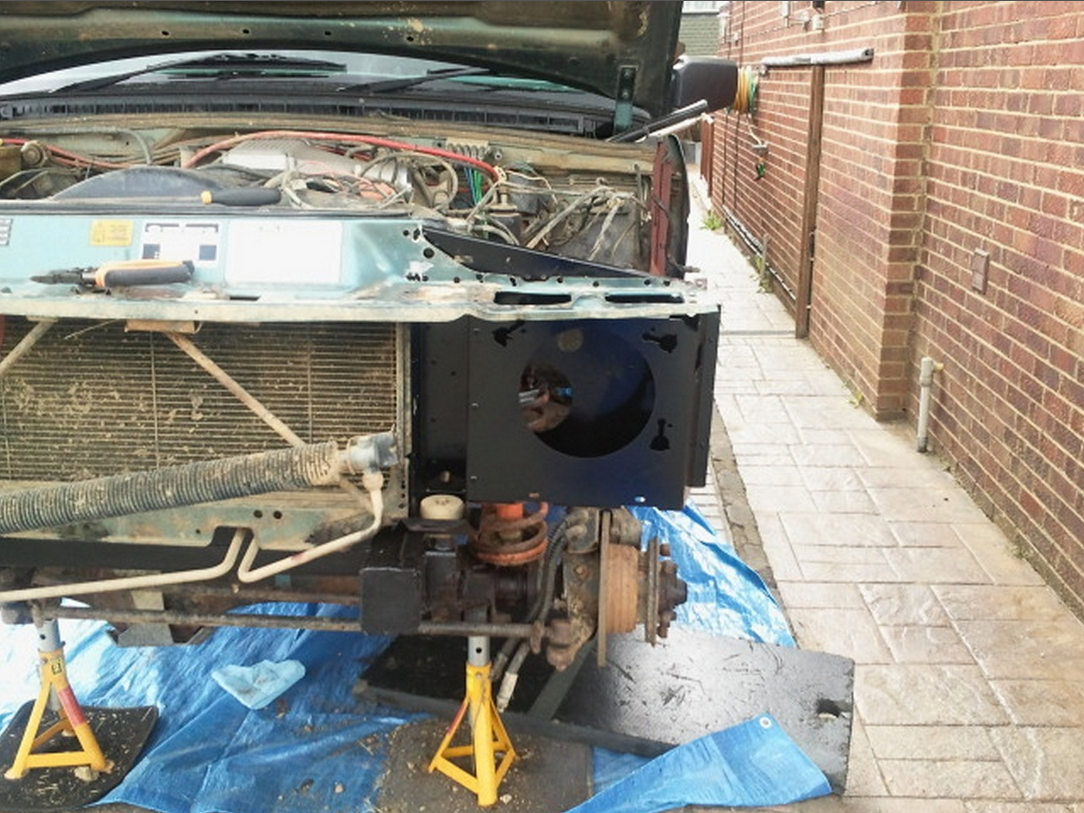 |
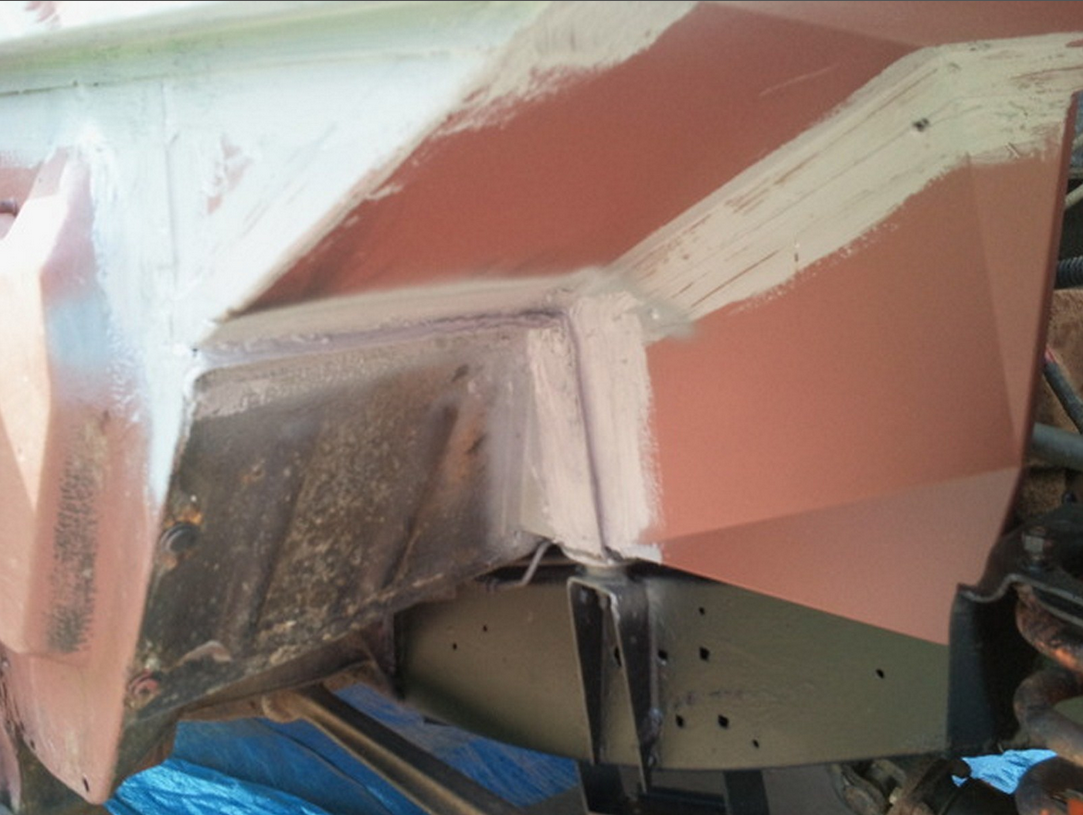
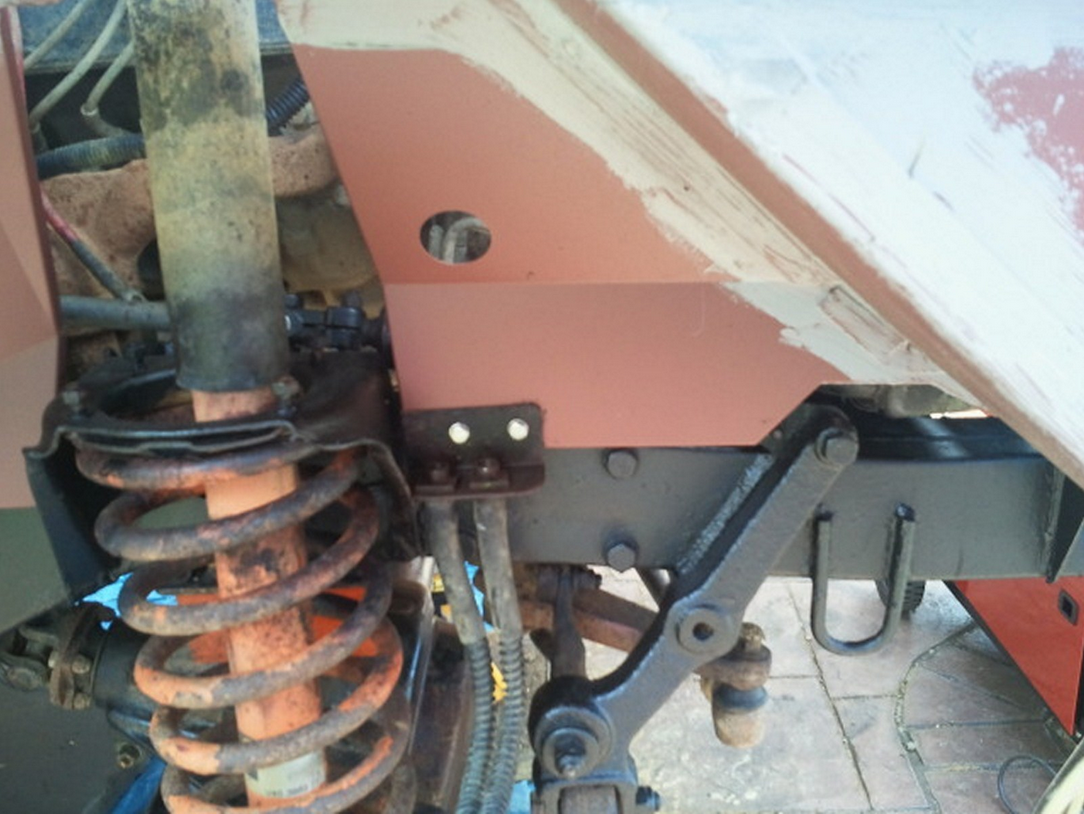
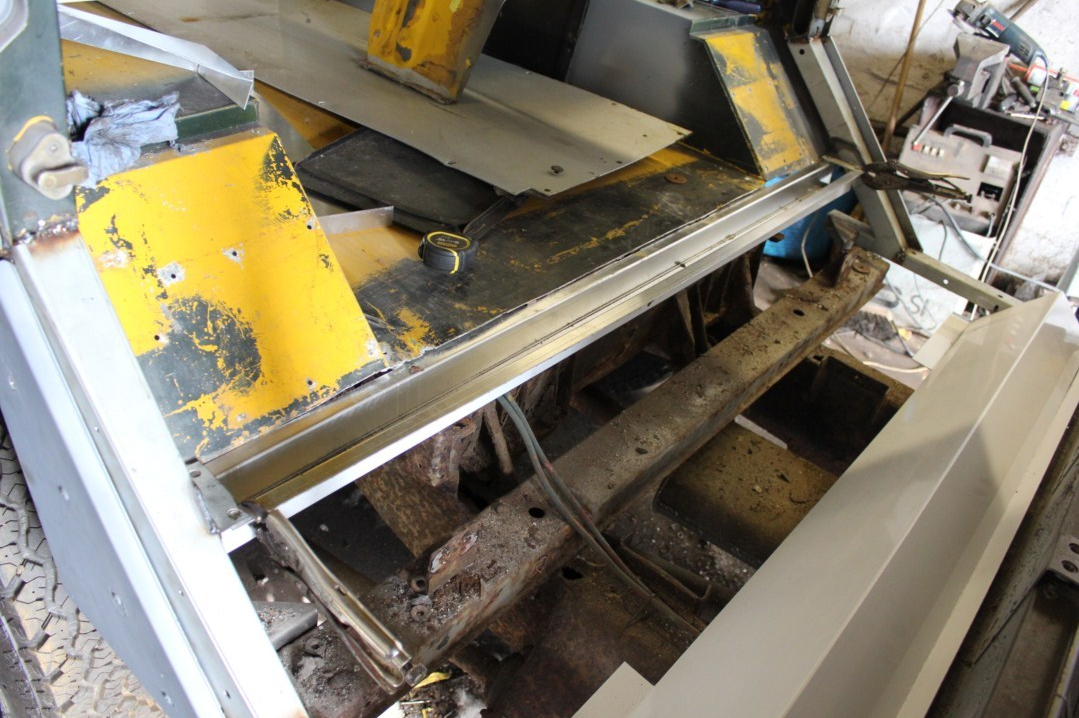
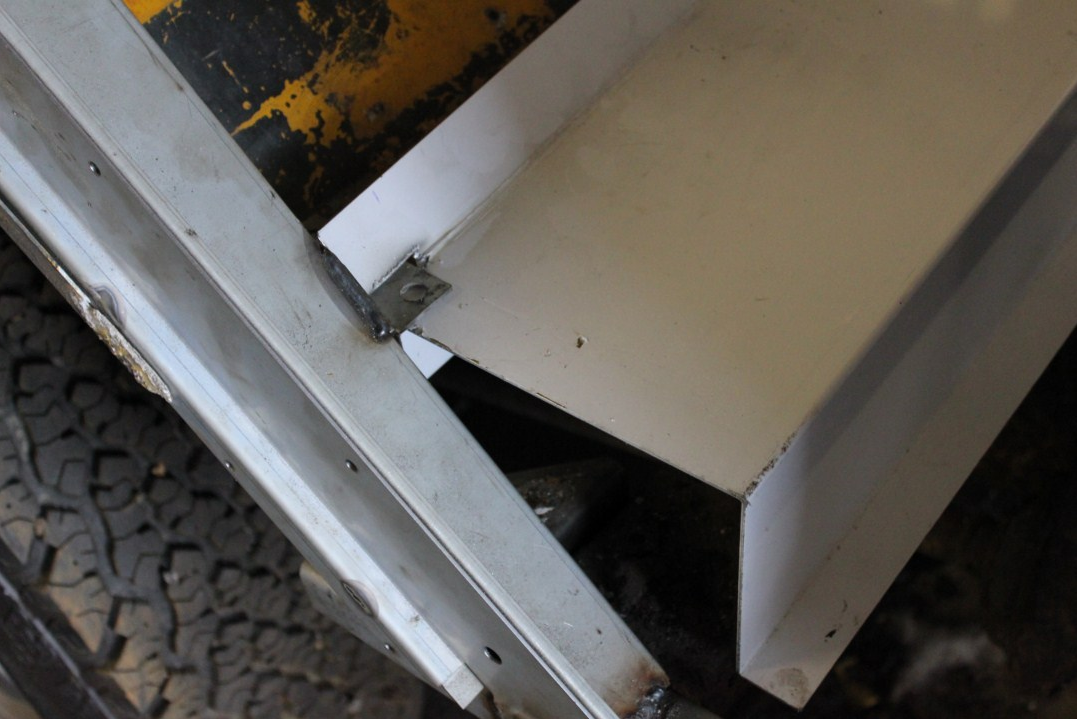
8 |
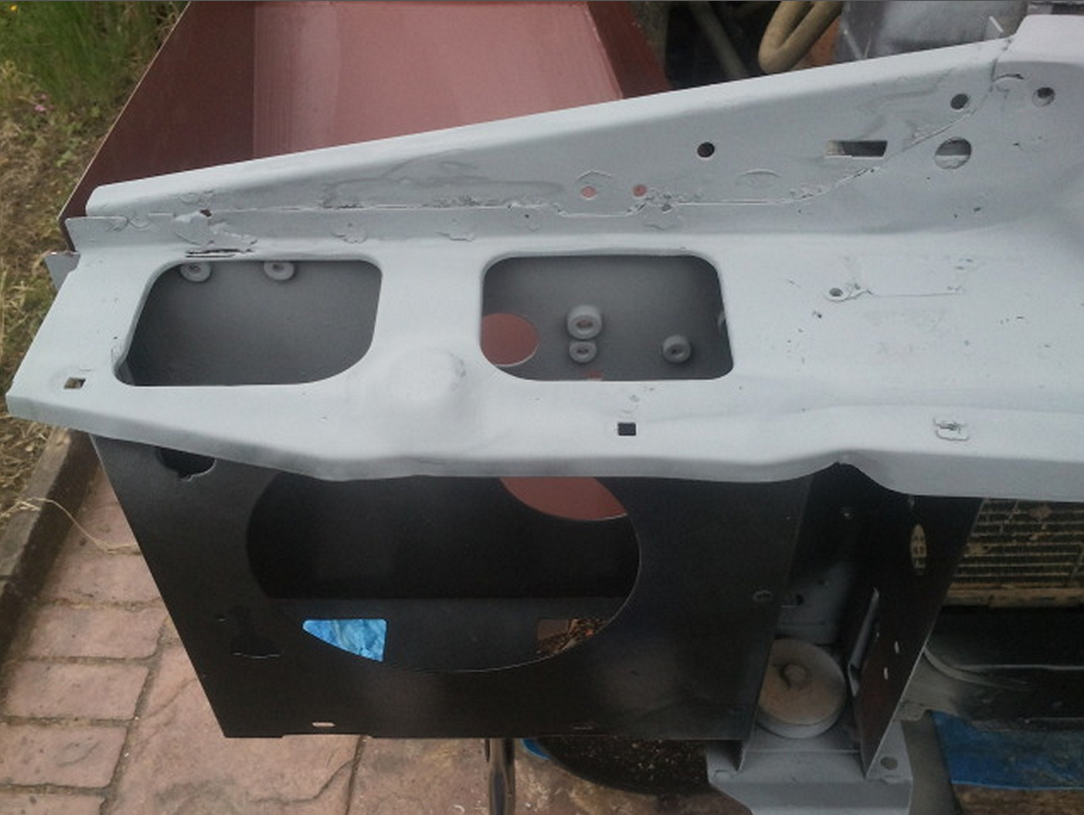
The inner wing clamped in ready to plug weld and fix in place, once the inner wing is welded in place the inner wing can be painted up ready for the body work to go back on. The process can be applied to the Right Hand Side. | 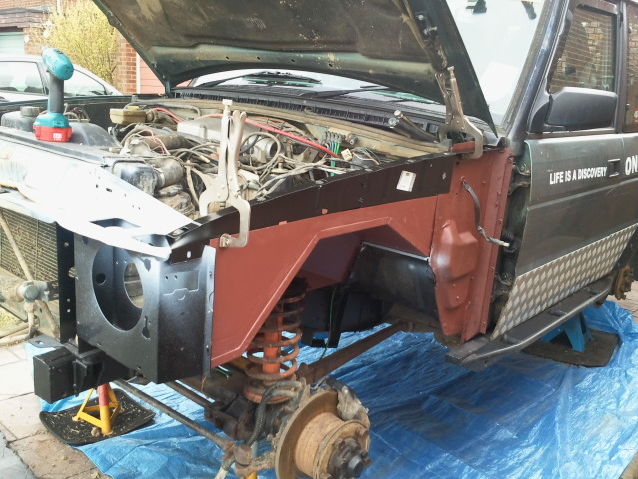 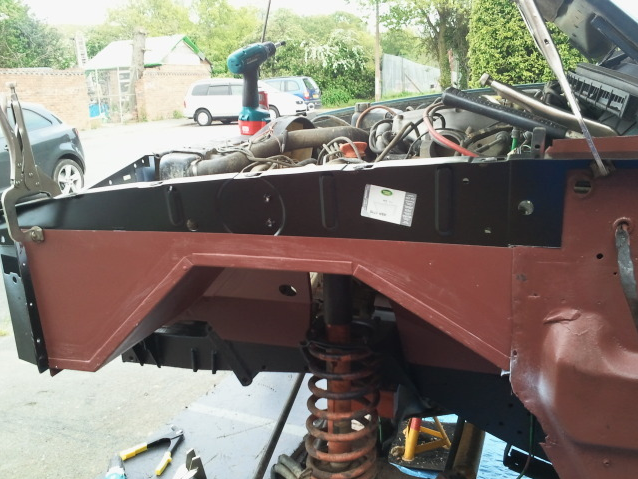 |
9 |
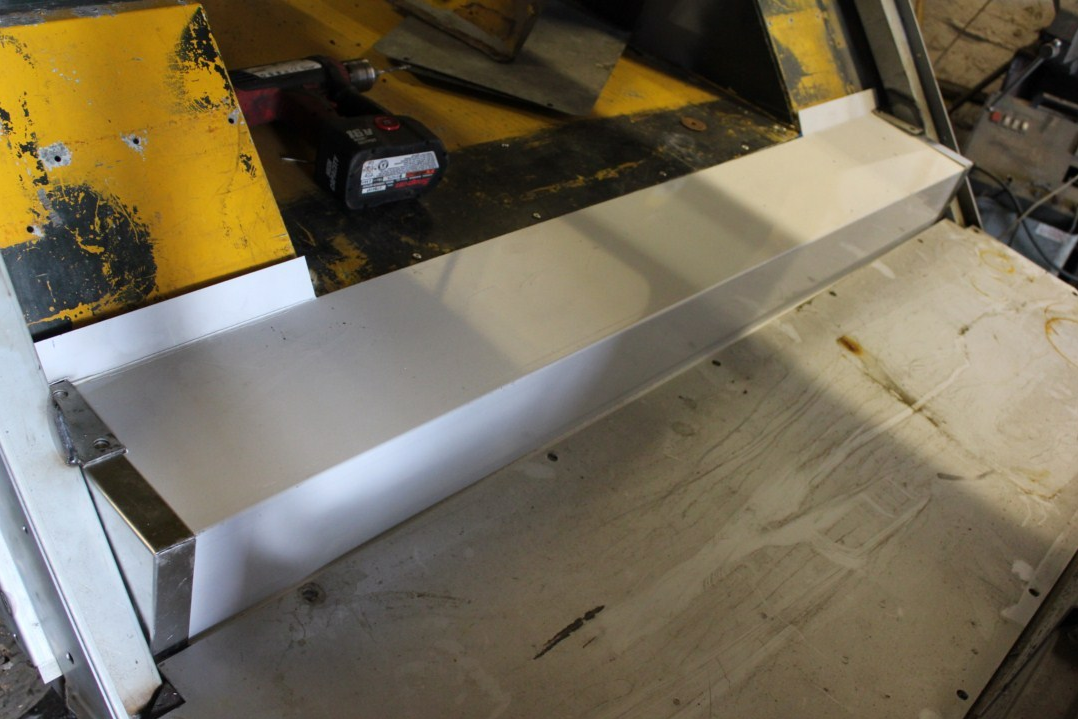
The inner wing all done (welded, seam sealed and sprayed)painted and complete ready refit the body work. |  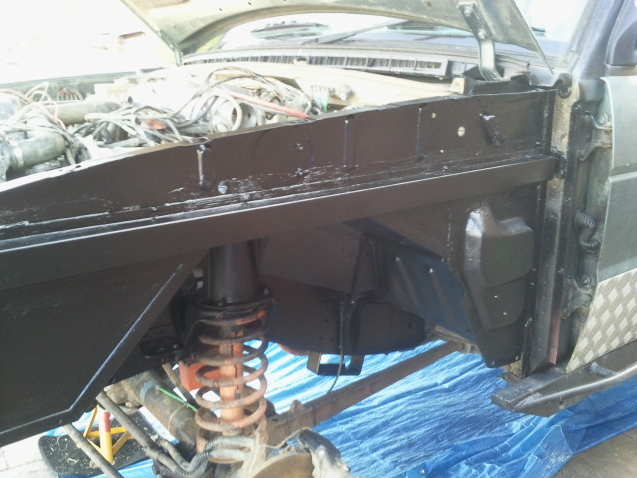 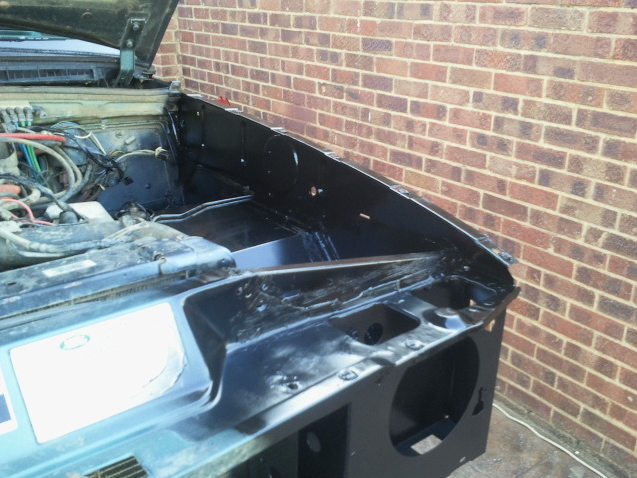  |
If you don’t need to replace the whole inner wing the same process can be applied by cutting out the rusted area back to clean metal then fit the required part.
This worked was carried out by Rob Purbrick