
Parts used
Buy the parts used in this workshop
Buy Parts
×


Tools used
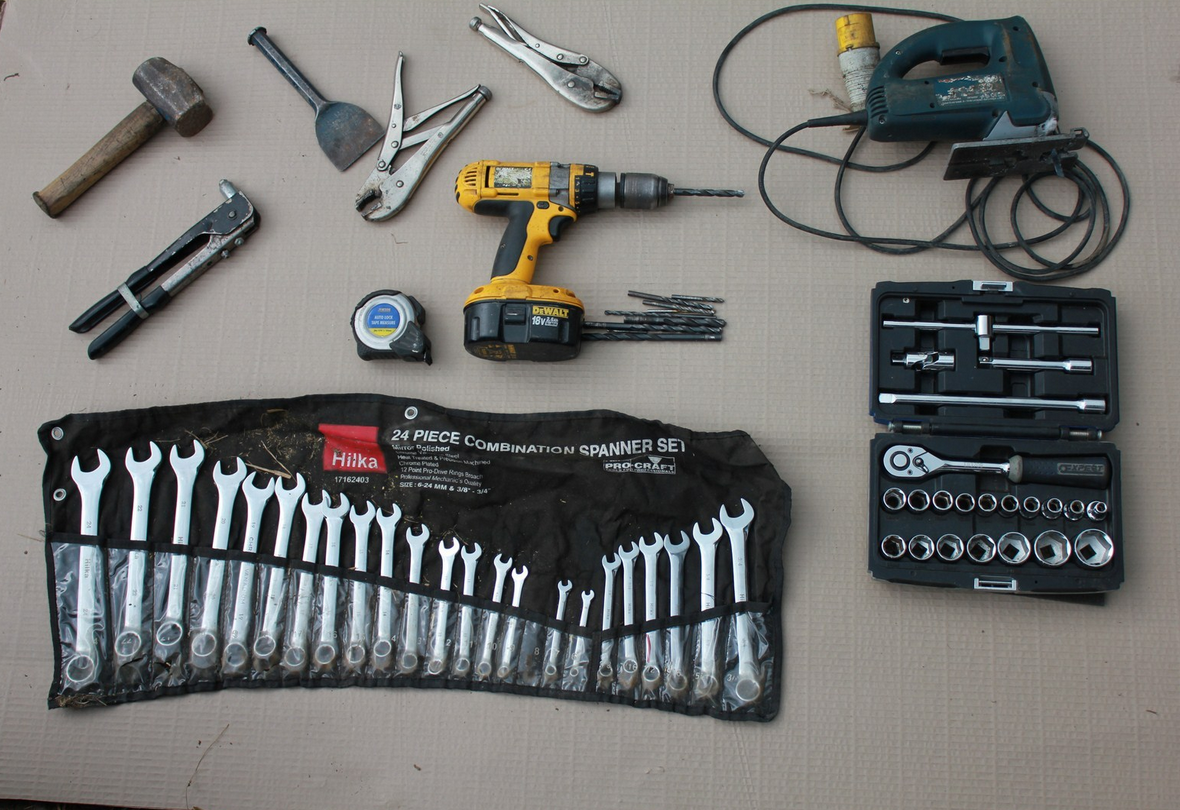 |
Selection of spanners and sockets set Riveter Drill and various drill bits Tape measure and Marker Bolster and Hammer Appropriate PPE, Goggles, Gloves, Boots |
Steps
1 |
Here we have all the new 2mm CNC pressed and cut aluminium metal work, folded and pre-drilled ready for construction. For transportation purpose it is supplied flat packed. |  |
2 |
The extent of the rot is clearly visible and certainly something beyond economical repair as all of the metal work would need replacing. | 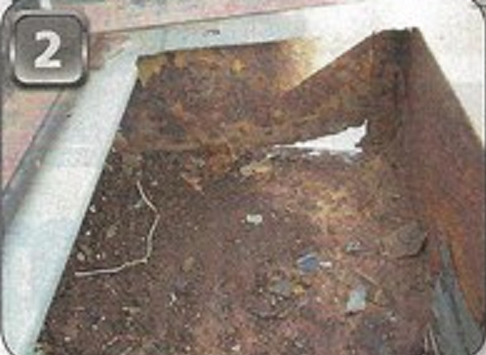 |
3 |
Here we have the usual rot spot on a Defender’s seat box, the end panel. These can be purchased separately if required and installed while the seat box is in situ. | 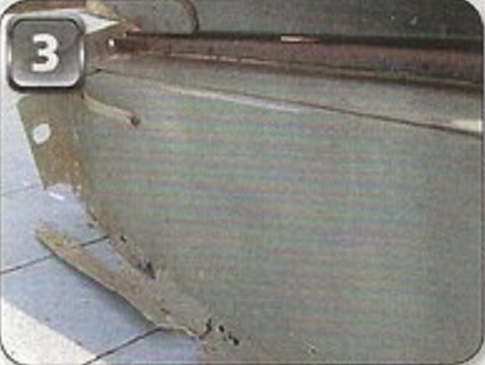 |
4 |
Finding a flat surface large enough to work on and at perfect height is always a bonus. It’s time to start dismantling. Basically, the original frame is held together by a number of rivets and spot welds. Rivets can be purchased and you will require a 4.9mm diameter drill bit. |  |
5 |
The most difficult part was locating the almost hidden spot welds running down the front of the seat box. As the last one was drilled out, the was a reassuring clang as the battery box and toolbox dropped off. |  |
6 |
Both of these can now find their way to the scrap pile. | 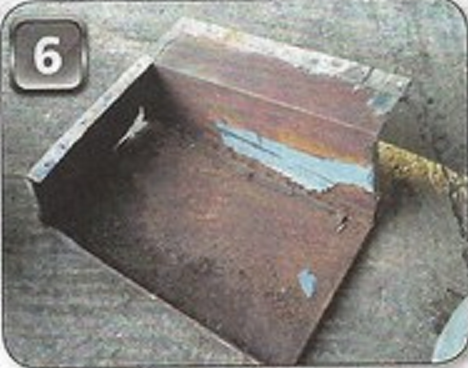 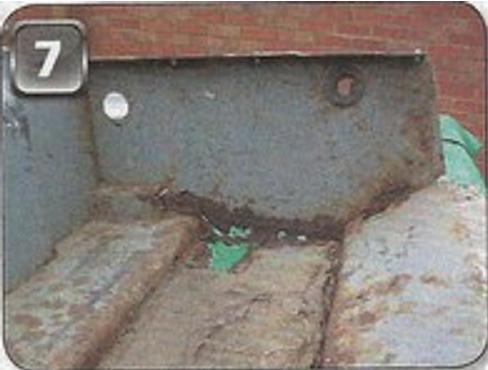 |
7 |
Making a start with the battery box, Ronnie advised me to make up the boxes separately before securing them to the original frame. That way he said, everything stays rigid and I would be able to get a better fit. Making these boxes up really was a straight forward task. Ronnie had marked up each separate panel corresponding numbers. | 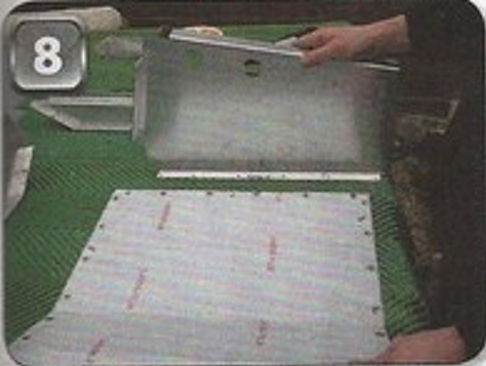 |
8 |
One completed battery box with only the protective film to remove to reveal the perfect aluminium. | 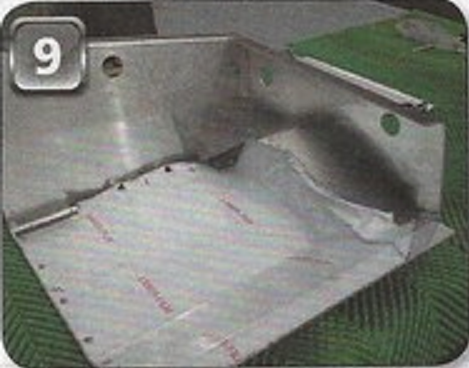 |
9 |
Lining everything up underneath the frame couldn’t have been simpler. I found it remarkable that a 29 year old seat box frame lined up exactly with the new panels supplied by YRM. | 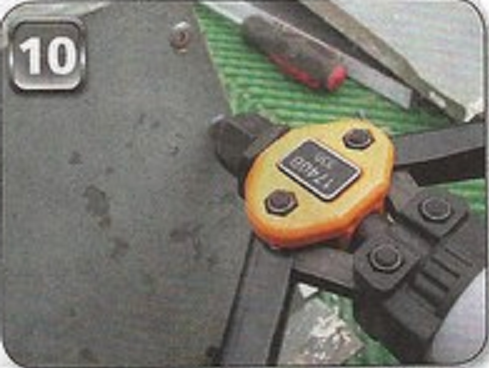 |
10 |
Riveting the boxes into place first told me exactly where to drill through from the top. Once drilled, these were then secured with more rivets. | 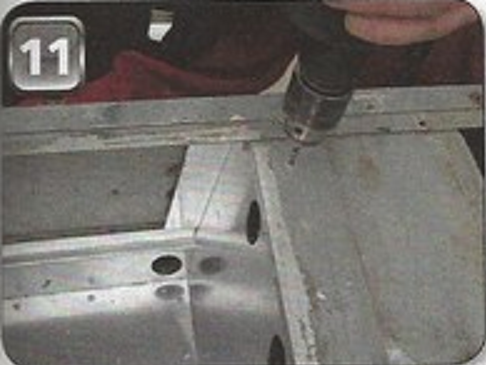 |
11 |
A slight bit of trimming was required on the toolbox. As I have an early model, the edge of the toolbox, positioned under the driver’s seat fowls the hand brake mechanism. Ronnie was aware of this and he can supply two sixes of toolbox. As I opted for the larger one, this was a small modification I would need to make. | 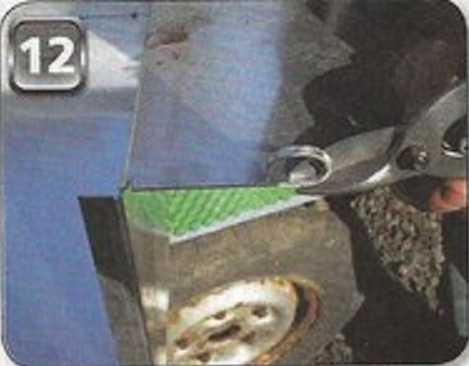 |
12 |
The underside of the completed seat box. Unrecognisable from the rusty original. | 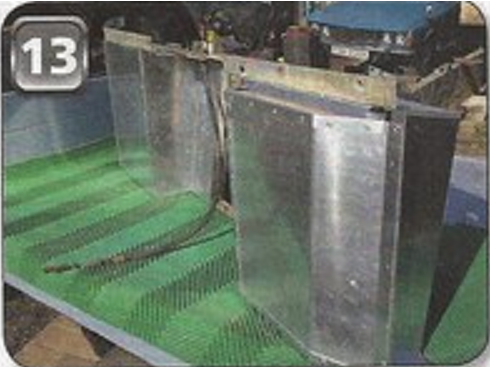 |
13 |
That is the beauty of Land Rover, you can have a new chassis, bulkhead, replace the rear tub and recondition you seat box and yet all of these marry up like they have always been there. | 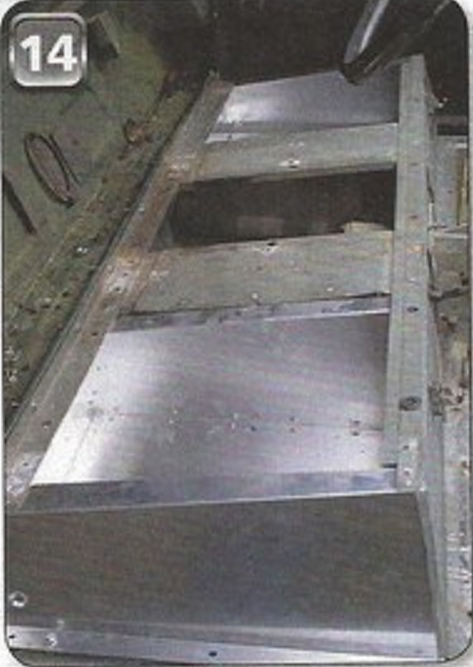 |
Note, when fitting toolbox back apply PVC tape where any dissimilar metals touch i.e. aluminium comes into contact with mild steel to prevent electro static reaction.
This worked was carried out by Steve Miller from LRM and can be found in edition May 2012.