
Parts used
Buy the parts used in this workshop
Buy Parts
×


Tools used
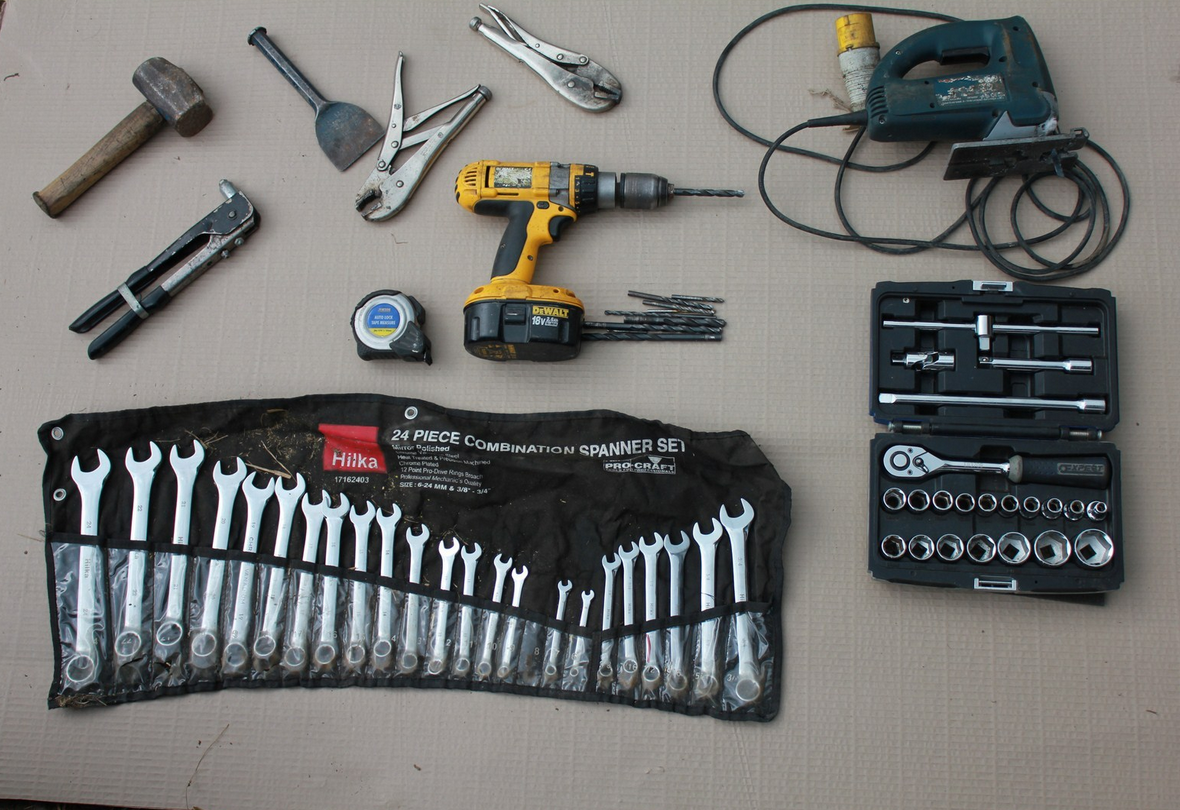 |
Selection of spanners and sockets set Riveter Drill and various drill bits Tape measure and Marker Hammer and bolster chisel Appropriate PPE, Goggles, Gloves, Boots |
Steps
1 |
The rear tub prior to any work commencing. |  |
2 |
The spot have located by using a wire brush and removing the paint then the rivets around the perimeter, if you are not bothered about keeping the floor they can be cut out using grinder or if you’re keeping it centre pop rivets and drill out. | 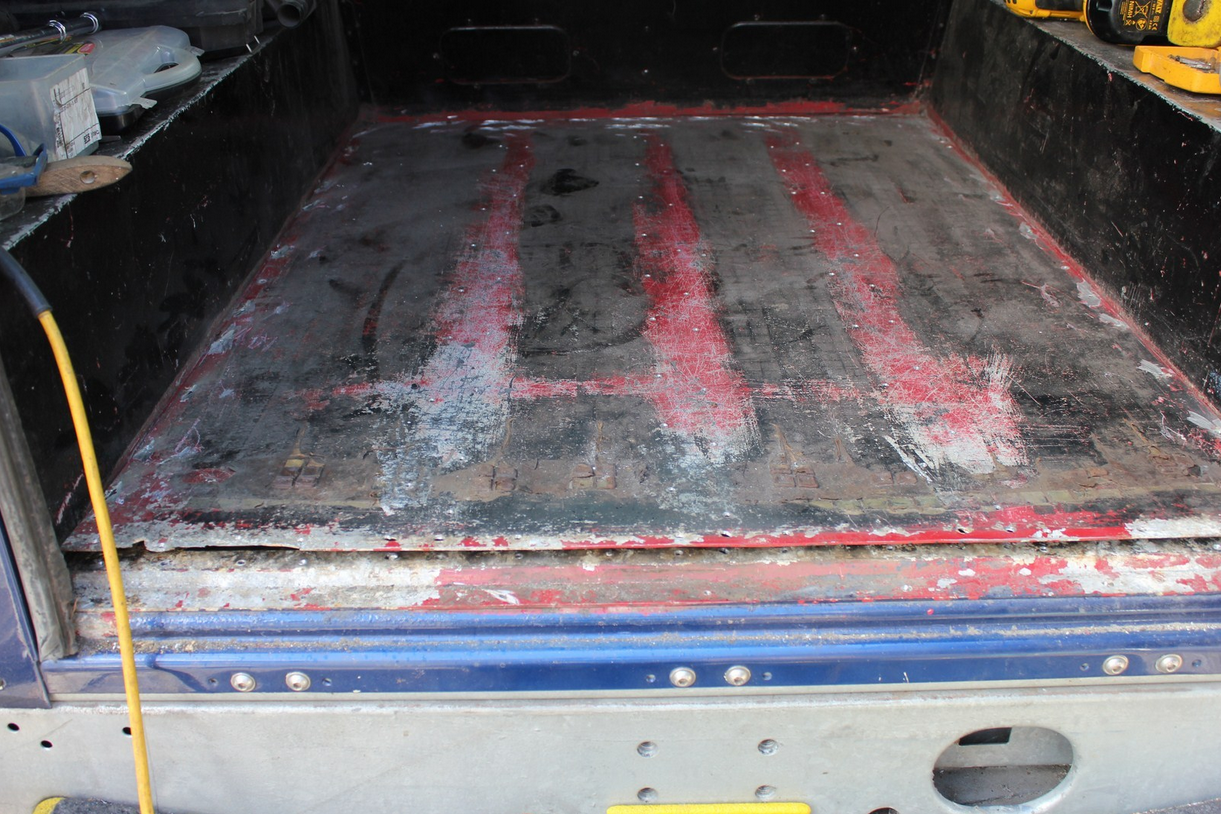 |
3 |
The top hat has corroded through and wasn’t even fixed down. | 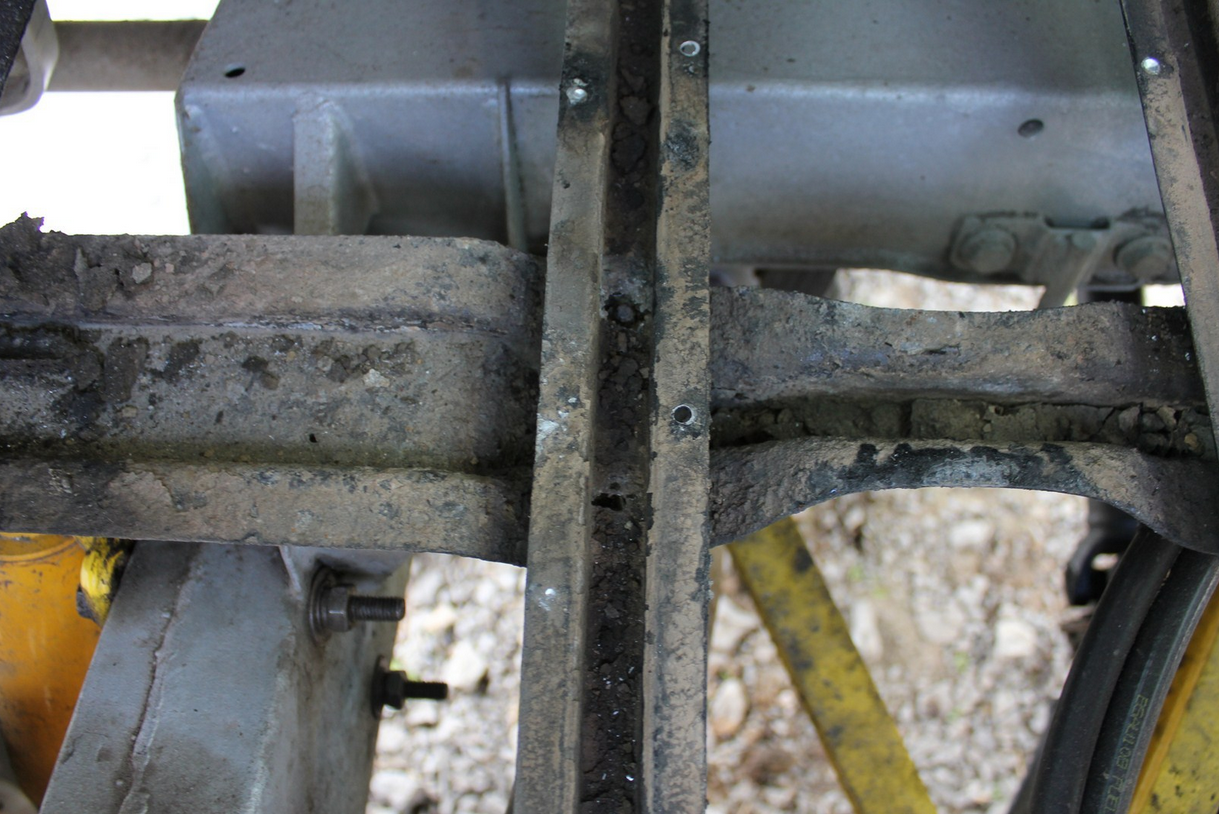 |
4 |
The floor has been removed and you can get a better assessment of what needs replacing | 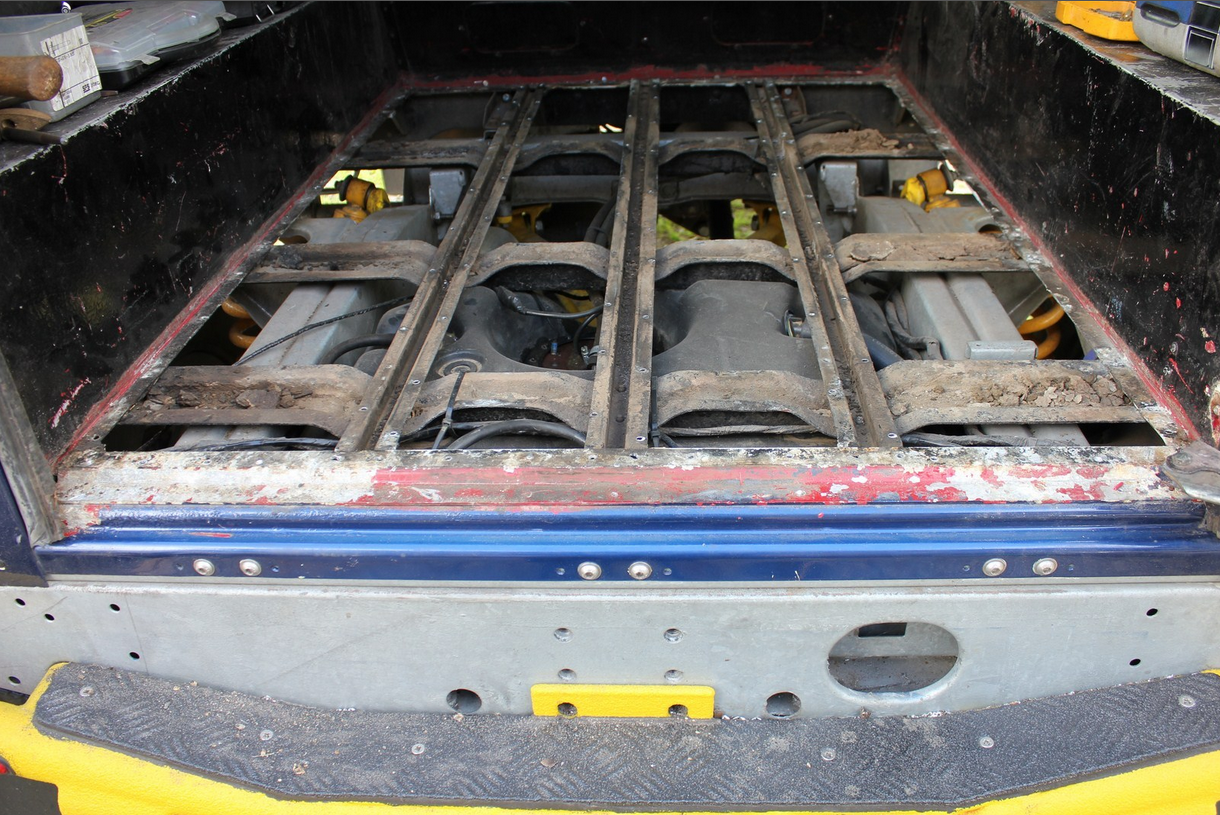 |
5 |
The top hats and under floor supports have been removed by drilling out rivets and were they were attached to under floor supports to avoid drilling tank I used a bolster chisel. The rear floor support can also be removed by drilling out spot welds take plenty of measurements here so it goes back in the same place. |  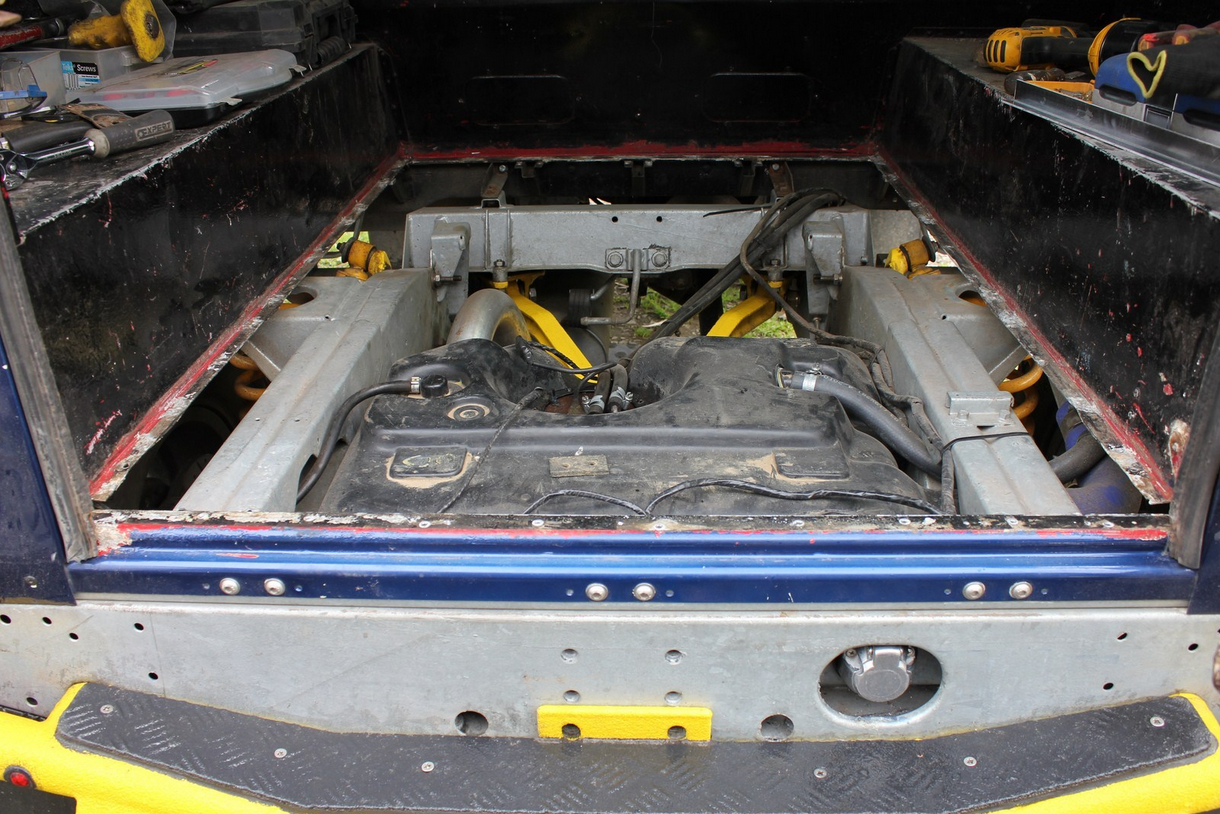 |
6 |
The under floor supports have been placed in position loosely and have had PVC tape put on ends to act as a barrier between the mild steel under floor support and aluminium wings to prevent electro static reaction. Then I used a straight edge to line the holes up to make it easier for fitting the top hats. | 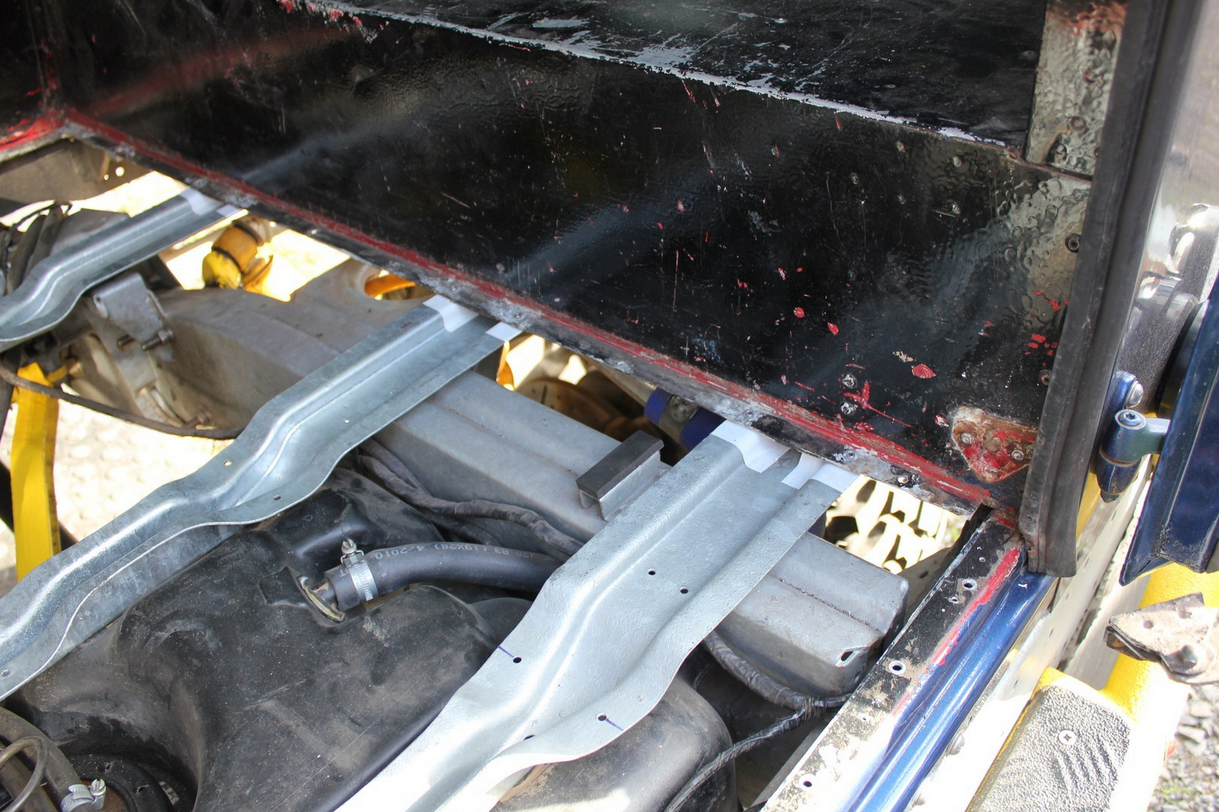 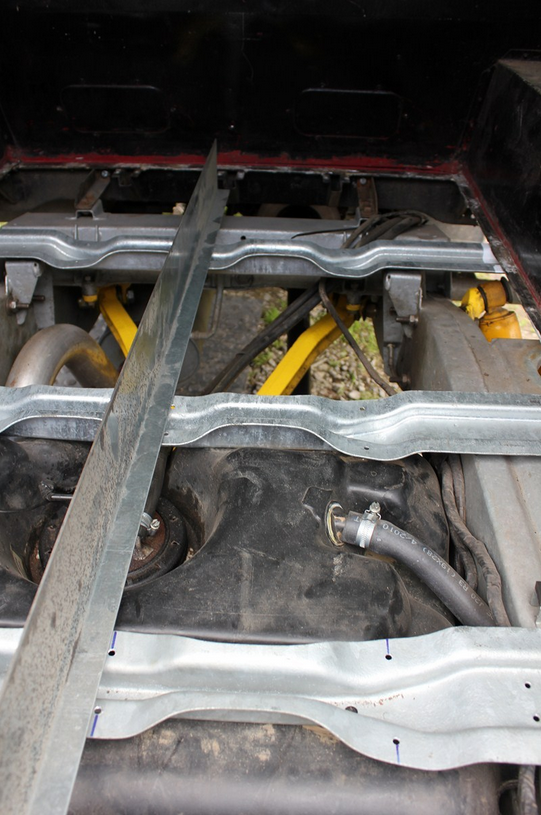 |
7 |
The top hat have been loosely put in place along with the rear floor support to be marked up for the rivets ensuring you don’t clash with door thresh fixing or previous holes, if you are fitting top hat to a series SWB they will need cutting down in lenght. | 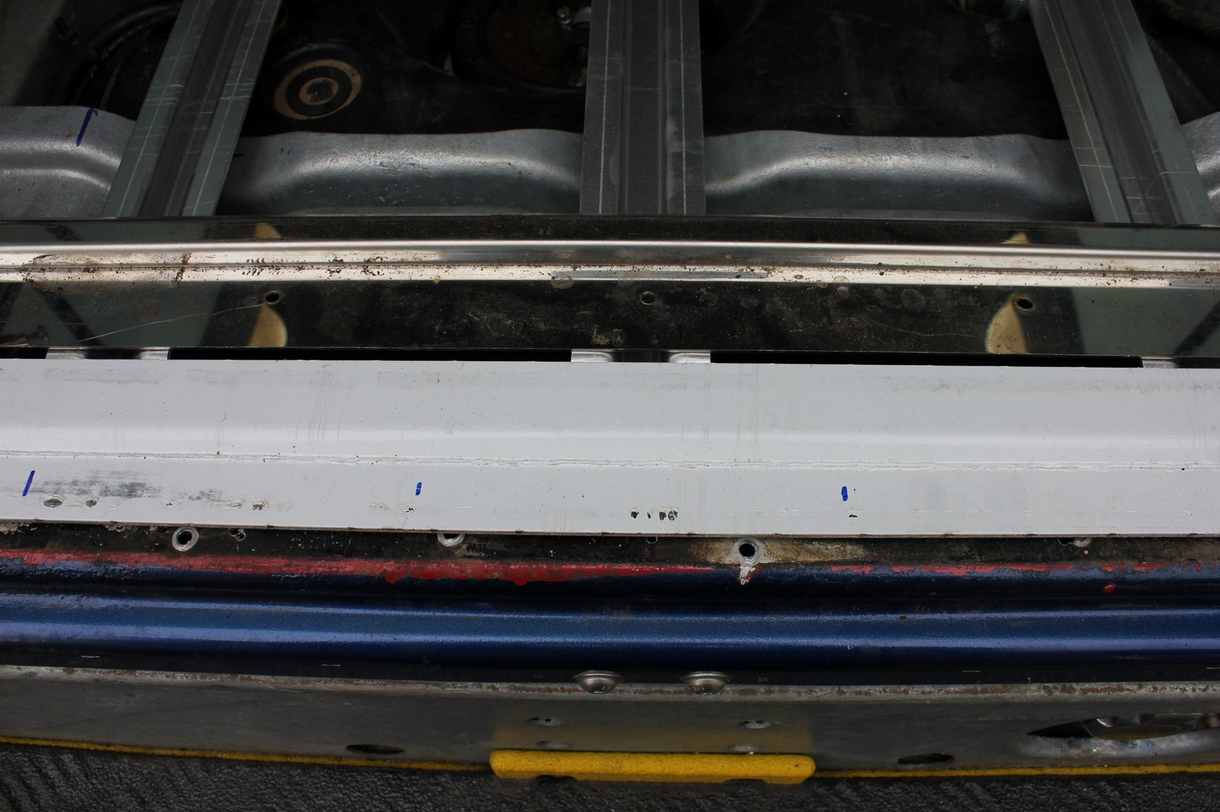 |
8 |
The rear floor support has been pre-drilled, and then offered into place ensuring it goes back in previous position. Then riveting back in place ensuring you don’t use mild steel rivets otherwise you’ll get electro static reaction. | 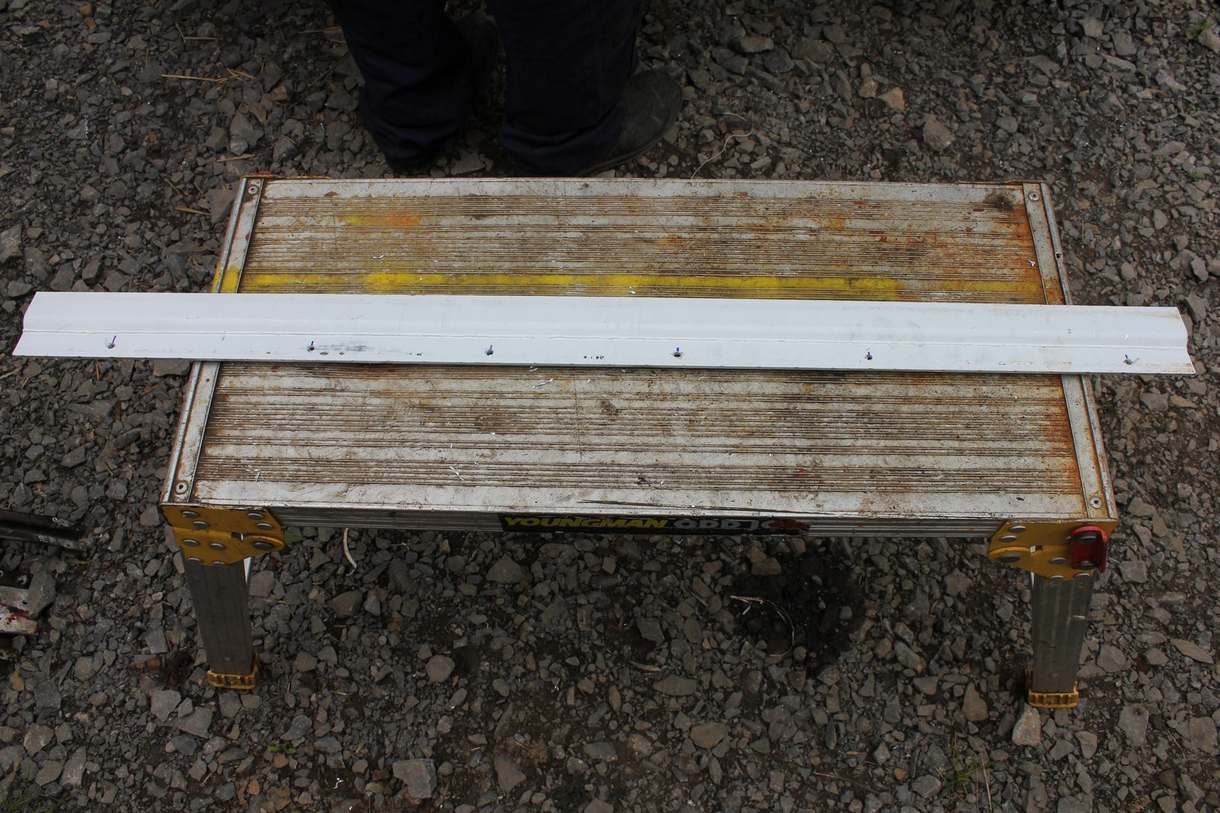 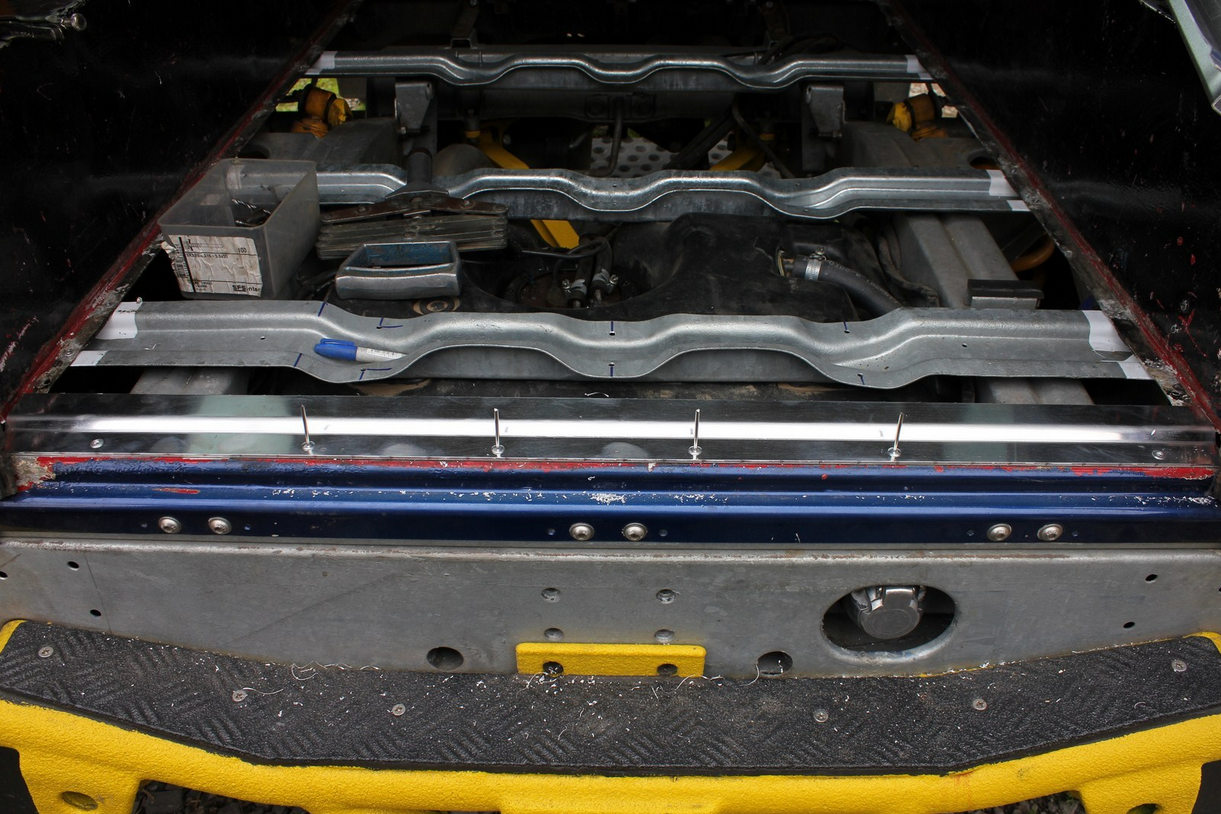 |
9 |
Offer the top hat in place with the joggle to the rear door and mark were the top comes into contact with the under floor supports and then mark up the other 2 and apply PVC tape to prevent electro static reaction. | 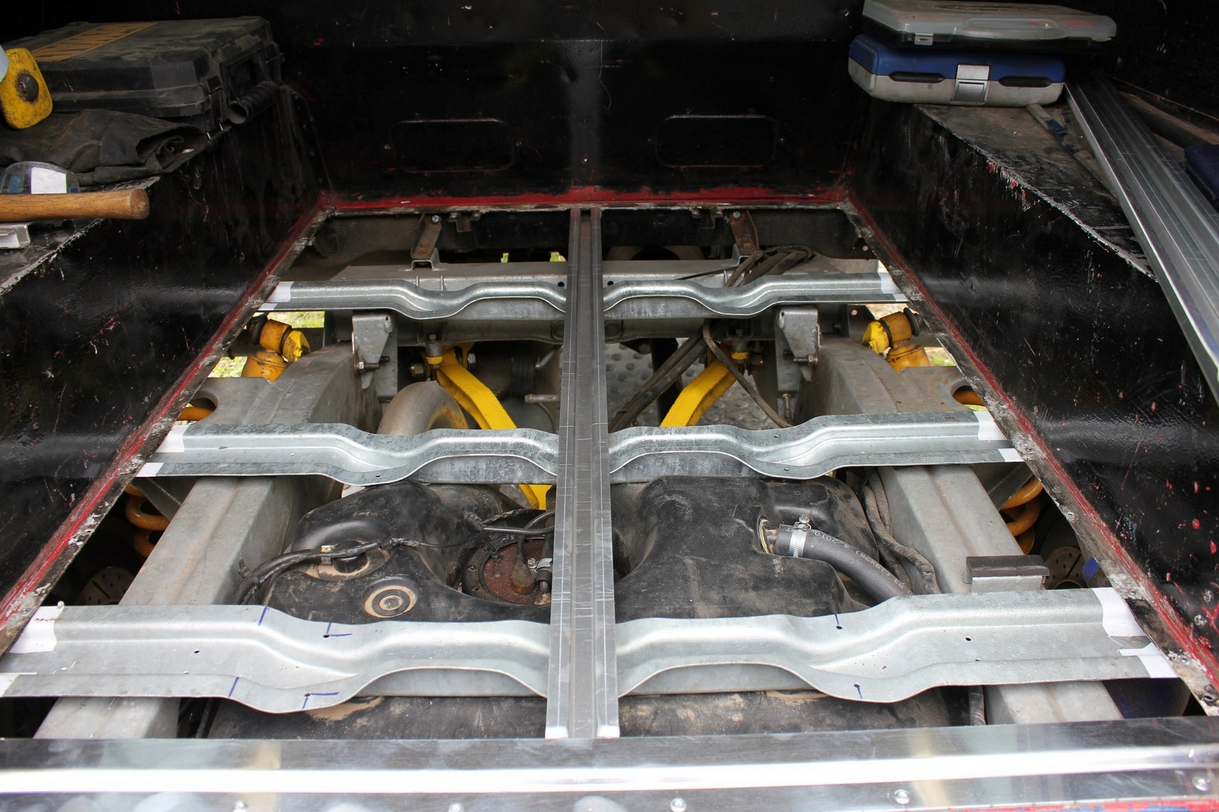  |
10 |
Offer in the top hat and match drill with the under floor support, if you don’t have your tank in the back then you can match drill from the underside. If your tank is in the rear put a piece of plate under the under floor support to prevent drilling through your tank, and then fit all 3. | 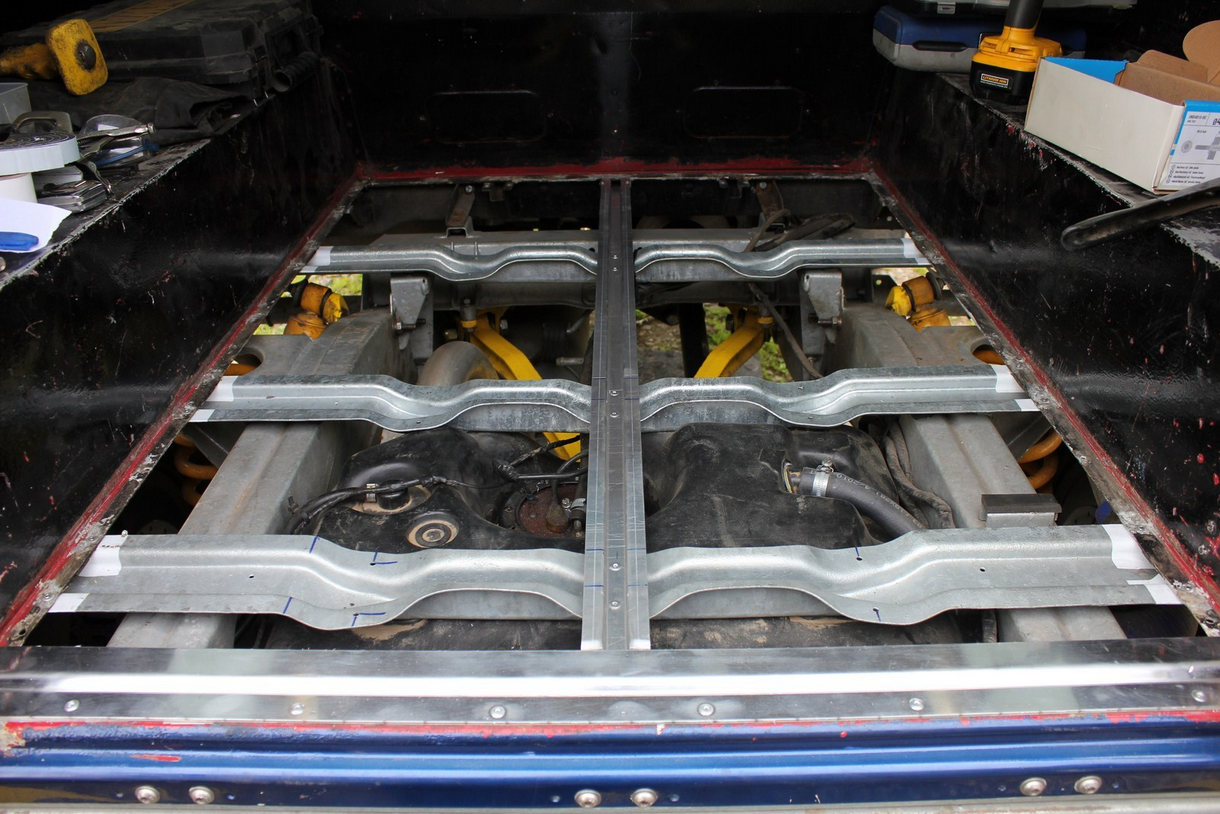 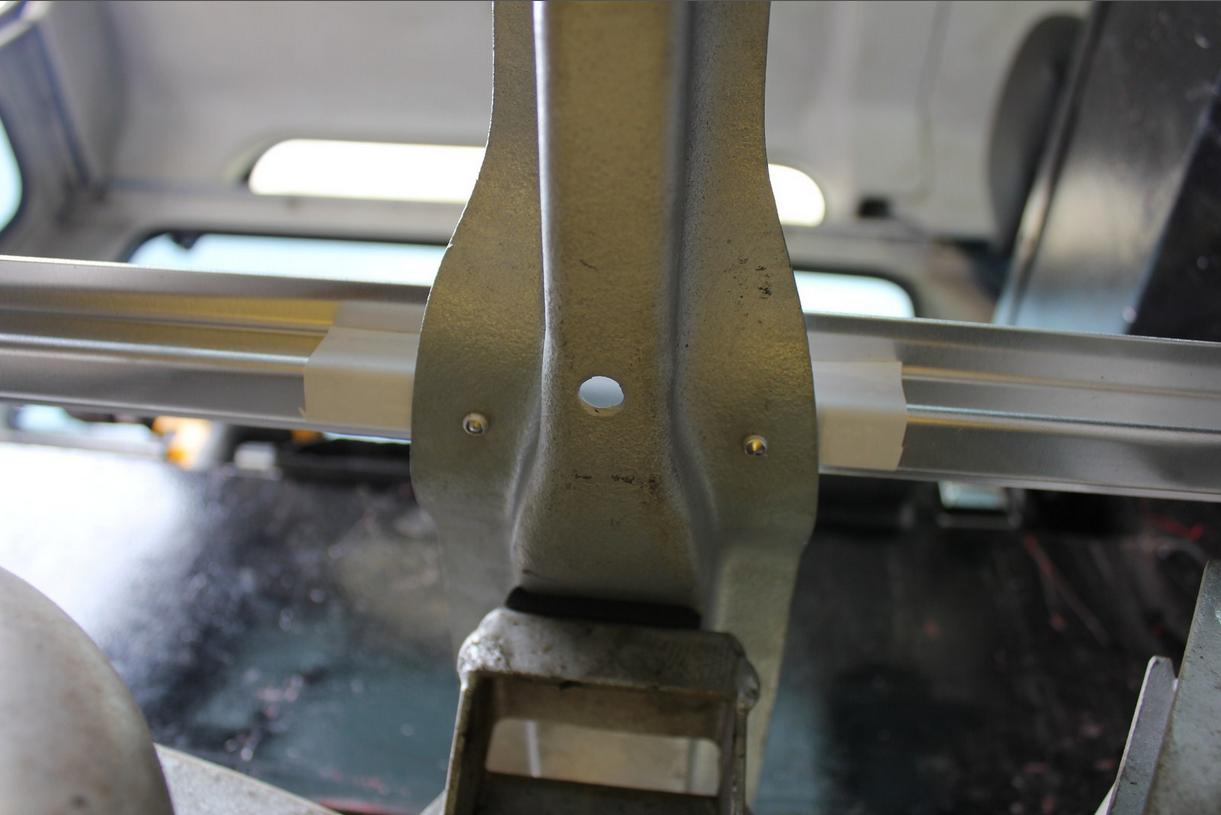 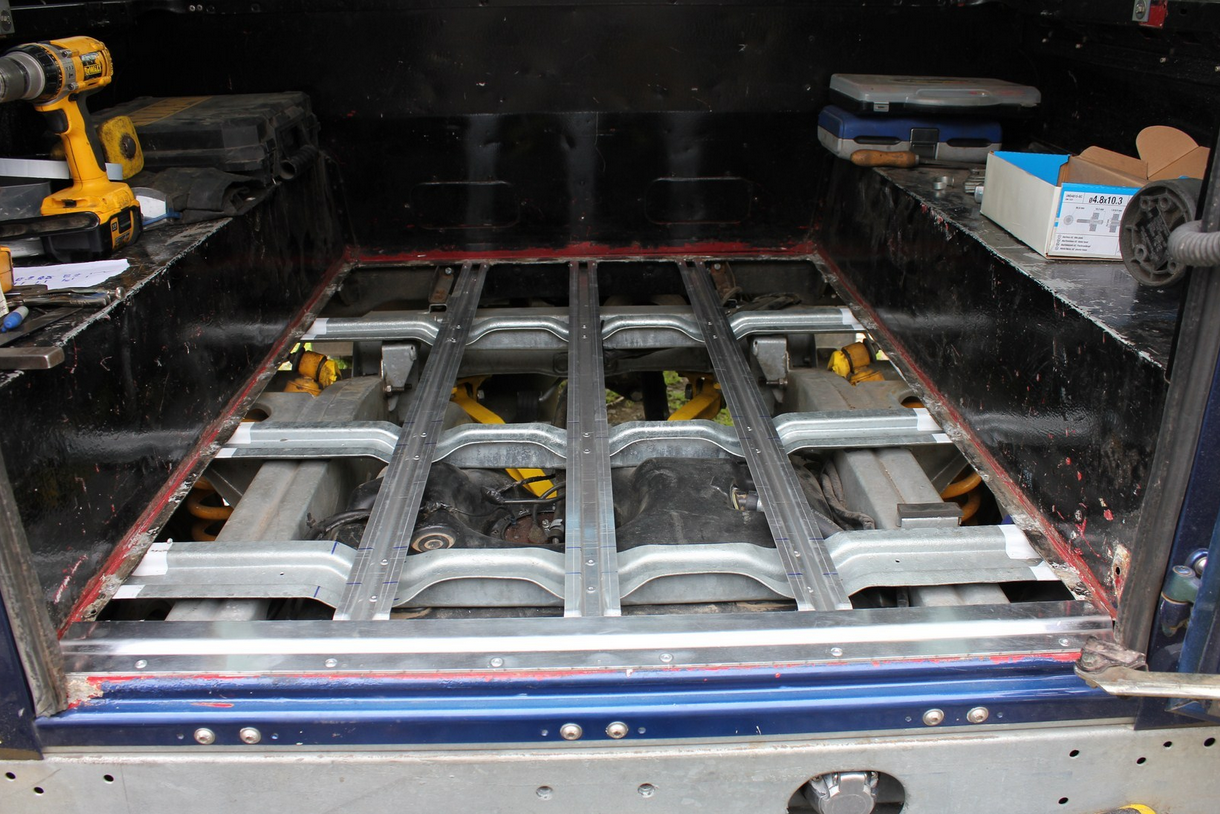 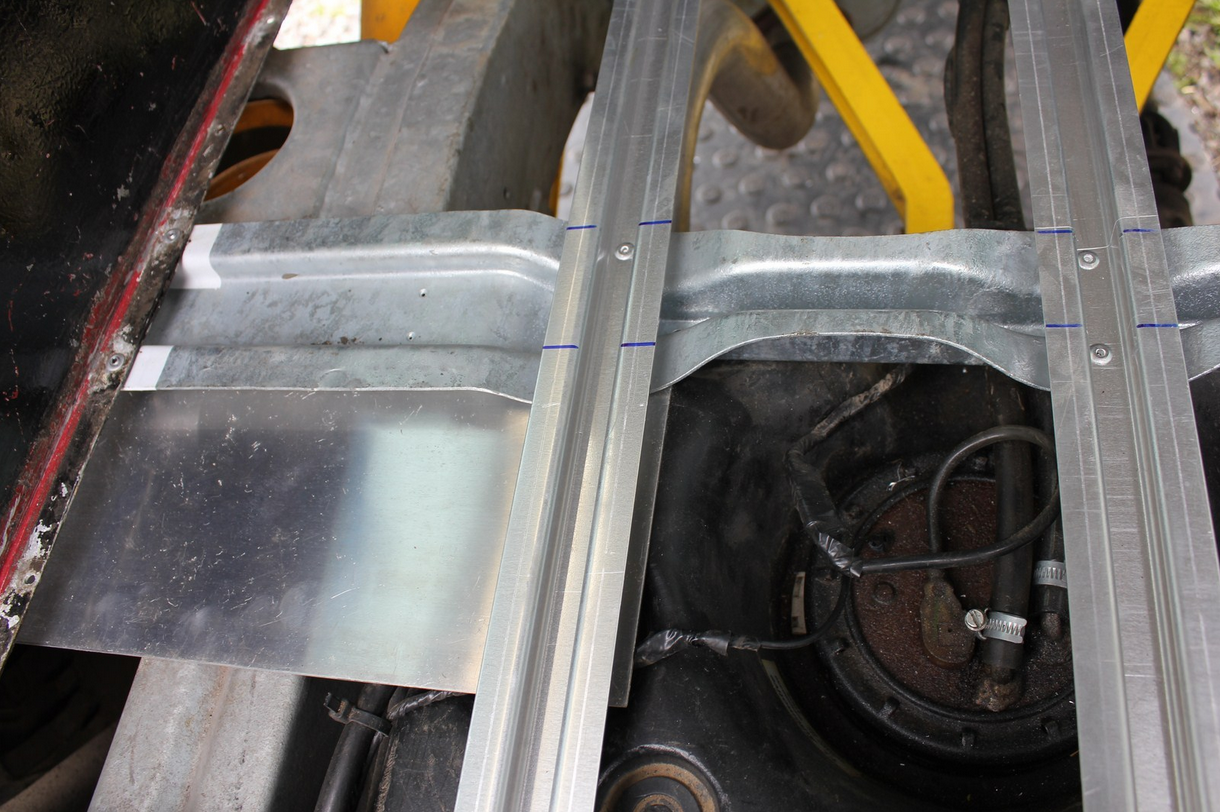 |
11 |
Mark where you intend on fixing the floor in place then offer the floor in, then use a straight edge to mark, then drill and fix in place put 2 fixings in to start then drill the rest to prevent the floor from moving so the holes will line up, if fitting floor to a series SWB it will need cutting down in length. | 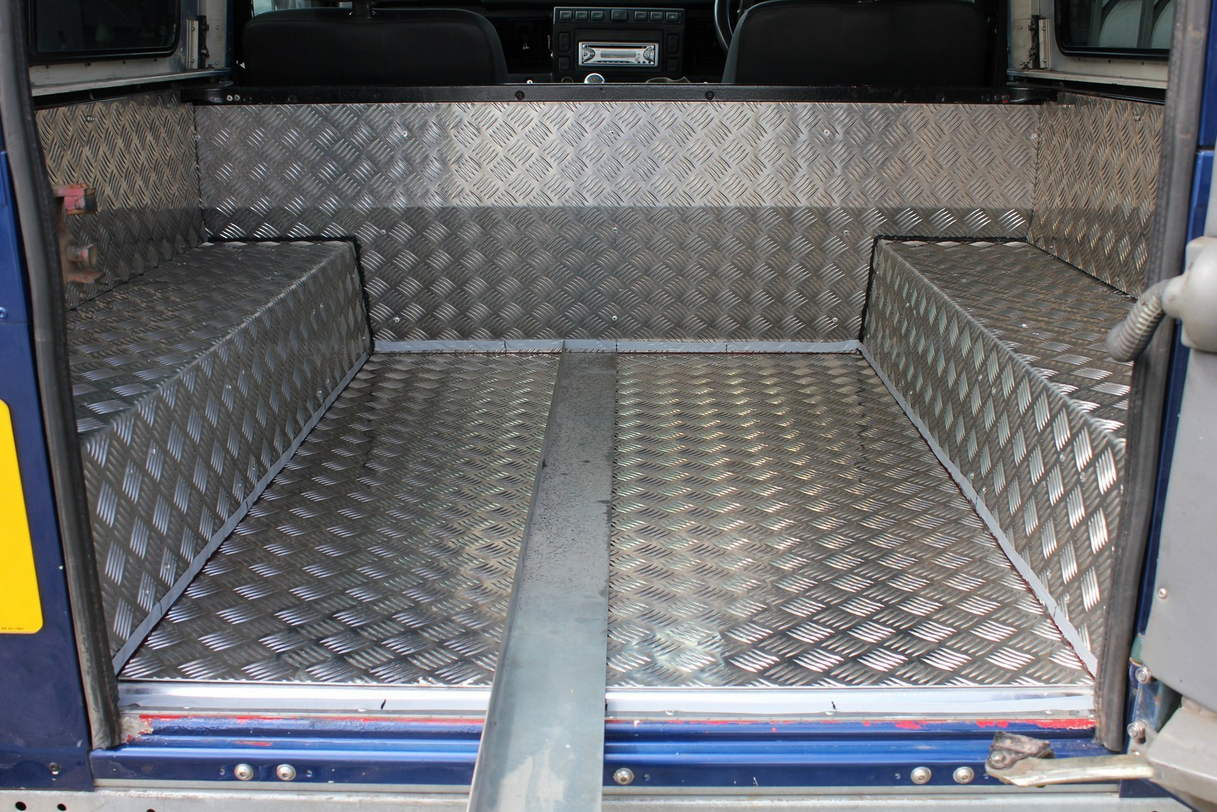 |
12 |
The floor fixed in place then offer in rear rubber door seal and rear door thresh and match drill and fix. | 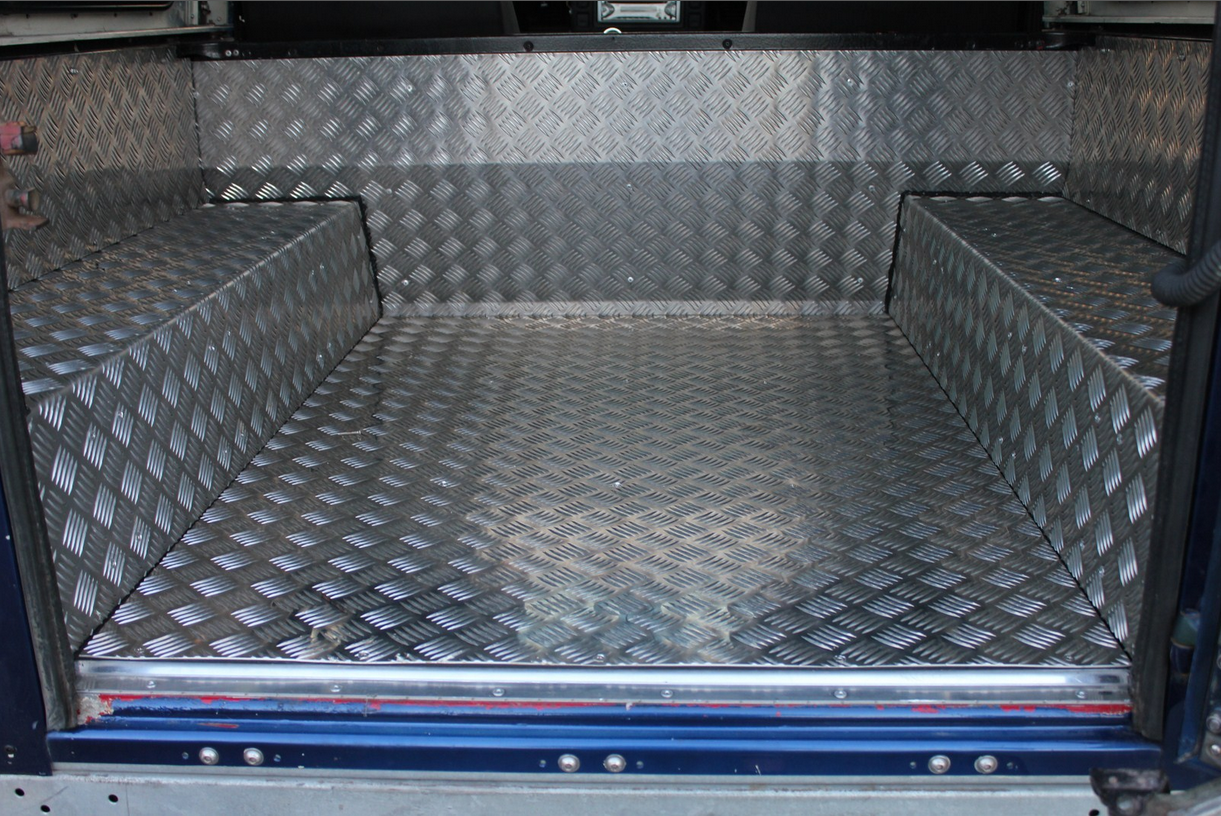  |
This worked was carried out by Ronnie Maughan Jnr.