
Parts used
Buy the parts used in this workshop
Buy Parts
×
Land Rover Defender 90, 110/130 Pick Up/Hard Top, Strike Plate Repair & Seat Belt Bracket Mount Repair Part A


Tools used
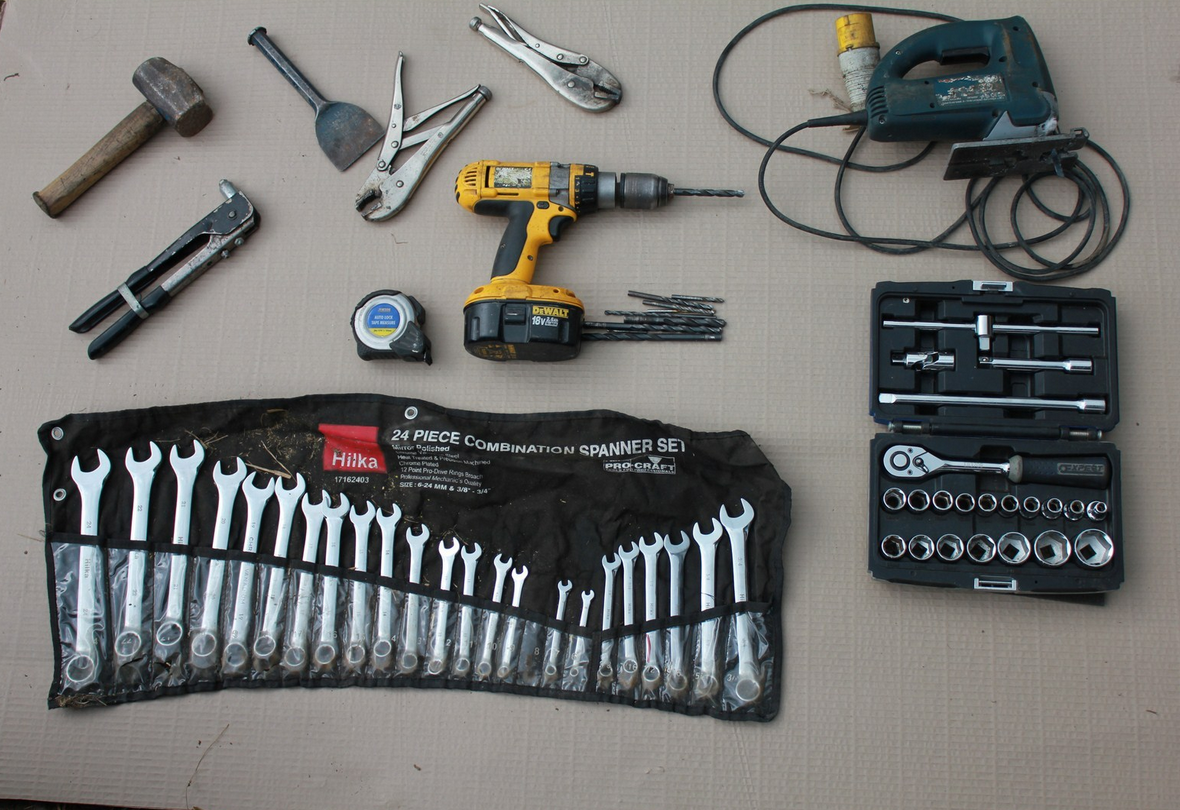 |
Selection of spanners and sockets set Riveter Drill and various drill bits Grinder 110V Tape measure and Marker Bolster and Hammer Appropriate PPE, Goggles, Gloves, Boots |
Steps
1 |
The rear tub corrosion, caused by the electro static reaction between 2 dissimilar metals on the strike plate and the seat belt mount bracket. | 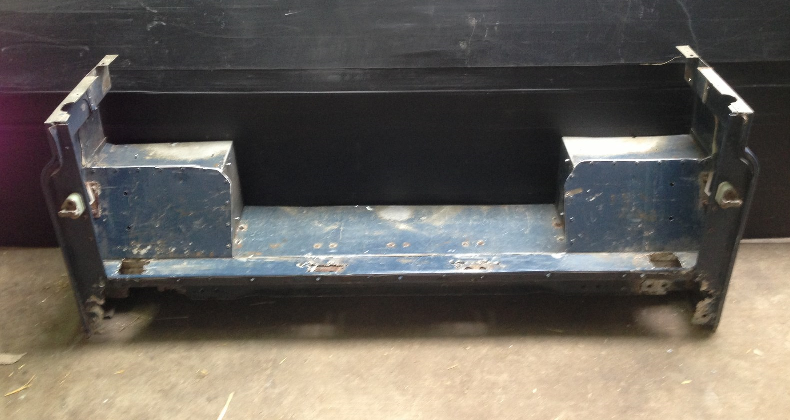  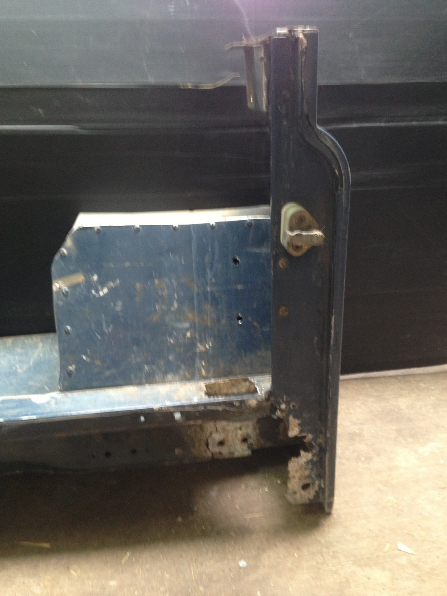 |
2 |
Where I have highlighted the spot welds on the strike plate, these are to be drilled out using a 4.9mm Ø hole to suit our rivets so when fitting repair section the rivets fit. You will need to drill out spot welds well above where the repair section is going to finish to be able to cut the outer skin. | 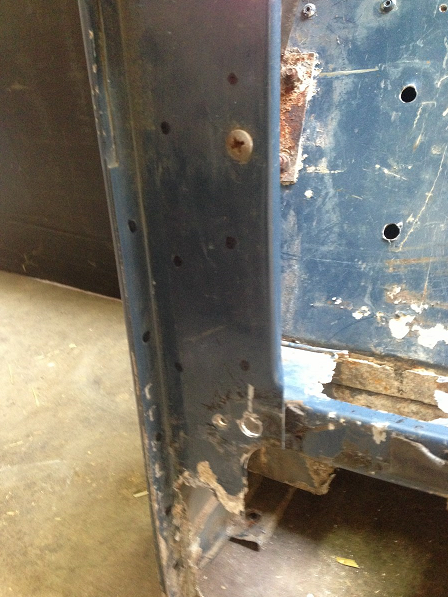 |
3 |
The spot welds have been drilled and a square line has been marked across as to where it needs cutting to remove all corroded metal. | 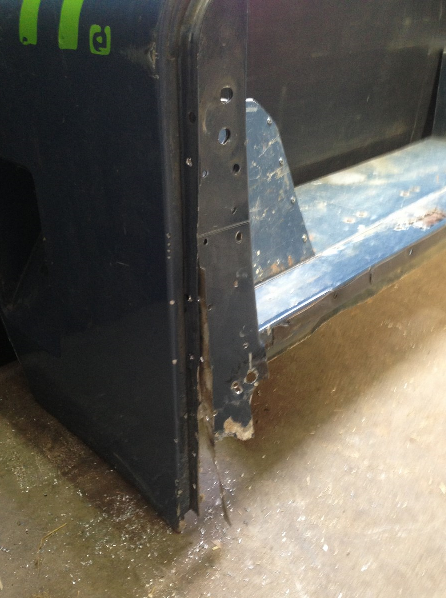 |
4 |
The 2 skins on the strike having been separated using a chisel to split the 2 apart ready to cut, in this instance I used a grinder ensuring I wedged a piece of timber between the 2 skins as to not to damage the tub. |  |
5 |
The outer skin removed and the upper outer skin straightened out using a metal block and hammer. Then measure the length you need to cut the repair section, the repair section provided is 470mm long. | 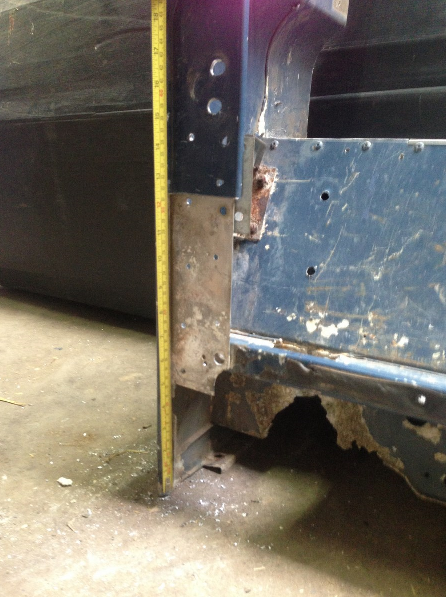 |
6 |
The repair section measured and marked and ready to cut to length. | 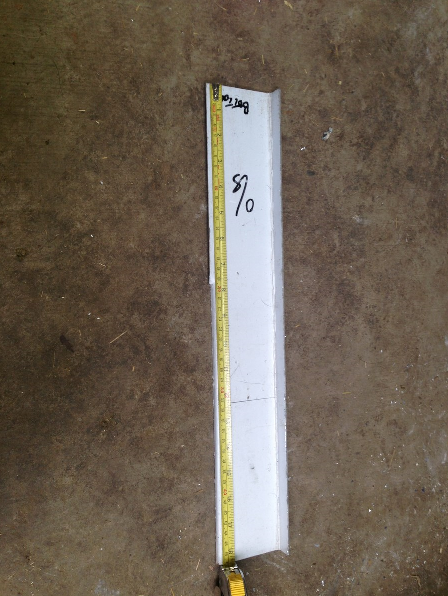 |
7 |
The repair section clamp in place then using the spot weld holes you earlier drilled out you can either match drill or mark and drill again using 4.9mm Ø drill. |  |
8 |
The repair drilled and ready to fit. | 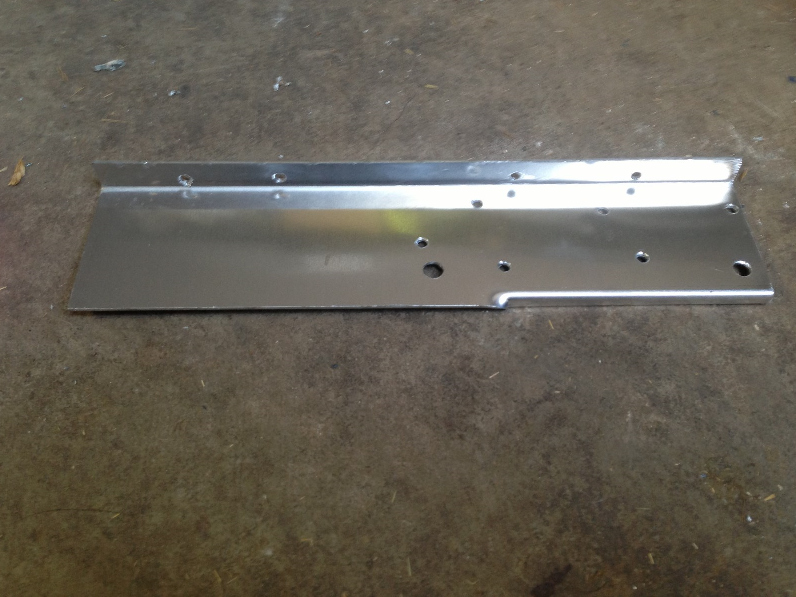 |
9 |
The repair section fitted using non steel rivets. Then repeat the process for the other side. | 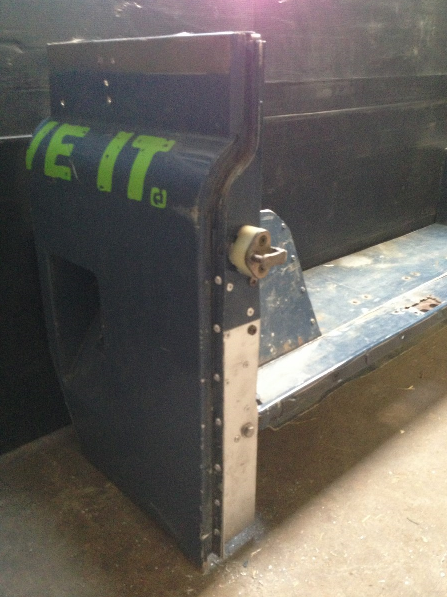 |
10 |
Another repair done, thanks to David for letting us use his photos. |   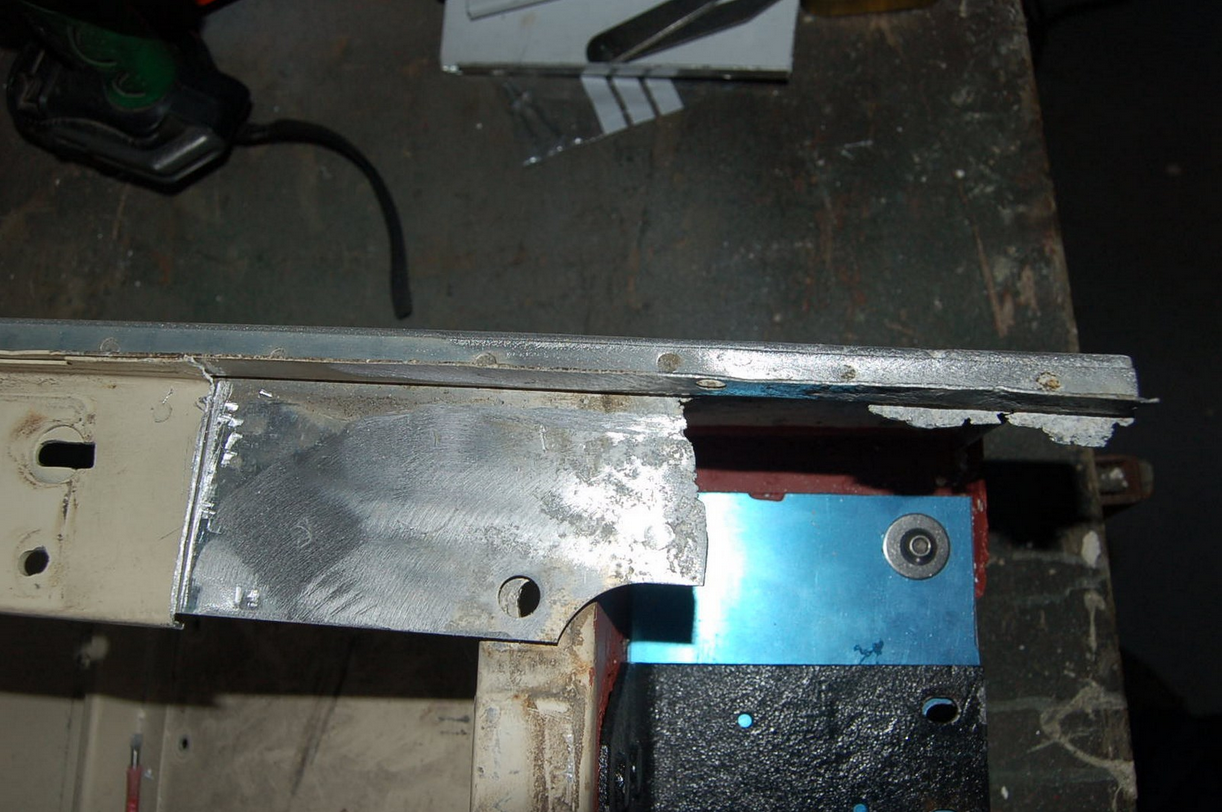 |
This work was carried out by Ronnie Maughan Jnr
Click here to view Part B