
Parts used
Tools used
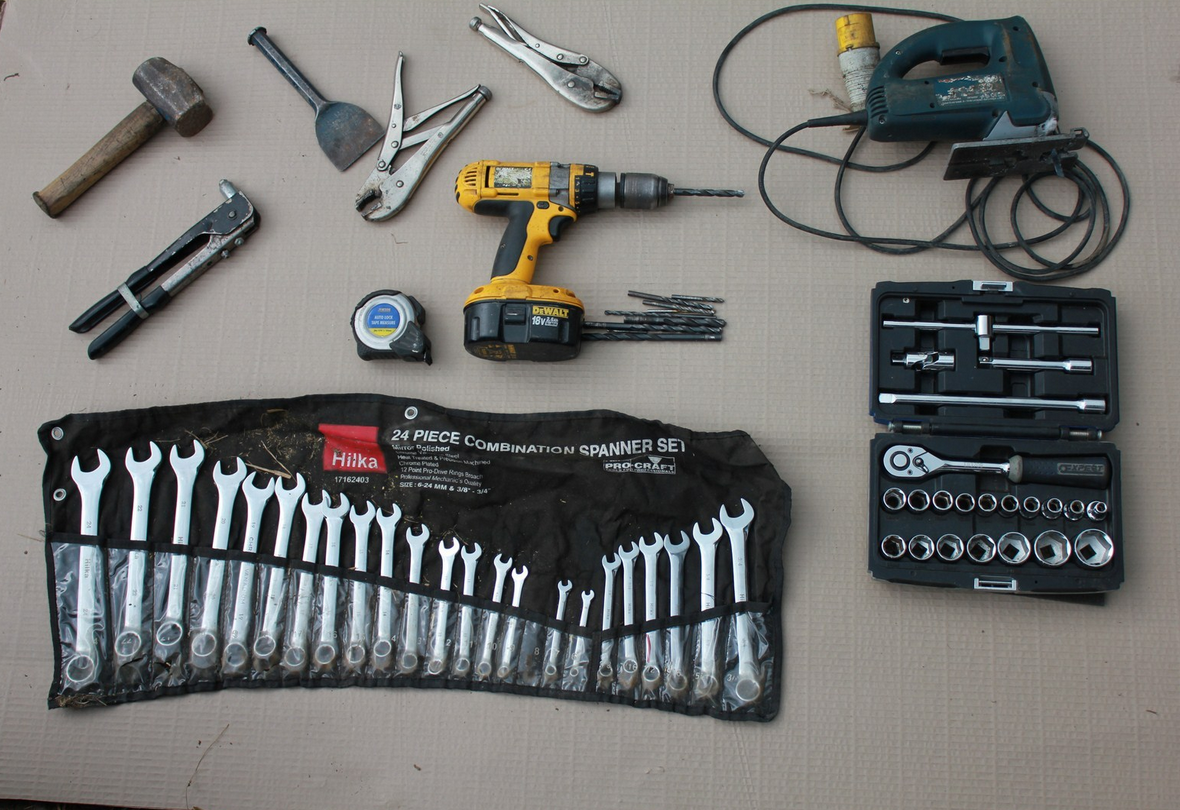 |
Selection of spanners and sockets set Riveter Drill and various drill bits Tape measure and Marker Bolster and Hammer Appropriate PPE, Goggles, Gloves, Boots |
Steps
1 |
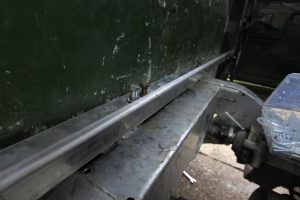
Shows corrosion to front of rear tub. | 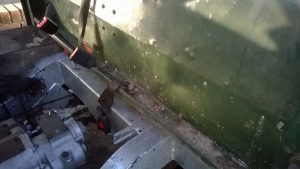 |
2 |
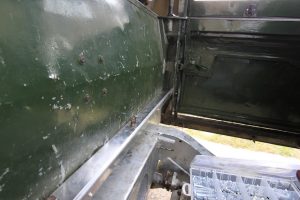
Seatbelts removed, damaged can be clearly seen. | 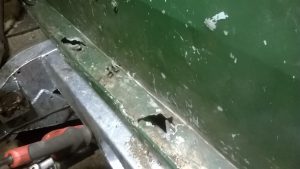  |
3 |
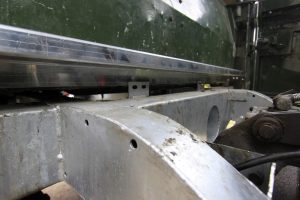
Drill out the spot welds including the 2 on each side of the Series. | 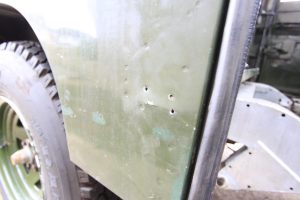 |
4 |
Lift fuel pipe up to aide fitting. Turn the repair sections 90 degrees; so the holes line up with fuel pipe | 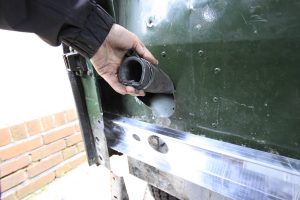 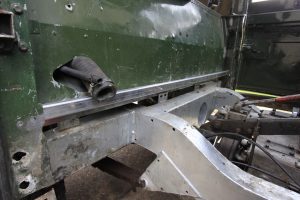 |
5 |
If the repair section is a tight fit you may need to remove 75mm – 80mm of each side to aide and improve alignment. |  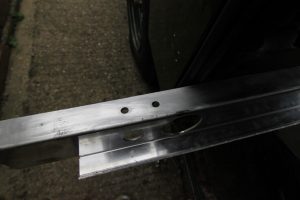 |
6 |
Add seat belt brackets for new panel alignment using pre-drilled holes.
Since this was workshop was done, the seat belt to chassis bracket is now available (YRM 266) in Stainless Steel. |
    |
7 |
Mark and drill holes (evenly spaced). Rivet YRM 275 to front of rear tub, if you have a compressor, an air rivet gun helps save a lot of time, as there a lot of rivets. | 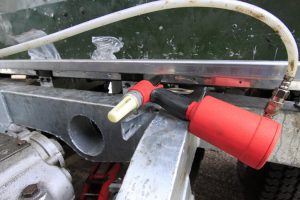 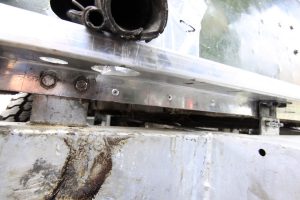 |
8 |
When fitting the seat box, again mark and drill holes to bolt the seat box to the front of rear tub (fixing kit is YRM 1039) and use YRM 1901 to prevent the two dissimilar metals touching. |  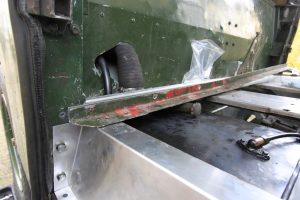 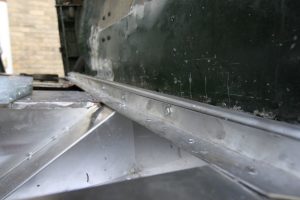 |
9 |
Wherever you have 2 dissimilar metals that come into contact, YRM would advise that you use a gasket. This helps to prevent corrosion and ultimately, improve the longevity of your vehicle. | 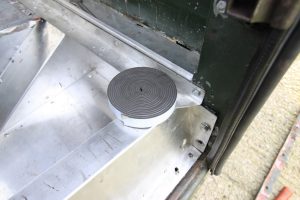 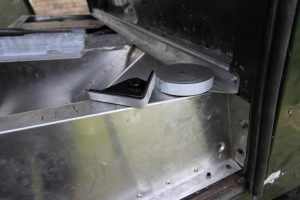 |
Thanks to Alan Twigg for allowing us to use his photos for the workshop