
Parts used
Buy the parts used in this workshop
Buy Parts
×


| 1no. | 182 | Land Rover Defender Sill Panel |
Steps
1 |
The existing Sill Panel in place. |  |
2 |
Where the bolts need removing and highlighted with an arrow the plastic clip to be removed | 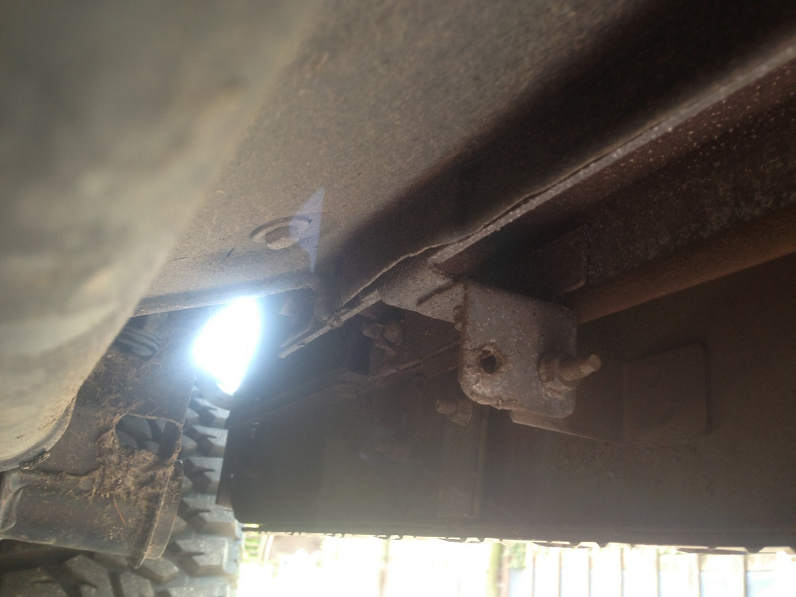 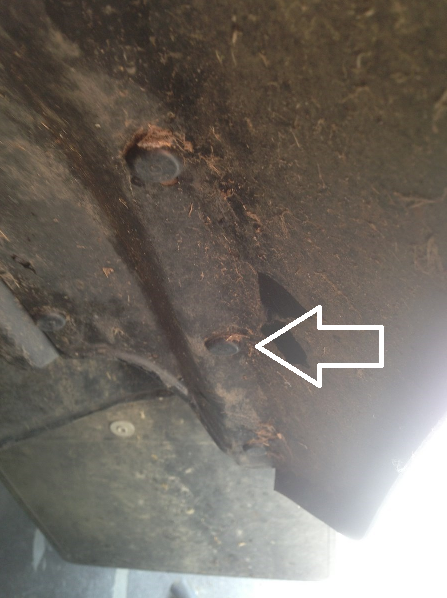 |
3 |
The existing Sill Panel removed | 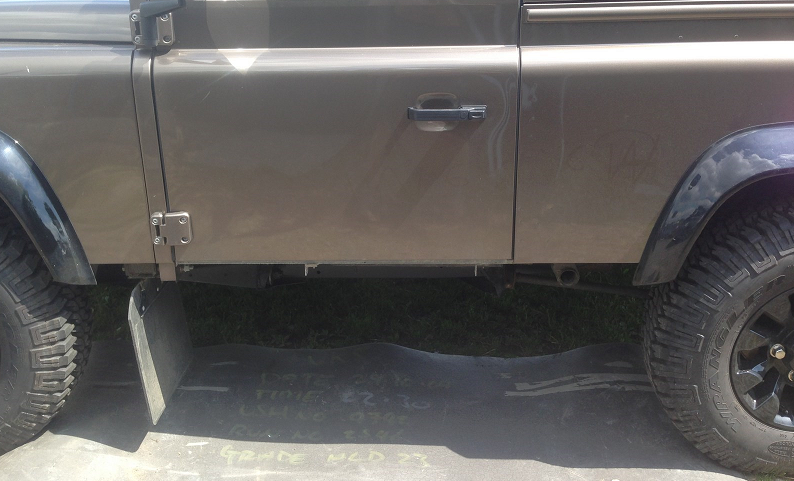 |
4 |
The new Sill panel in place using the stainless steel fixings provided ensuring the cleats fit to the rear of sill to ensuring easy fitting and the holes line up with body panels. Use the 35mm long bolts for the front and rear wing stays, the cup square bolts are to used in fixing sill to wheel are and 20mm long bolts to fix to sill rail. | 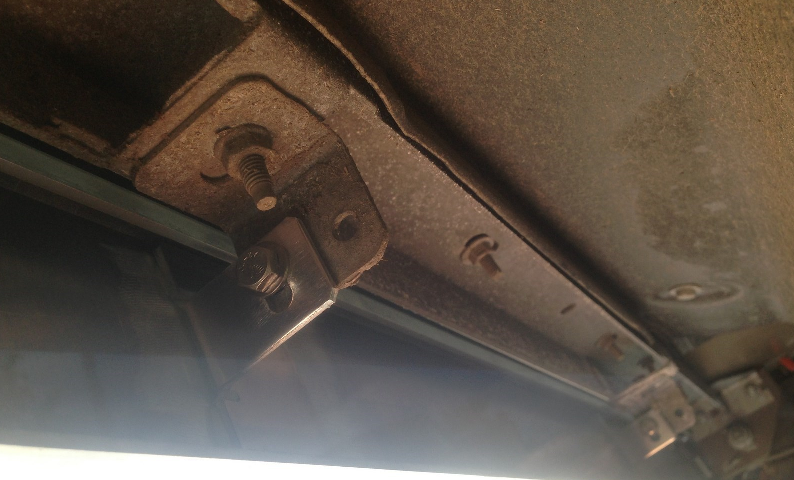 |
5 |
The Sill Panel fitted. | 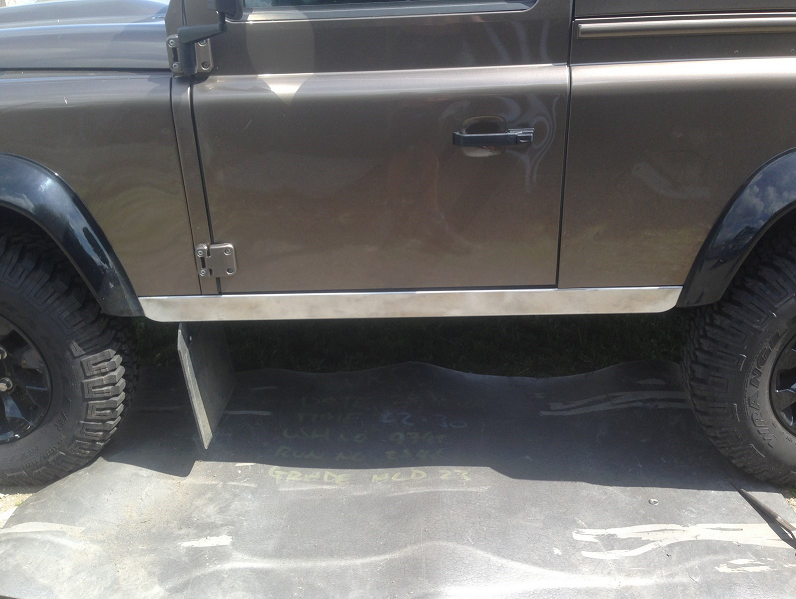 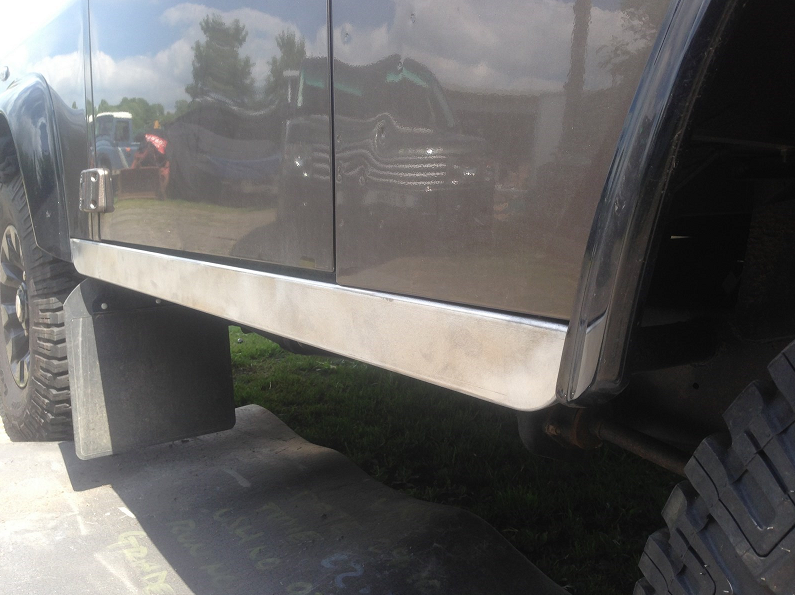 |
Tips, when painting you will first require a etch primer then under coat and top coat.
This workshop was carried out by Ronnie Maughan Jnr