
Parts used
Note; Prior to commencing any work, take plenty of datums prior to commencing work. We made a template of the angle of the C Post as in Image no.9
Steps
1 |
Find the spot welds on the C Post, where its welded to the sill rail and vertical section of the C Post, do not cut it out as you will need to reuse the tabs on the vertical section of the C Post to reattach your repair section. | 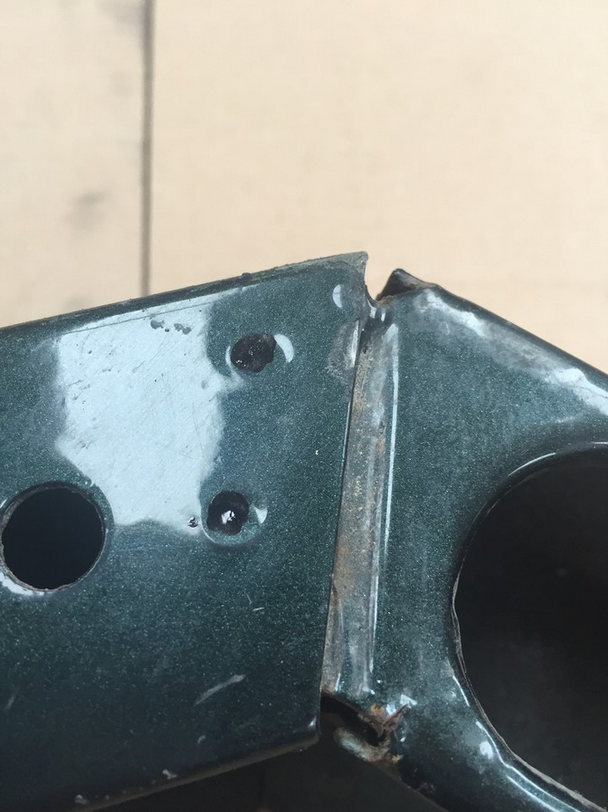 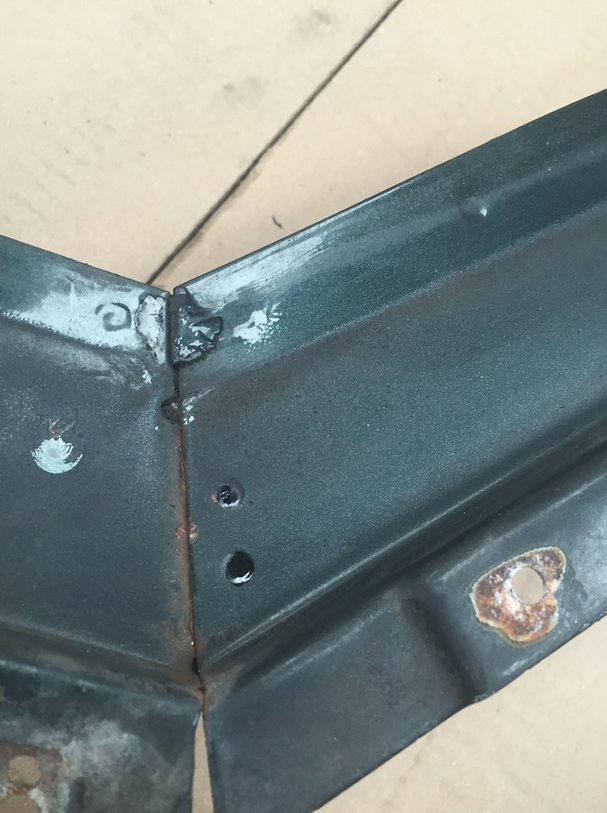  |
2 |
The spots weld have been drilled out, you may need to use a bolster chisel to break the weld to remove the C Post | 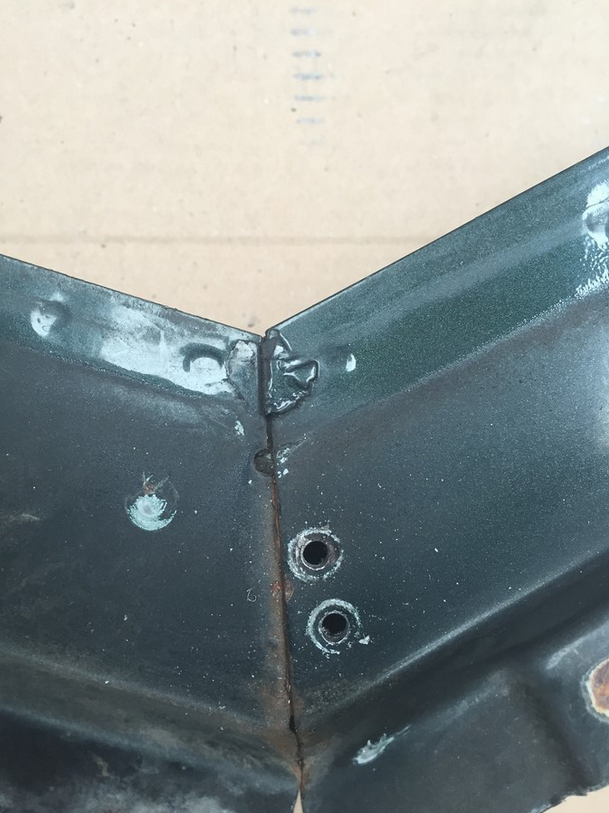 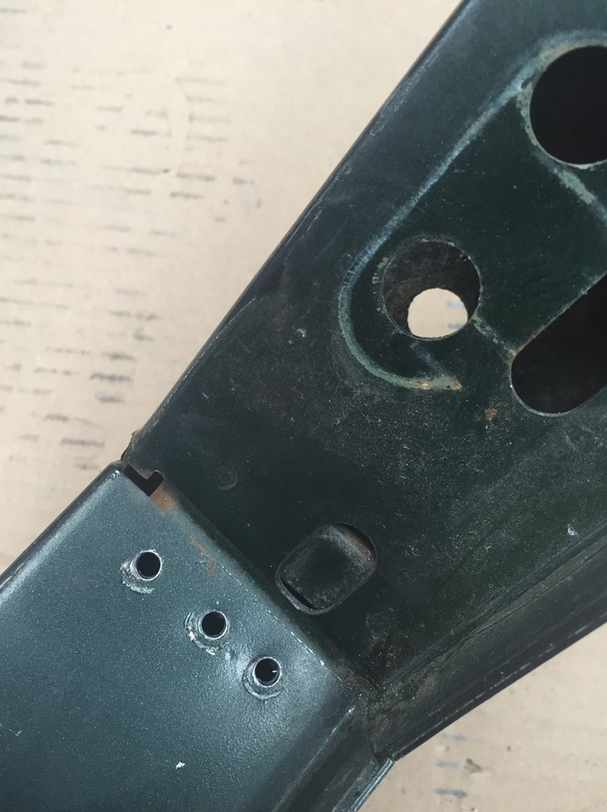 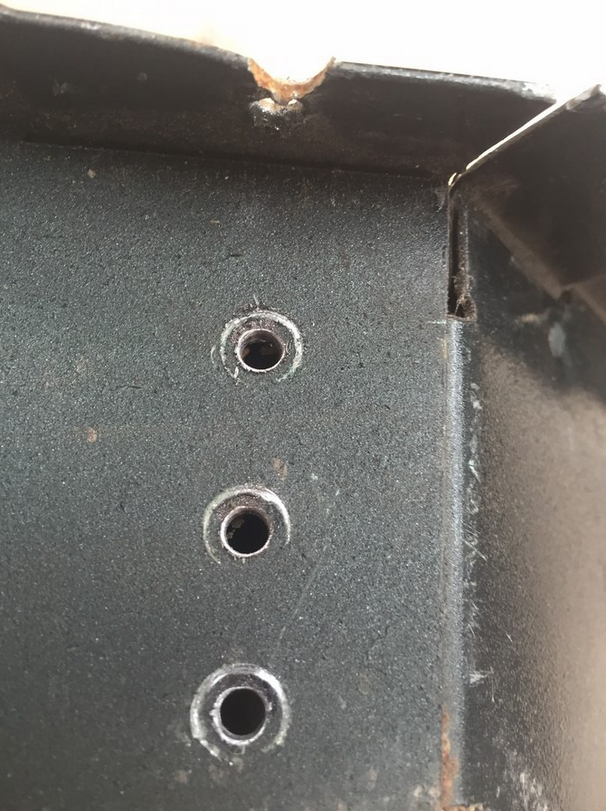 |
3 |
The vertical section of the C Post has been removed with the tabs intact to reattach the new C Post. | 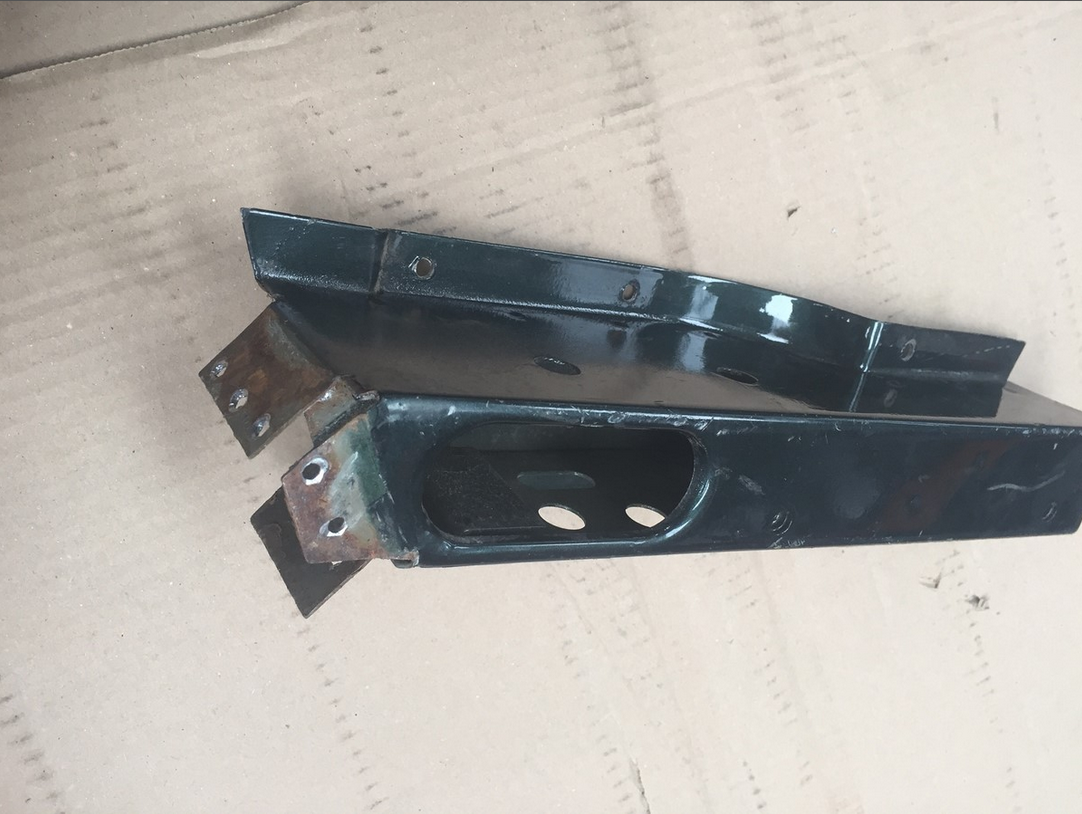 |
4 |
Offer the vertical section and the C Post repair section together, then using a previous made template tack weld the C Post in place. | 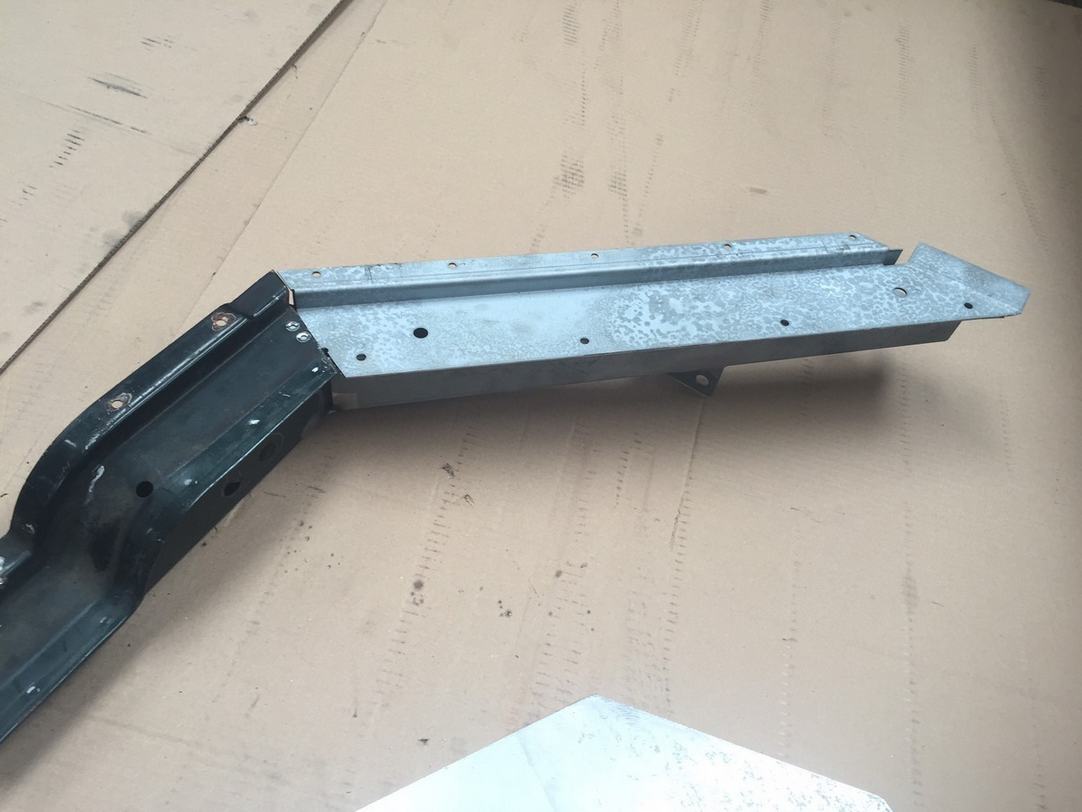 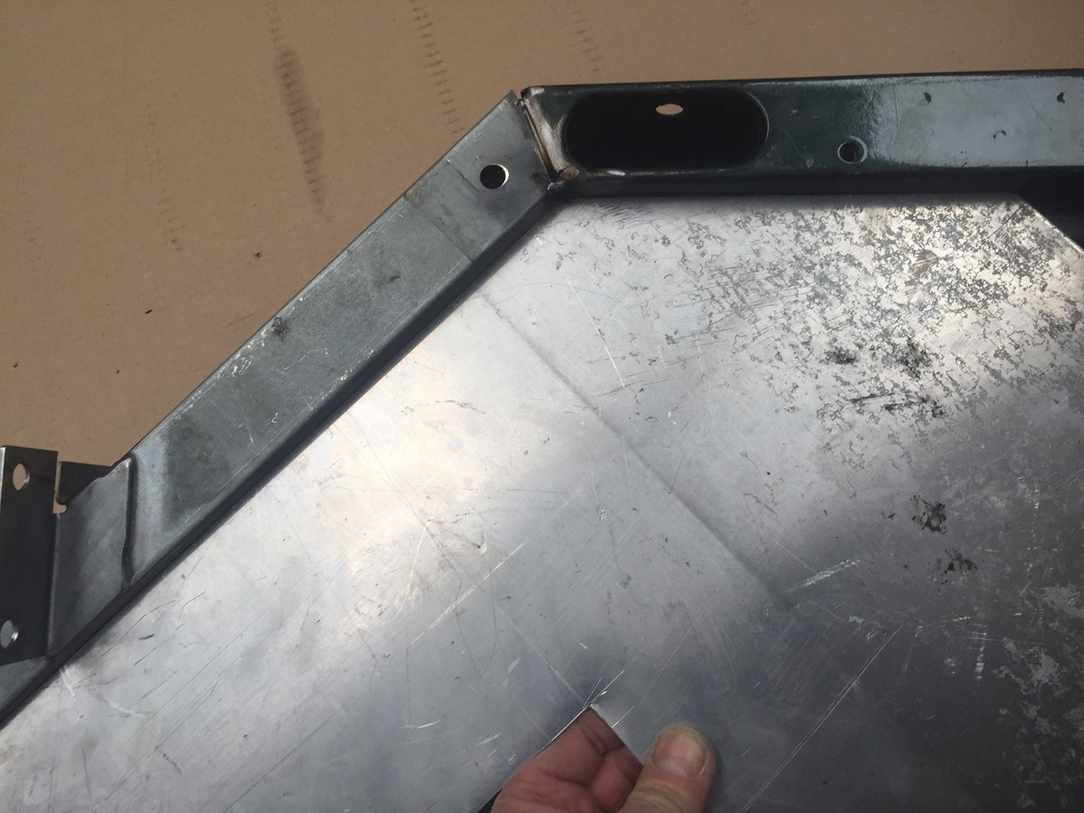 |
5 |
When your happy with the alignment of the C Post fully weld in place and dress. | 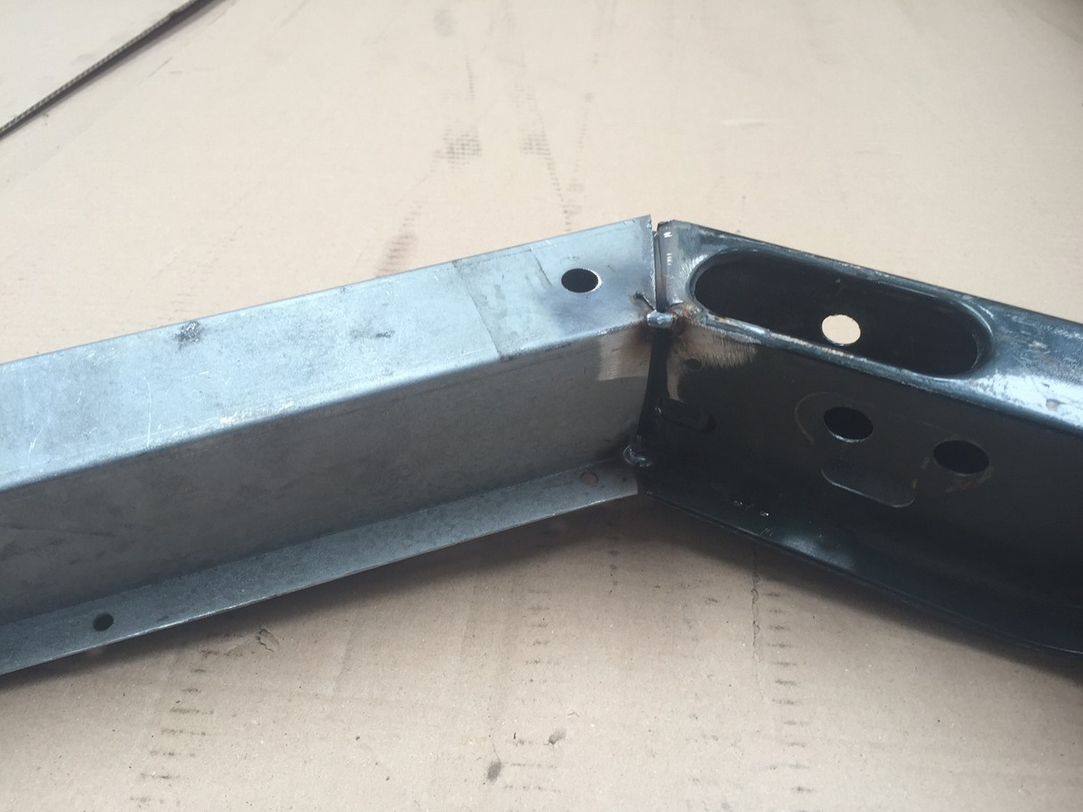  |
6 |
Offer the new B Post up and measure where the inner frame of the B Post needs removing. | 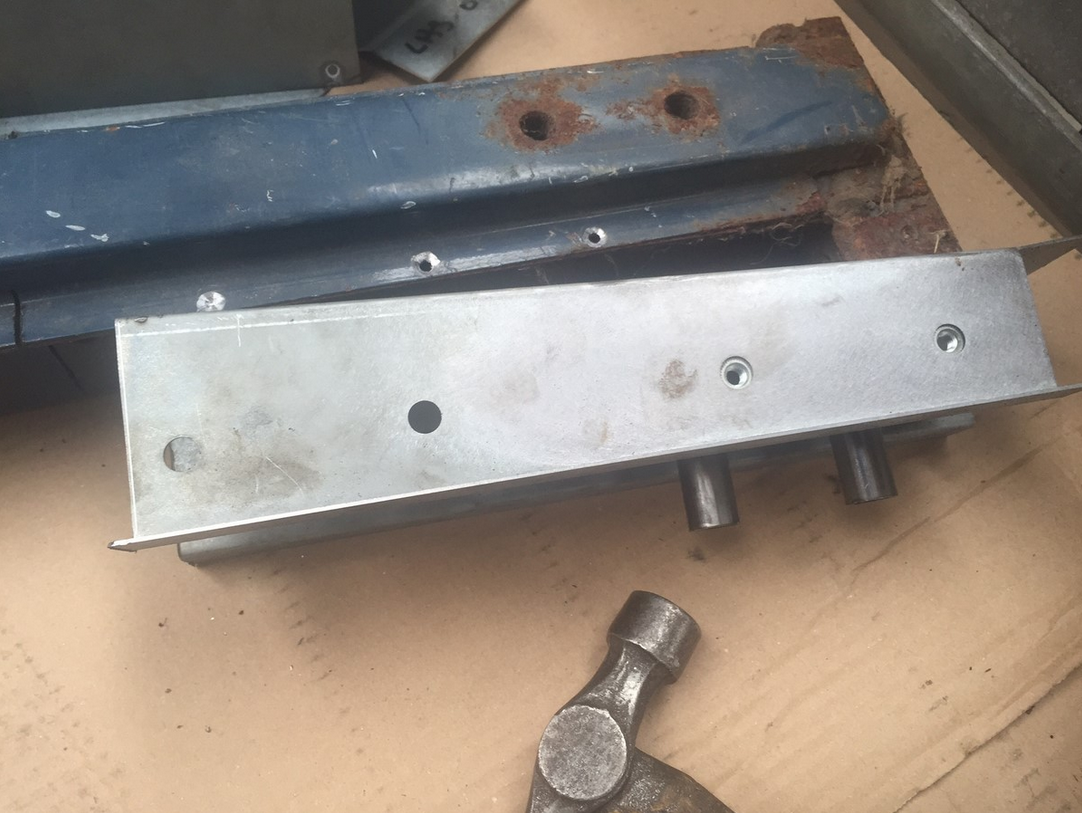 |
7 |
Cutting out the corroded B Post using a 1mm cutting disc, ready to weld the new one in |   |
8 |
Butt joint and tack weld the replacement B Post in place and again before fully welding in place check the alignment and measurements. | 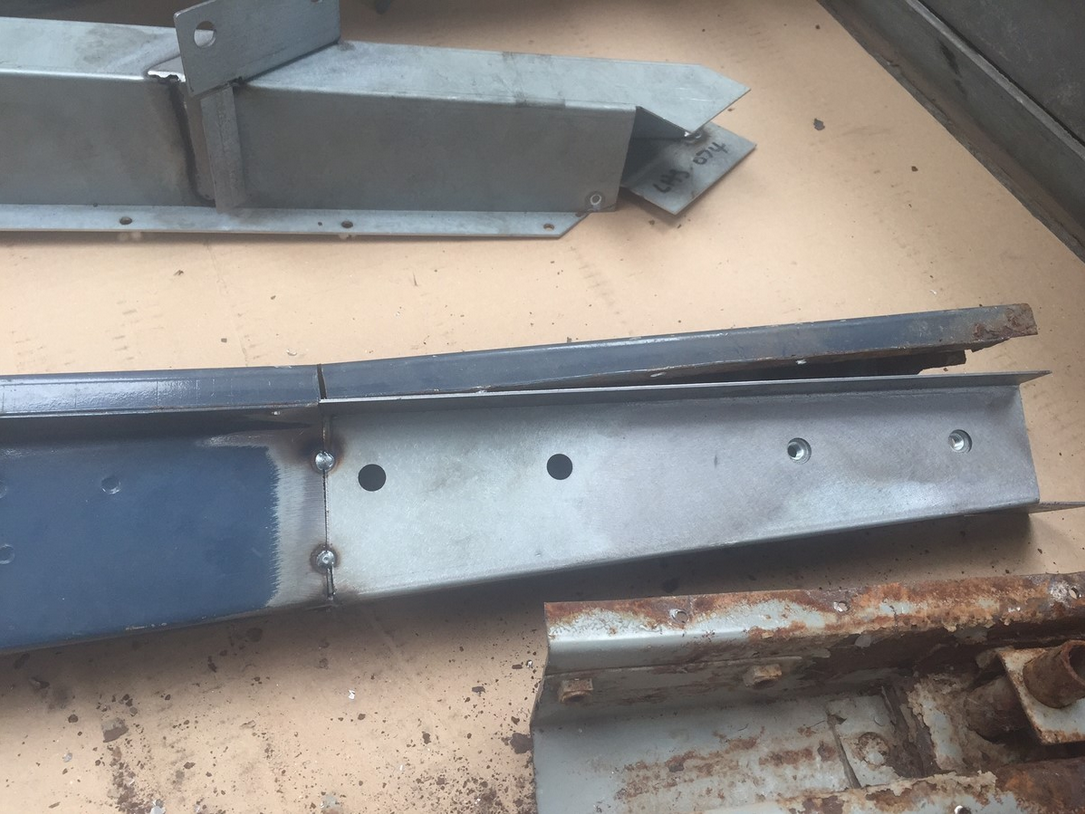 |
9 |
After checking the alignment we have seam welded the joints and dressed off. | 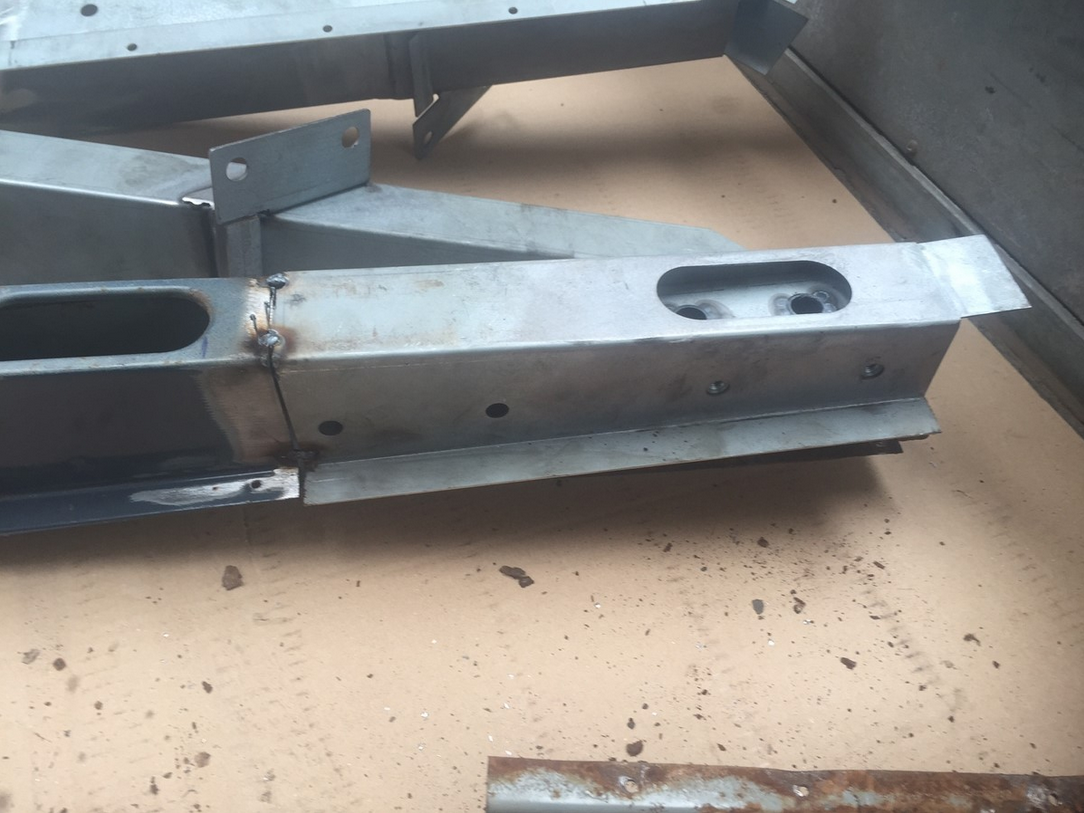  |
10 |
Remove the outer skin of the B Post, when doing this stagger the joint, this will make the B Post stronger and not give it any weak points. Then butt joint and weld the outer skin in place and dress | 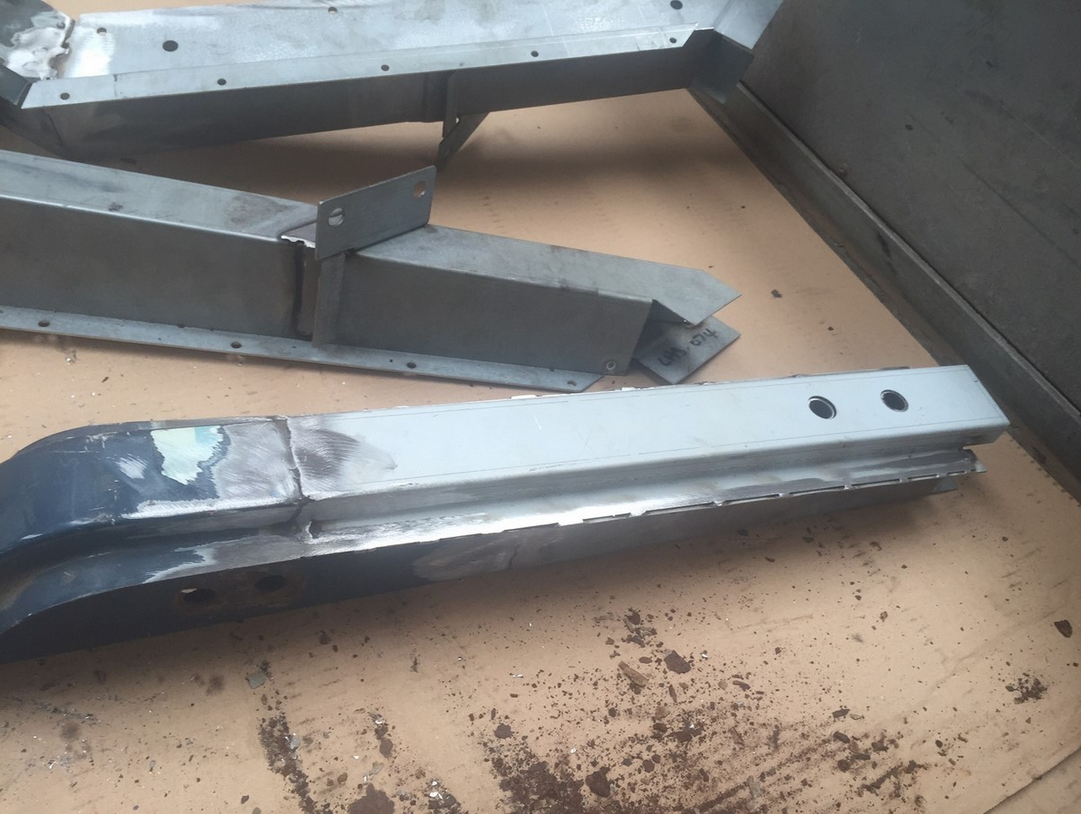 |
11 |
Having repaired all the B & C Post and using new YRM sill rails they are ready to reassemble. | 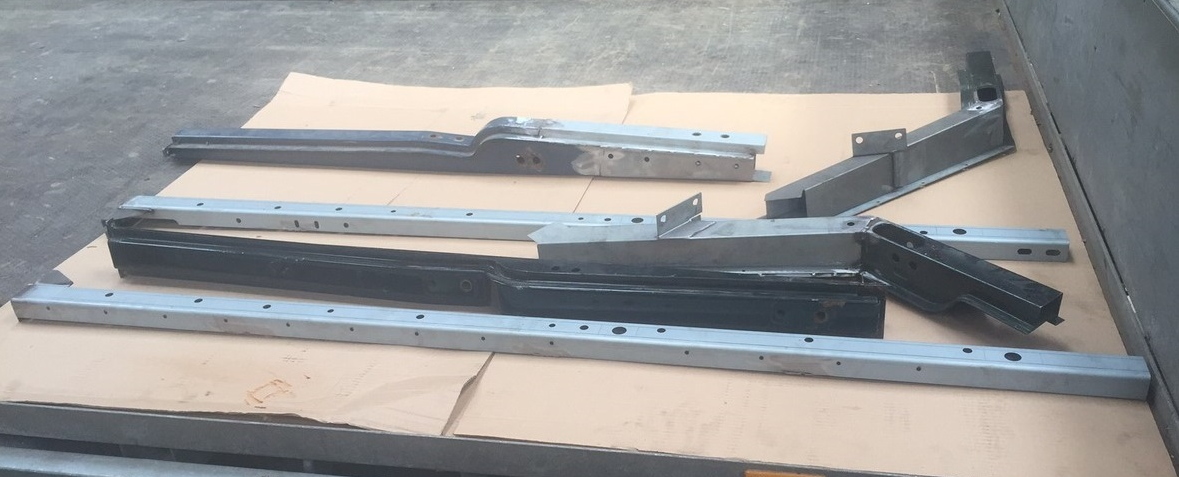  |
12 |
Using the measurements taken at the start ensure they are assembled back in the same place. Image 21 form the B Post to end of sill rail was 882mm & Image 22 from inside of B Post to inside of C Post was 775mm. Don’t take this measurements as gospel, your best checking your own Defender prior to doing this. | 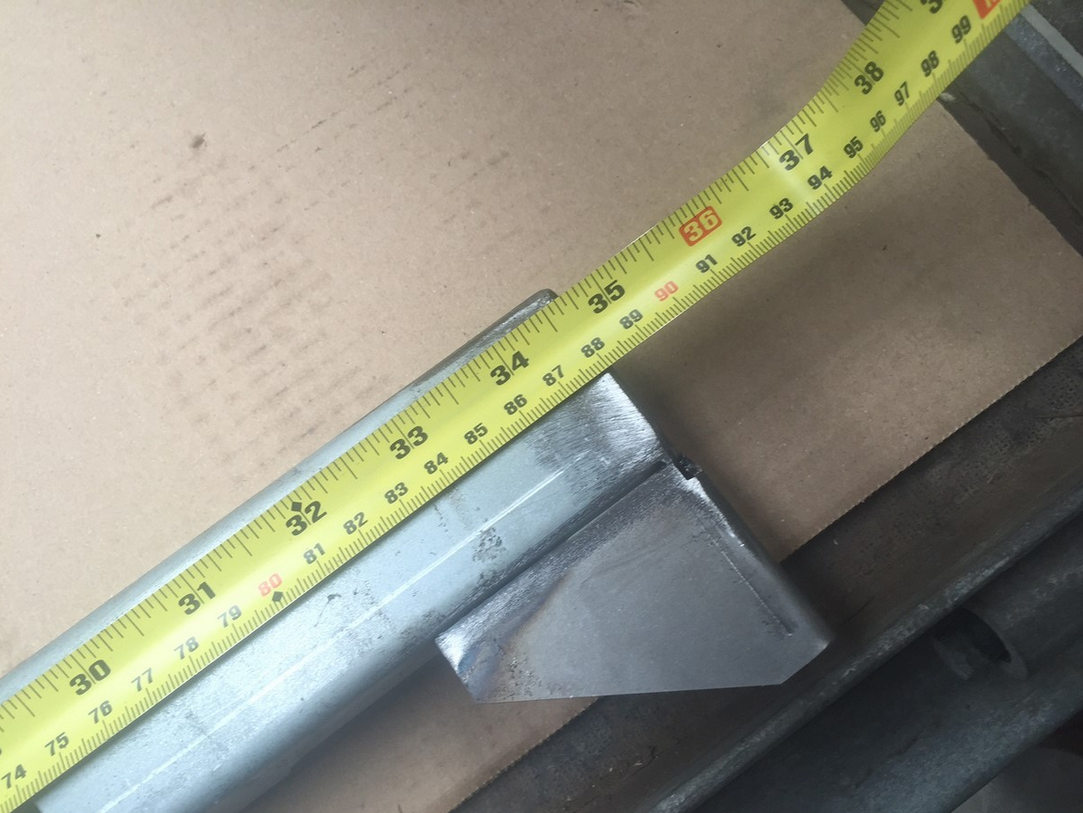 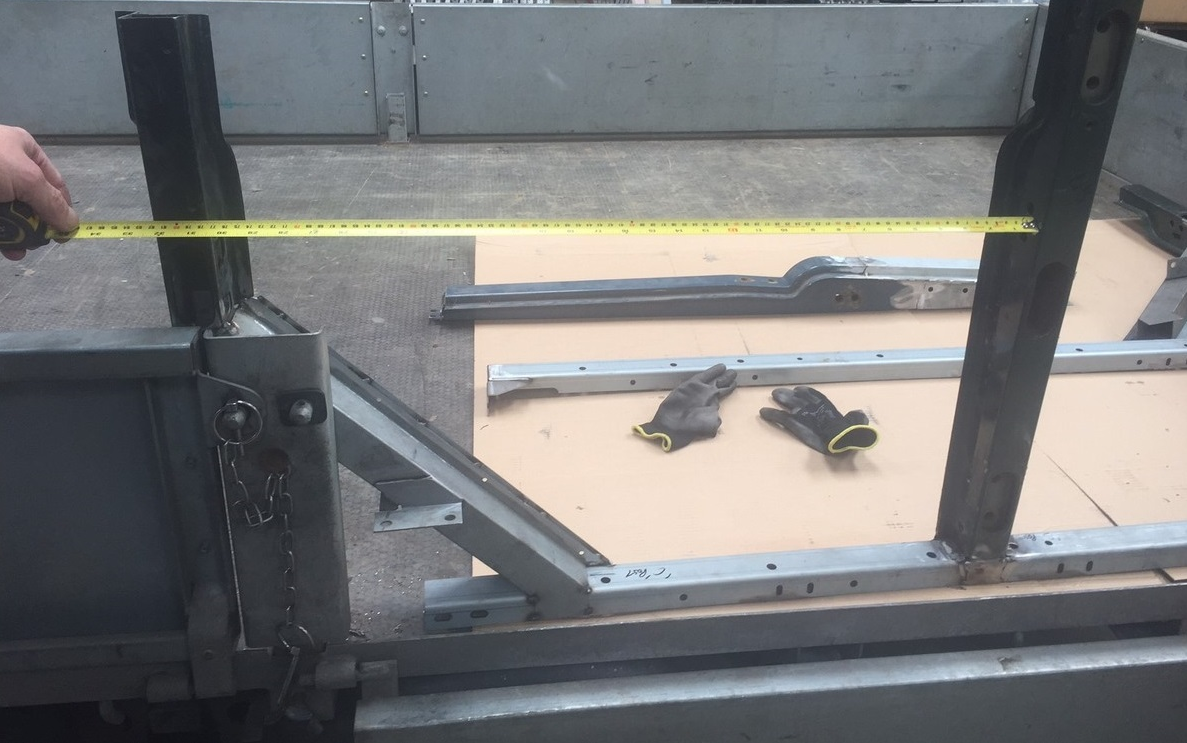 |
This work was done having removed the Side Frame from the vehicle, this job can also be done leaving the B and C Post intact on the vehicle
This work was carried out by Ronnie Maughan Snr @ YRM